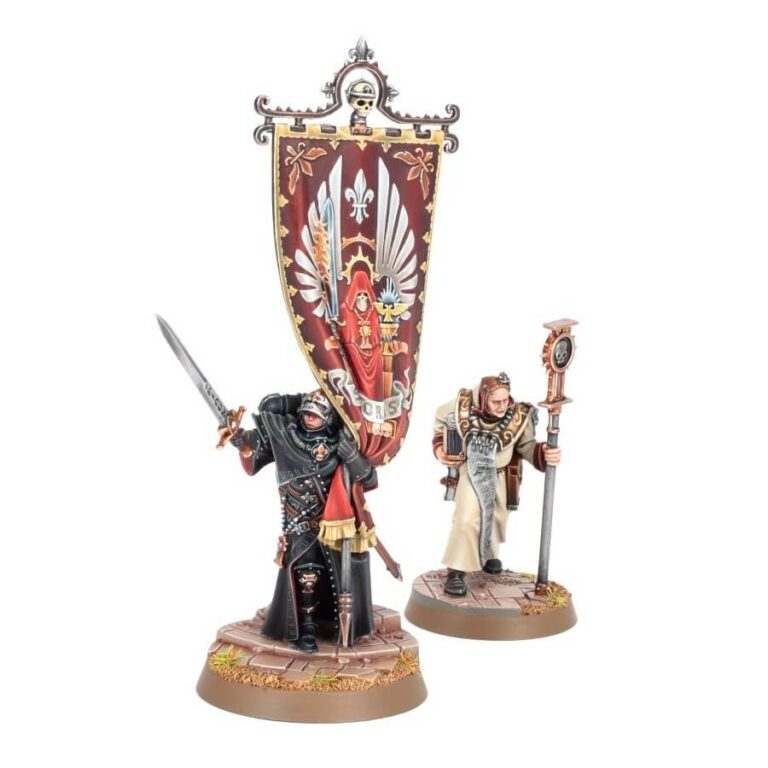
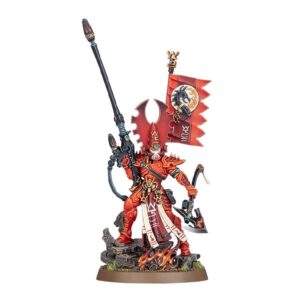
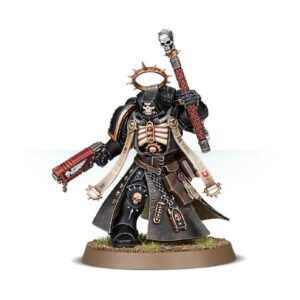
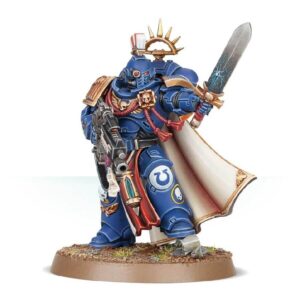
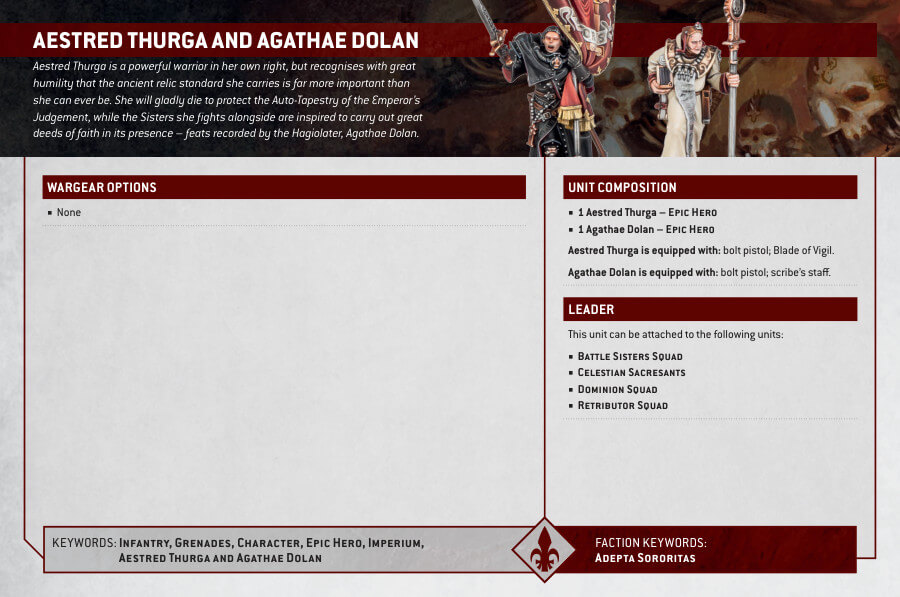
Aestred Thurga, a powerful warrior, humbly recognizes the significance of the ancient relic standard she carries, willing to sacrifice her life to protect the Auto-Tapestry of the Emperor’s Judgement, inspiring her fellow Sisters of Battle to perform great acts of faith. These heroic feats are diligently recorded by the Hagiolater, Agathae Dolan.
Embrace the spirit of faith by displaying the flag and urging your Adepta Sororitas warriors to fight with renewed fervor. Aestred, accompanied by the renowned Agathae, seamlessly integrates into your Sisters of Battle collection, offering captivating painting opportunities due to the model’s varied textures.
Aestred Thurga, Reliquant at Arms Datasheets
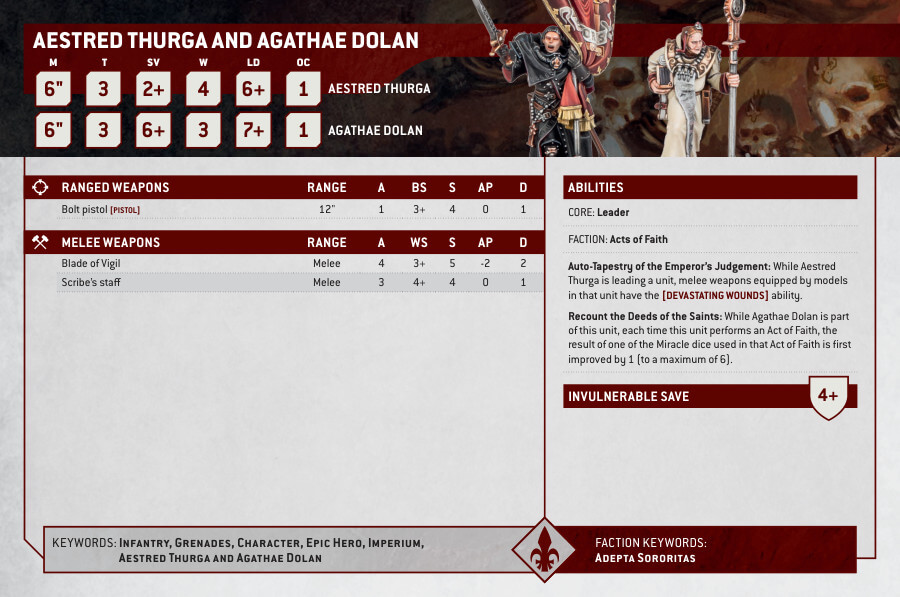
What’s in the Aestred Thurga, Reliquant at Arms box
- x23 part plastic kit that makes one Aestred Thurga and one Agathae Dolan. Aestred Thurga also comes with two head options, allowing her to be built either with or without a helmet.
- x1 32mm Citadel round base
- x1 25mm Citadel round base
How to paint the Aestred Thurga, Reliquant at Arms set
- Step 1: Clean and Assemble the Miniature
Ensure that the miniature is clean and free of any mold lines or imperfections. Use a hobby knife or file to carefully remove any excess plastic or resin. Assemble the miniature according to the instructions provided. - Step 2: Apply Primer
Priming the miniature is essential as it helps the paint adhere better. Shake the primer spray can vigorously and spray an even coat onto the assembled miniature. Let it dry completely before moving on to the next step. - Step 3: Base Coat
Start with the base coat, which will serve as the foundation for your paint job. Use a large brush to apply the base colors to the different areas of the miniature. For example, use Abaddon Black for the armor, Leadbelcher for the metallic parts, Mephiston Red for the cape, Retributor Armor for the gold details, and Macragge Blue for any blue areas. Apply thin coats, allowing each layer to dry before adding another to achieve smooth coverage. - Step 4: Layering
Once the base coat is dry, it’s time to add depth and dimension to the miniature. Layering involves applying progressively lighter shades of paint to highlight raised areas and create shadows. Use a medium-sized brush for this step. For example, you can highlight the edges of the armor with a slightly lighter shade of black or add highlights to the metallic parts with Ironbreaker. - Step 5: Wash
To bring out the details and add shadows, apply a wash to the miniature. A wash is a thinned-down paint that settles into the recesses, emphasizing the crevices and adding depth. Use a small detail brush and Citadel Shade paints such as Nuln Oil or Agrax Earthshade for different areas. Apply the wash sparingly, focusing on the recessed areas. Let it dry completely before moving on. - Step 6: Dry Brushing
Dry brushing is a technique used to pick out raised details and textures on the miniature. Dip a flat brush into the paint color of your choice (usually a lighter shade than the base coat) and then wipe off most of the paint onto a paper towel. Lightly brush the raised areas of the miniature to highlight them. For example, use Stormhost Silver to dry brush the edges of the armor or Iron Warriors for metallic parts. - Step 7: Detailing
Now it’s time to add finer details to make the miniature stand out. Use a small detail brush and carefully paint smaller areas like the face, eyes, gems, or insignias. Use contrasting colors to make these details pop. For example, you can use Evil Sunz Scarlet for the eyes or Yriel Yellow for gemstones. - Step 8: Basing
To complete the painting process, consider adding a base to your miniature. You can use various materials like sand, flock, or small rocks to create a realistic or thematic base. Paint the base in suitable colors, apply texture paint, and add any additional elements like grass tufts or debris to enhance the look.

