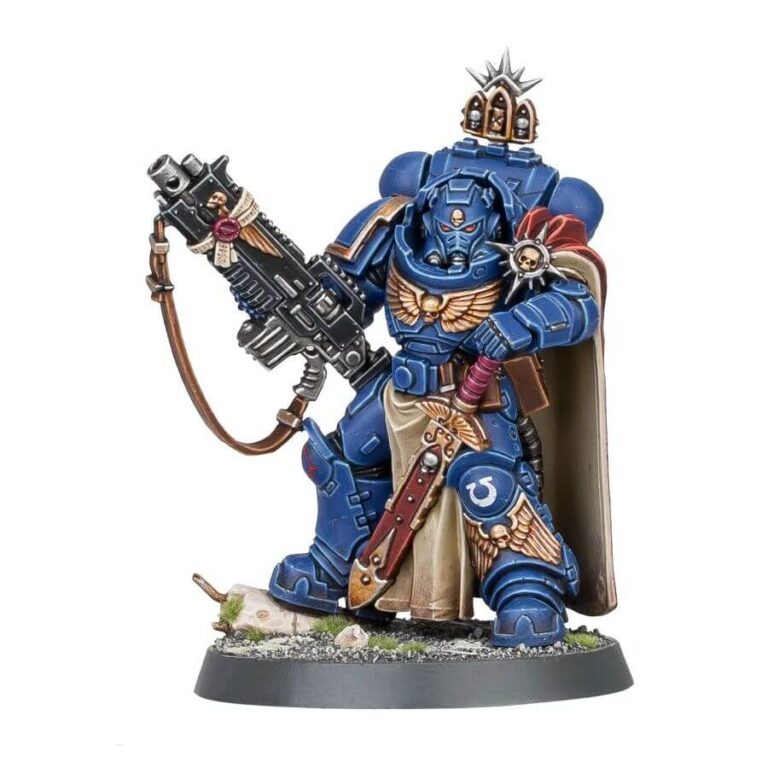
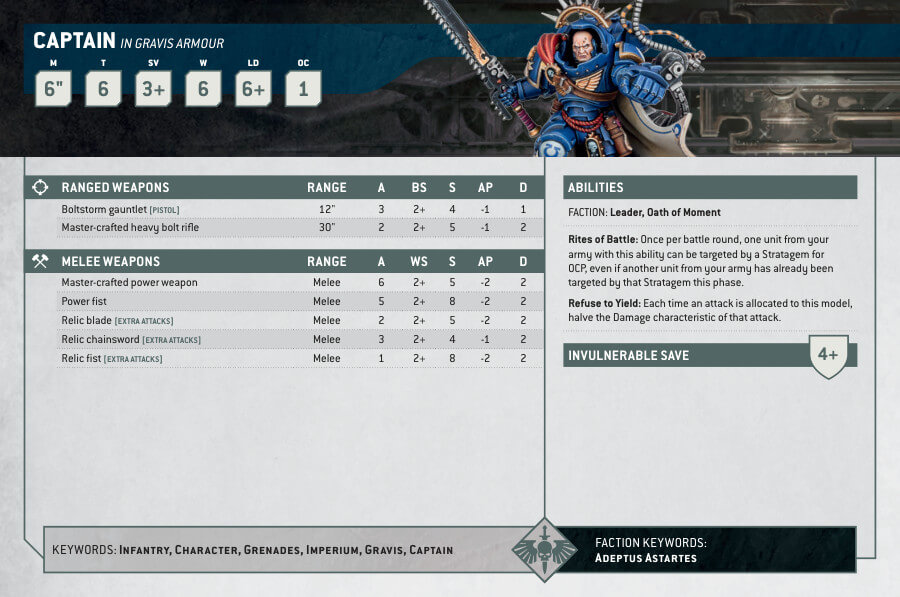
With an unwavering determination, Space Marines defending their positions unleash a relentless fury. Leading the charge, Captains wield heavy bolt rifles to deliver punishing firepower, while donning Gravis armor to withstand relentless assaults. These stalwart warriors epitomize the indomitable spirit of the Space Marines, never faltering in the face of adversity.
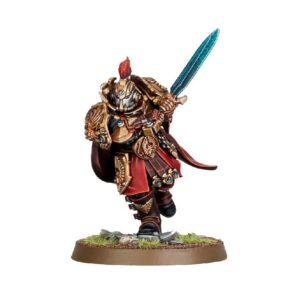
When the need arises to hold your ground at all costs, look no further than this formidable Captain. Clad in the formidable Mark X Gravis armor for enhanced protection, this commander is armed with artificer weaponry—a master-crafted heavy bolt rifle and master-crafted power sword—making them a formidable force in close-quarter combat as well as at a distance. Embrace their leadership and equip your army for victory in any engagement.
Captain with Master-crafted Heavy Bolt Rifle Datasheets
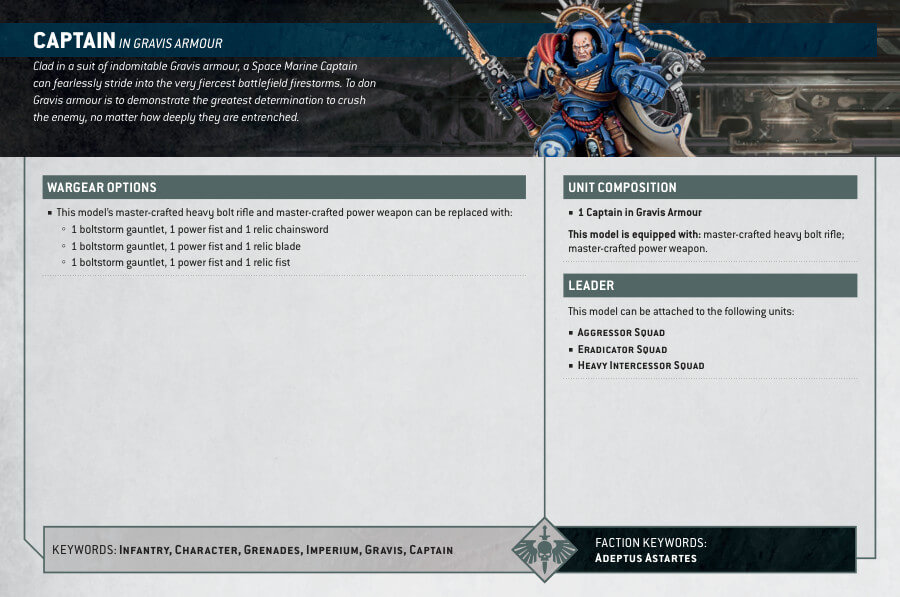
What’s in the Captain with Master-crafted Heavy Bolt Rifle box
- x8 plastic components that make one Captain with Master-crafted Heavy Bolt Rifle, one versatile HQ option for your Space Marine armies.
- x1 Citadel 40mm Round Base
How to paint the Captain with Master-crafted Heavy Bolt Rifle set
- Step 1: Prime the model
Apply a base coat of primer to ensure proper paint adhesion. Use a light grey or white primer to create a good foundation for the subsequent layers of paint. - Step 2: Basecoat the armor
Using a brush, apply a basecoat of Macragge Blue to the armor plates, ensuring even coverage. This will serve as the foundation for the Ultramarine. - Step 3: Highlight the armor
With a lighter shade, such as Calgar Blue, carefully apply highlights to the edges and raised areas of the armor plates. This will add depth and definition to the model. - Step 4: Paint the details
Use Leadbelcher for metallic areas, such as the rifle and other accessories. For the helmet, paint it with White Scar, and carefully add the Ultramarines symbol using Macragge Blue. This is going to create a striking contrast. - Step 5: Shade the model
Apply a wash of Nuln Oil to the entire model, focusing on the recesses and areas that require shading. This will enhance the contrast and bring out the details. - Step 6: Highlight the details
Using lighter shades of paint, such as Ironbreaker for the metallic areas and Ulthuan Grey for the helmet and symbol, carefully highlight the respective parts to create a more realistic look. - Step 7: Paint the base
Choose a suitable color for the base, such as Armageddon Dust or Astrogranite, and apply it to the base of the model. Once dry, you can add additional details like grass tufts or rocks to enhance the overall appearance. - Step 8: Varnish the model
To protect your hard work, apply a coat of varnish to the painted model. This will help preserve the paint job and prevent any chipping or fading.

