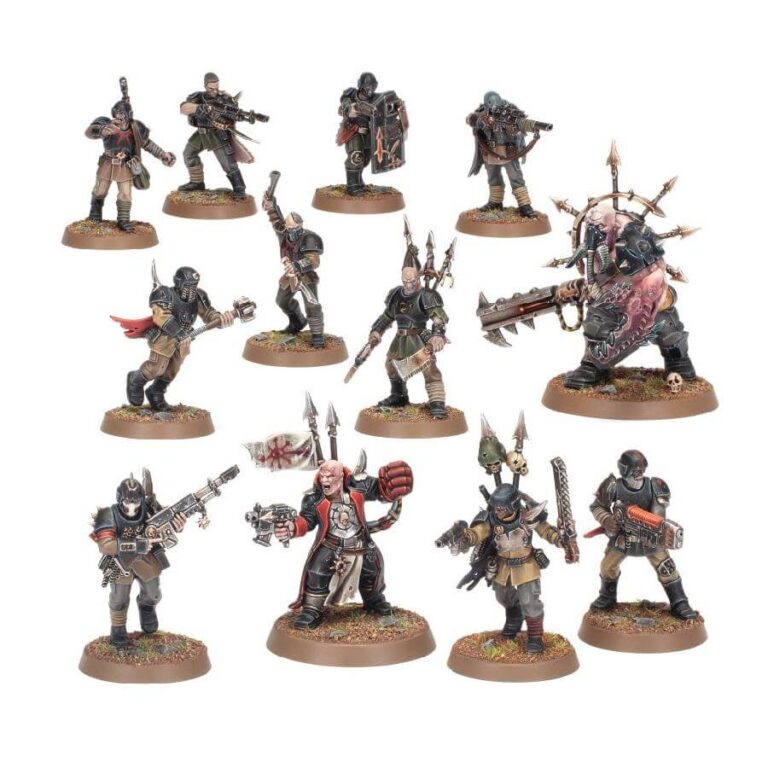
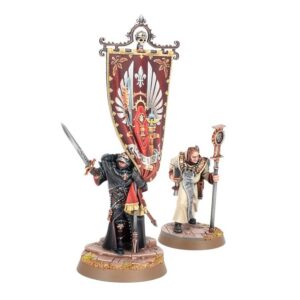
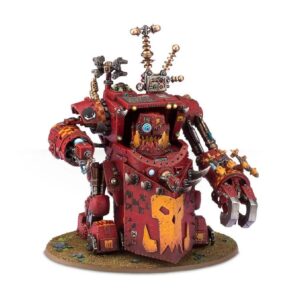
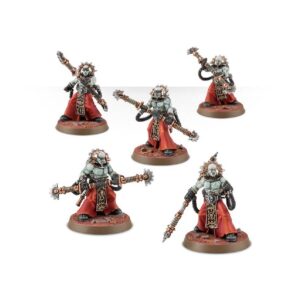
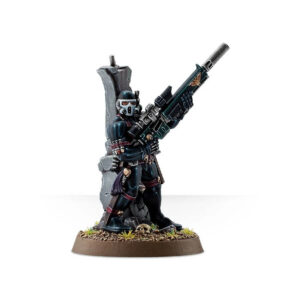
Unleash the rebellious might of the Traitor Guard with this comprehensive and versatile multipart plastic kit. Originally soldiers of the Astra Militarum, these brutal killers have turned their backs on the Imperium, lured by the promises of power from the Chaos Gods. Among the deadliest veterans of the Traitor Guard are the Blooded, who utilize their training and equipment to devastating effect, engaging in fierce battles against their former allies. Whether deployed in the armies of Chaos Space Marines or wreaking havoc on killzones and warp-infested battlefields, the Blooded are driven by a thirst for dark glory.
With this kit, you can assemble a formidable force of 10 Traitor Guard, accompanied by a Traitor Enforcer and his loyal Traitor Ogryn. These miniatures can serve as Blooded operatives in thrilling games of Kill Team or join the ranks of Chaos Space Marines in epic battles of Warhammer 40,000. The kit provides an extensive selection of weapons, heads, and accessories, granting you the opportunity to create a truly unique squad of ragged rebels. Customize your Traitor Troopers as specialists for your Kill Team, such as the deadly Sharpshooter, versatile Brimstone Grenadier, or relentless Trench Sweeper, among many others. Unleash the might of the Traitor Guard and revel in their ruthless pursuit of dark triumph.
What’s in the Kill Team: Blooded box
- x151 plastic components that make 10 Traitor Guards, an Enforcer, and a mutant Ogryn.
- x10 Citadel 25mm Round Base
- x1 Citadel 32mm Round Base
- x1 Citadel 40mm Round Base
How to paint the Kill Team: Blooded set
- Step 1: Priming
Start by cleaning the miniatures using warm, soapy water to remove any mold release agent. Give them a good rinse and allow them to dry completely.
Next, it’s time to prime the miniatures. Use Chaos Black spray paint and apply thin, even coats. Make sure each coat is dry before applying the next one. It’s important to achieve full coverage for a solid base. - Step 2: Base Colors
Let’s begin painting the Traitor Guard first. Grab your Leadbelcher paint and start applying it to their armor and cloth. For the skin areas, use Bugman’s Glow.
Moving on to the Traitor Enforcer and Traitor Ogryn, paint their armor with Retributor Armor. Their cloth and other non-metallic parts should be painted with Zandri Dust. If there are any additional details, such as small accessories, use Rhinox Hide. - Step 3: Washes
To add depth and shading, it’s time for washes. Apply Agrax Earthshade over the armor and cloth of the Traitor Guard, focusing on the recessed areas. For the skin areas, use Carroburg Crimson.
For the metallic parts of both the Traitor Guard and the Traitor Enforcer/Traitor Ogryn, apply Nuln Oil wash. To bring out the details in the skin of the Traitor Enforcer and Traitor Ogryn, use Guilliman Flesh wash. - Step 4: Layering and Highlights
Let’s enhance the details by layering and highlighting. Apply two thin coats of Rakarth Flesh on the skin areas of the Traitor Guard, ensuring the wash stays in the recesses.
Highlight the armor of the Traitor Guard with Ironbreaker, focusing on the edges and raised areas. For the Traitor Enforcer and Traitor Ogryn, use Liberator Gold to highlight their armor, emphasizing the edges and prominent areas.
If there are any additional metallic areas, such as accessories or weapons, use Balthasar Gold for highlighting. Ushabti Bone can be used to highlight the cloth of both the Traitor Guard and Traitor Enforcer/Traitor Ogryn. Don’t forget to paint any eyes or small details with White Scar. - Step 5: Fine Details
Let’s add some finishing touches. Use Carroburg Crimson to paint any blood or gore effects, such as wounds or splatters, on the miniatures.
For any additional details like belts, pouches, or accessories, choose appropriate colors from the Citadel range, such as Averland Sunset or other desired colors. - Step 6: Basing
Now, let’s work on the bases. Apply Astrogranite Texture to the bases of the miniatures, either creating texture with a sculpting tool or leaving it smooth.
Once the texture is dry, apply a wash of Nuln Oil over the base to add depth and definition. After that, drybrush the base with Administratum Grey to give it a worn look.
If you desire, you can glue small rocks or other basing materials to the base for added detail and realism.

