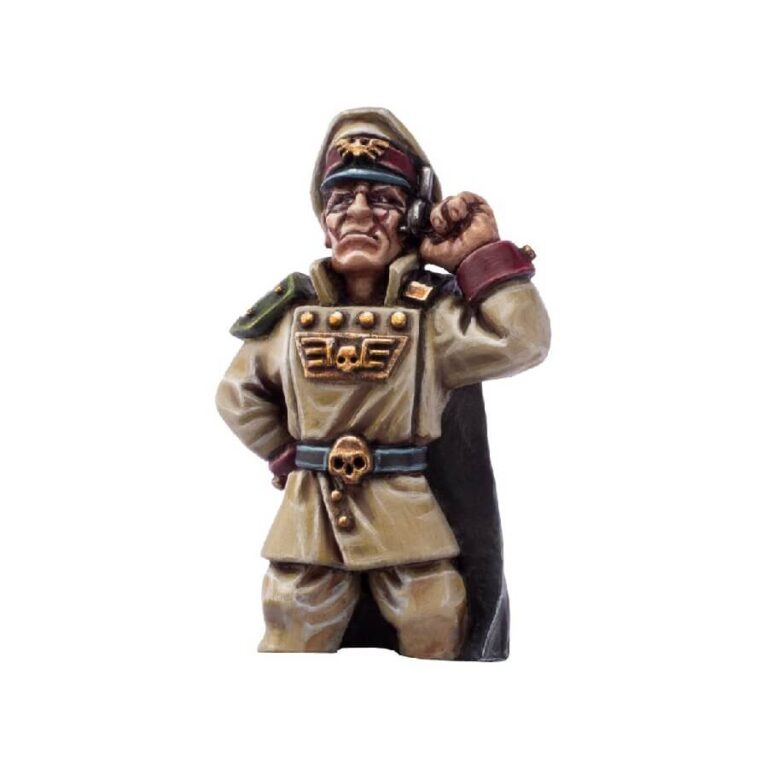
Knight Commander Pask, hailed as a hero of the Imperium, possesses unparalleled skills as a tank commander, making him a force to be reckoned with on the battlefield. His mastery of armoured warfare and remarkable marksmanship have earned him a well-deserved reputation.
By selecting Knight Commander Pask as an upgrade, one fortunate Leman Russ tank in your army is elevated to a whole new level of ferocity. With Pask at the helm, this war machine transforms into an unstoppable force, striking fear into the hearts of its adversaries and becoming a holy terror on the battlefield.
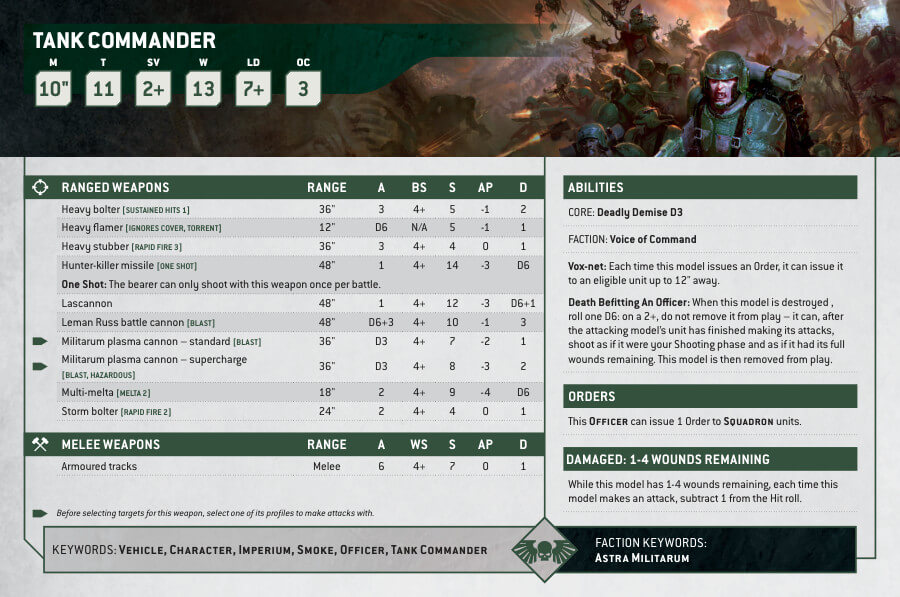
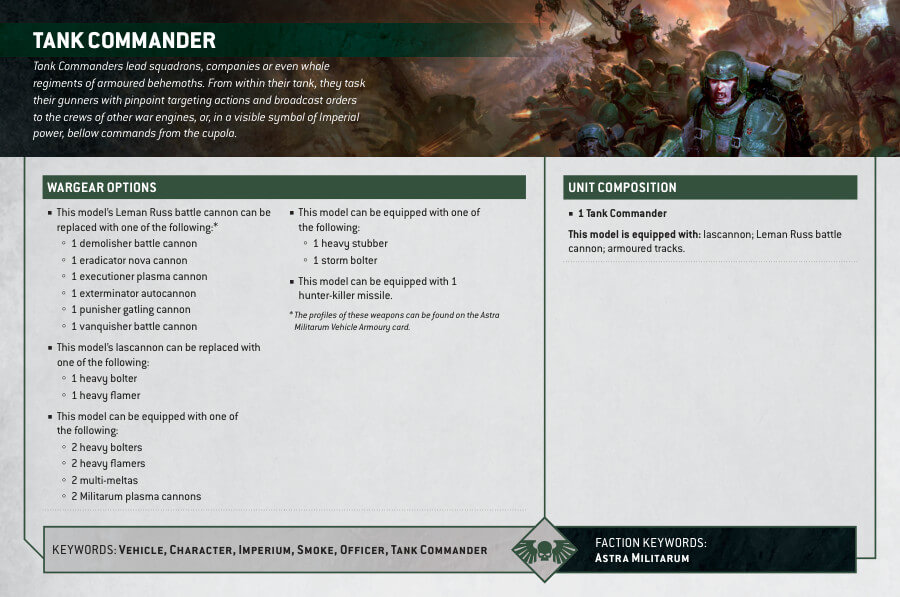
Knight Commander Pask Datasheets
What’s in the Knight Commander Pask box
- x2 metal components that make one finely detailed Knight Commander Pask miniature and a tank hull, which can be fitted into the turret of any Leman Russ tank.
How to paint the Knight Commander Pask set
- Step 1: Basecoat the model
Apply a basecoat of Caliban Green, a dark green paint, to the tank hull using a brush or spray. This will provide a solid foundation for the subsequent layers of paint. - Step 2: Highlight the hull
Using a lighter shade such as Warpstone Glow, carefully apply highlights to the edges and raised areas of the tank hull. This will add depth and definition to the model. - Step 3: Paint the details
Use a fine brush to paint the various details on the tank, such as the weapons, tracks, and insignia. Use Leadbelcher for metallic parts and Abaddon Black for tracks and guns. - Step 4: Add weathering effects
Apply weathering effects to give the tank a battle-worn appearance. Use Ryza Rust for rust effects and Stirland Mud for dirt and grime. Apply them using dry brushing or sponge techniques to add chips, scratches, and dirt. - Step 5: Highlight the details
Using a lighter color like Moot Green, carefully highlight the edges and raised areas of the details. This will make them stand out and add visual interest. Use Ironbreaker for highlighting metallic parts. - Step 6: Finishing touches
Add any final details, such as decals, squad markings, or additional weathering effects. Apply decals or freehand paint squad markings. Use Agrax Earthshade wash for shading recessed areas. - Step 7: Varnish the model
To protect your hard work, apply a layer of varnish. Choose between a glossy finish with Ardcoat or a matte finish with Munitorum Varnish.

