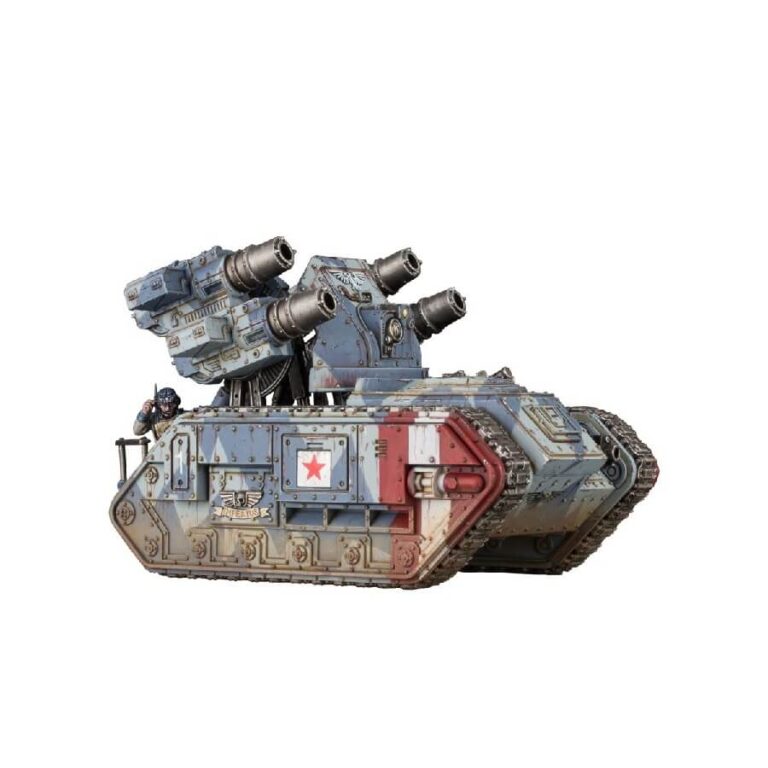
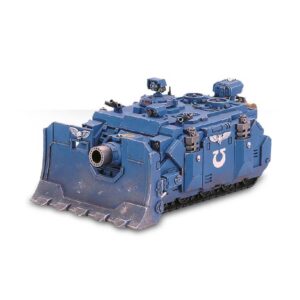
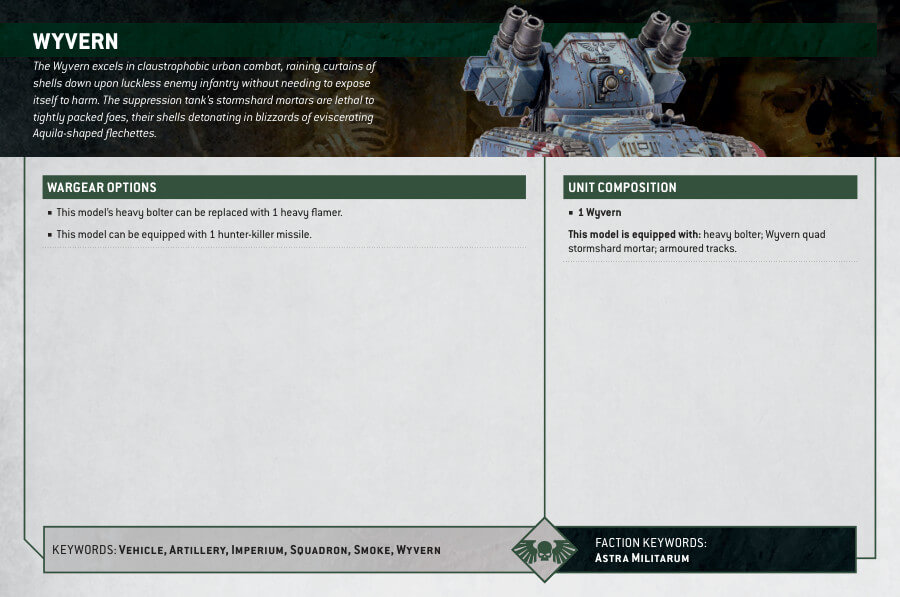
The Wyvern, a specialized suppression tank designed for urban warfare, dominates the battlefield by obliterating enemy infantry from a safe distance. Unlike its counterpart, the Hydra, the Wyvern trades anti-aircraft autocannons for devastating stormshard mortars, unleashing a storm of lethal Aquila-shaped flechettes that decimate tightly-packed foes.
This multipart plastic kit allows you to construct a Wyvern, an Astra Militarum artillery vehicle optimized for anti-infantry operations. It features a quad stormshard mortar array that rains down shells on hapless enemies. Additionally, the Wyvern is equipped with a hull-mounted heavy bolter or heavy flamer. The kit includes a firing platform at the rear of the vehicle, complete with components to build a gunner and a crouching spotter. For further customization, various accessories such as spare ammo and fuel are provided.
Wyvern Datasheets
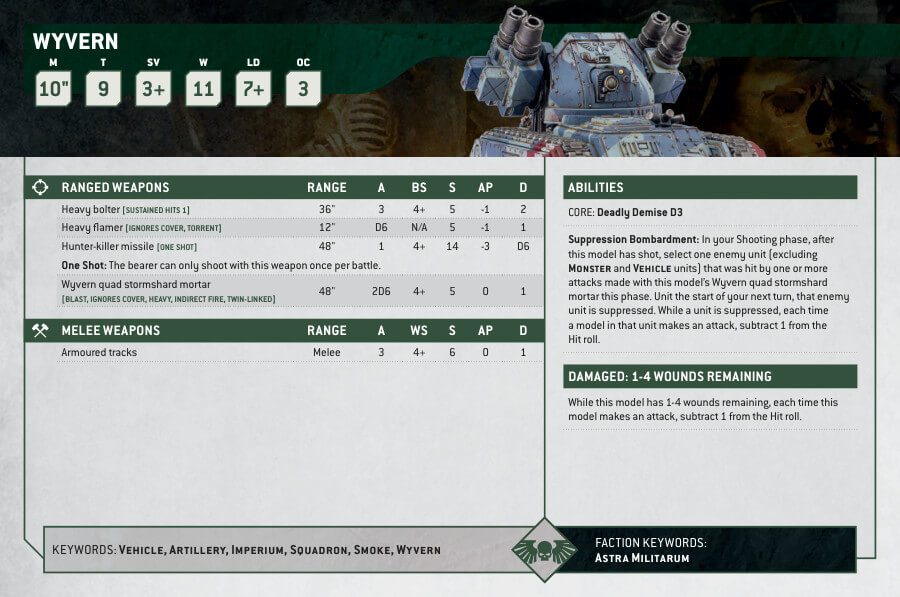
What’s in the Wyvern box
- x100 plastic components
- x1 Astra Militarum Vehicle Transfer Sheet featuring tactical markings, numerals, and other regimental heraldry.
How to paint the Wyvern Set
- Step 1: Clean the model
Remove any mold lines or flash from the model using a hobby knife or file. Clean the model with warm soapy water to remove any oils or dust. - Step 2: Prime the model
Apply a primer coat to the entire model. A black or grey primer works well for this model and helps the paint adhere better. - Step 3: Base coat the model
Paint the main body of the Wyvern with Abaddon Black. This will serve as the base layer for your paint job. - Step 4: Paint the metal details
Use Leadbelcher to paint the metal details such as the guns, armor plates, and mechanical parts. - Step 5: Paint the accents
Add some color to the model by painting the accent areas with Mephiston Red. These areas may include lights, markings, or any other small details. - Step 6: Wash the model
Apply a wash of Agrax Earthshade to the entire model. This will darken the recesses and create depth. - Step 7: Drybrush the model
Drybrush the model with Leadbelcher to highlight the raised areas and add texture. This will bring out the details and give the model a weathered look. - Step 8: Paint the base
Paint the base of the model with a suitable color, such as Balthasar Gold or a color that complements the overall scheme. You can add texture or additional details to the base if desired. - Step 9: Final touches
Add any additional details or highlights as needed. Use Nuln Oil to shade specific areas or to add depth to certain parts of the model.

