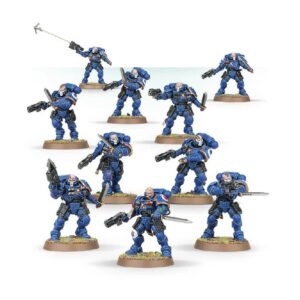
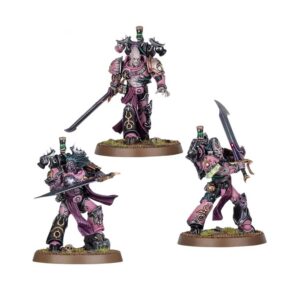
The Deathwatch is an elite group of Space Marines organized into small, specialized companies chosen from various Chapters that offer their strength against the xenos.
The members are chosen for their heroic abilities and expertise in their respective fields. Clad in black armour with their Chapter icon on their pauldron as a sign of respect, the Deathwatch and their Kill Team are called upon to face dire threats.
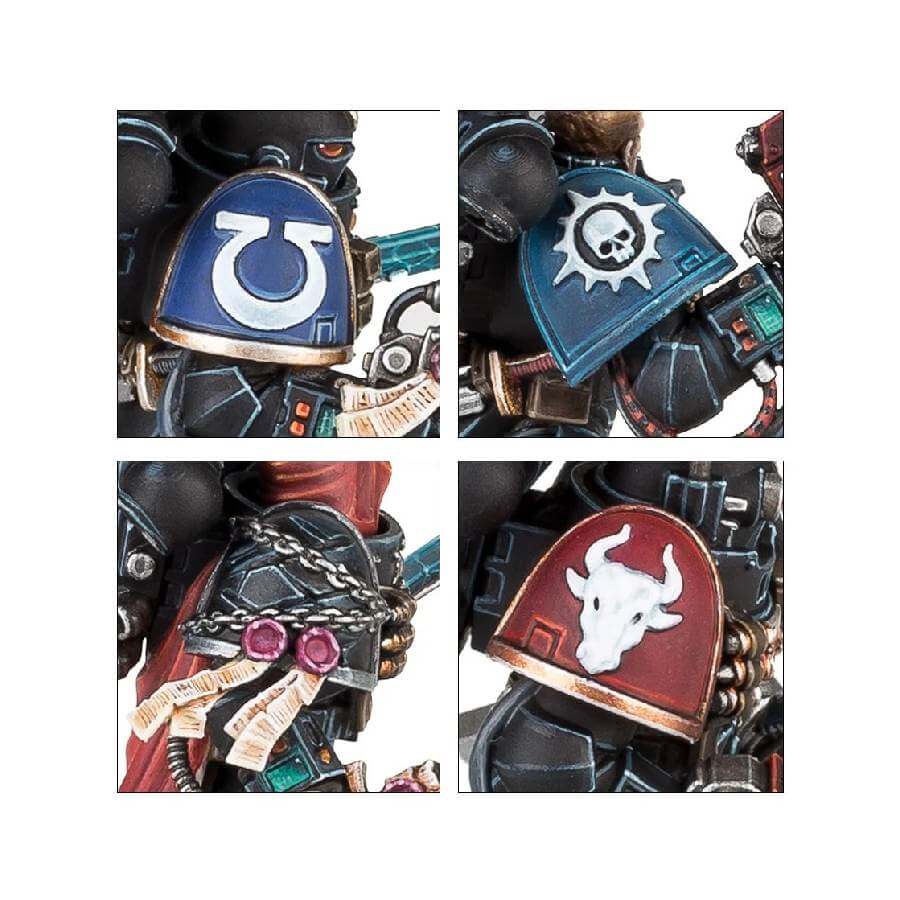
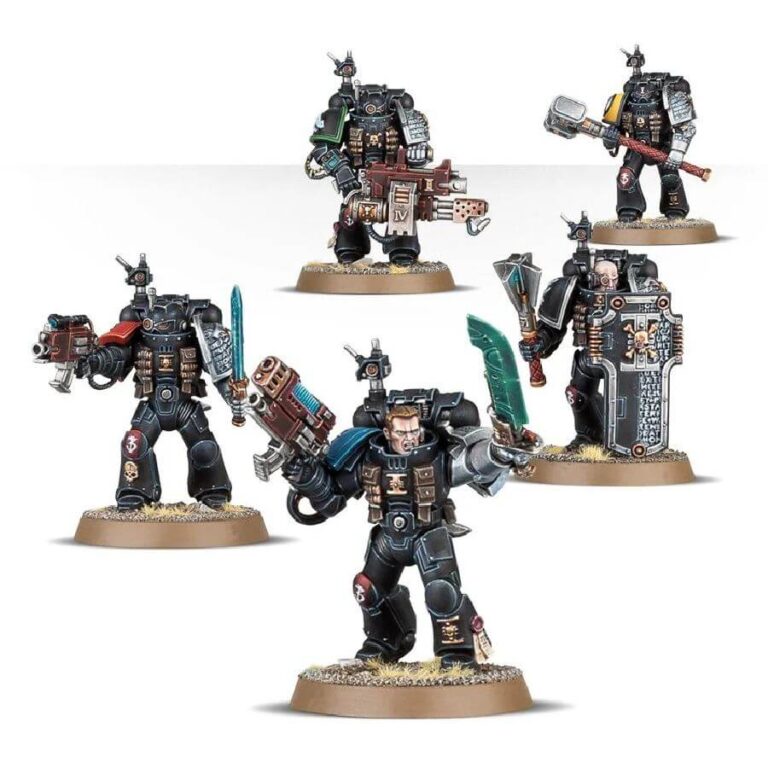
The Deathwatch Veterans kit is a versatile and customizable set that allows for the creation of five unique characters, with 18 different Chapter shoulder pads to designate each Veteran’s origin. The kit includes a wide array of weapon options and other accessories to make each unit unique.
Veterans Datasheets
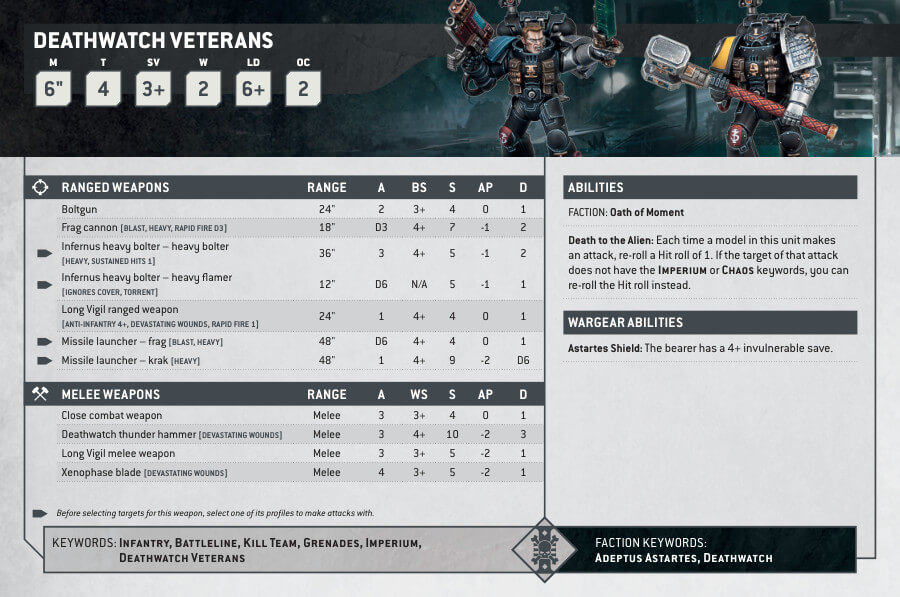
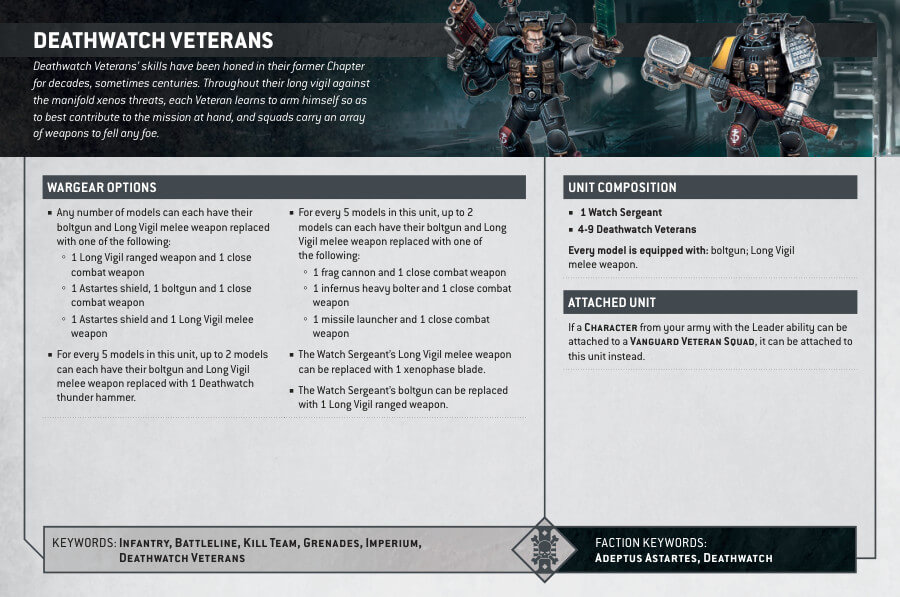
What’s in the Veterans box
- x112 plastic components that make 5 Deathwatch Veterans. The box also contains:
- x7 Space Marine heads
- x5 Deathwatch left shoulder pads
- x18 Chapter specific right shoulder pads
- x5 Deathwatch Boltguns (with shot selector)
- x5 Deathwatch Power Swords
- x2 Thunder Hammers
- x1 Frag Cannon
- x2 Storm Shields
- x2 Shotguns
- x1 Infernus Heavy Bolter
- x1 Stalker-pattern Boltgun
- x2 Power Maces
- x1 Xenophase Blade
- x5 Citadel 32mm Round Bases.
How to paint the Veterans Set
- Step 1: Priming – The Foundation of Your Miniatures
Begin by preparing your workspace and ensuring proper ventilation. Priming is a crucial first step that helps the paint adhere to the miniature and provides a consistent surface. Use Chaos Black primer or any other suitable primer designed for miniatures. Hold the can about 8-10 inches away from the models and apply the primer in short, controlled bursts. Make sure to cover all areas evenly, including hard-to-reach spots like undercuts and recesses. Allow the primer to dry completely before proceeding. - Step 2: Base Coat – Armor – Embrace the Darkness
Now, let’s delve into painting your Deathwatch Veterans. The iconic black armor sets the Deathwatch apart. Use Abaddon Black as the base coat for their armor. Apply the paint with a thin, even layer to maintain the intricate details. Take your time and be patient; multiple thin coats are better than one thick coat to achieve a smooth and consistent finish. Allow each layer to dry before applying the next. - Step 3: Shading – Adding Depth
Enhance the depth and realism of the black armor by applying a suitable shade. Nuln Oil is an excellent choice. Apply the shade carefully to the crevices and recesses of the armor, allowing it to settle and create shadows. This step adds depth and definition to the armor’s details. - Step 4: Unique Shoulder Pads
Paint each Deathwatch Veteran’s shoulder pad differently according to their chapter. For example, if one belongs to the Blood Angels, paint the shoulder pad with Mephiston Red. For Raven Guard, use Abaddon Black as the base with White Scar for the white details, and for Dark Angels, use Caliban Green. The other shoulder pad should be painted with Leadbelcher. - Step 5: Exposed Heads or Black Helmets – Faces of the Veterans
Inspect your miniatures to identify whether they have exposed heads or wear helmets. If they have exposed heads, bring their faces to life by painting them with a flesh tone. Kislev Flesh is an excellent choice. However, if they don helmets, cloak them in the same darkness as their armor. Use Abaddon Black for this purpose, and add a touch of menacing personality by applying red eye lenses with Mephiston Red. - Step 6: Cyan Green Weapons – Deadly Arsenal
Now, let’s turn our attention to their weapons. Deathwatch Veterans wield powerful swords, and for this distinctive cyan green color, we recommend Temple Guard Blue. This unique hue adds a vibrant touch to their arsenal. Additionally, take a moment to enhance the metallic components of their weaponry with Runelord Brass. - Step 7: Pouches and Belts – The Practical Details
To accentuate the practical gear, pouches, and belts, employ a rich brown shade. Rhinox Hide or a similar brown paint will help create a realistic appearance. Be precise while painting these elements, ensuring you don’t overlap onto other areas. - Step 8: Layering – Highlights
Highlight the black armor with a slightly lighter shade, like Eshin Grey, to add dimension. For metallic details, use Runelord Brass for layering. For the silver shoulder pads, if you want to create a chrome effect, layer them with Stormhost Silver. Focus on the raised areas and edges. - Step 9: Painting the Base – Setting the Scene
The base of your miniature is more than just a stand; it’s an essential part of the overall presentation. To create a realistic terrain effect, we recommend using texture paints like Astrogranite Debris or Armageddon Dunes. Apply the texture paint evenly across the bases, ensuring you cover the entire surface. You can use a texture tool or an old brush to sculpt the paint and create additional texture, such as footprints or debris. Allow the texture paint to dry thoroughly before moving on to the next step. - Step 10: Varnishing
To protect your beautifully painted Deathwatch Veterans, consider applying a varnish. Stormshield is a suitable choice for a matte finish that protects without altering the appearance. Ensure the miniatures are entirely dry before varnishing.

