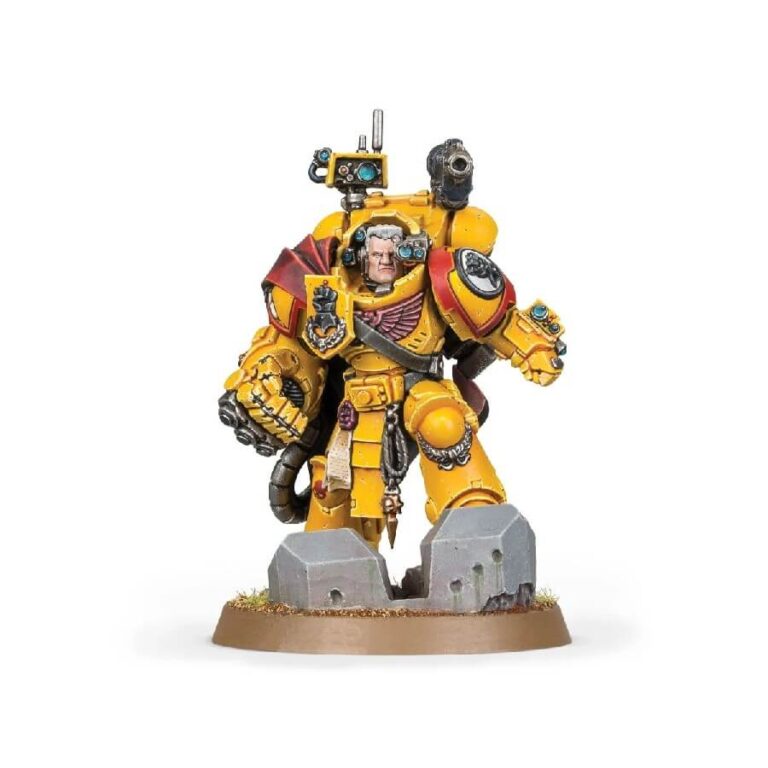
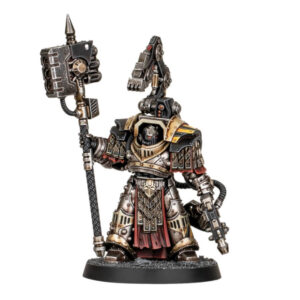
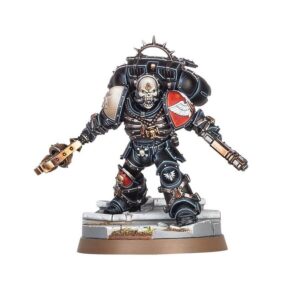
Meet Tor Garadon, the longest serving Battle Company Captain of the Imperial Fists – a warrior who has been tested on a thousand worlds, a master of the battlefield, and an unyielding bulwark against those who oppose Mankind. Armed with a grav-gun mounted on his backpack and the mighty Hand of Defiance power fist, Tor Garadon is one of the most formidable warriors of the Imperial Fists. His ability to guide the fire of his fellow warriors amidst explosions and chaos is unparalleled, thanks to his signum array.
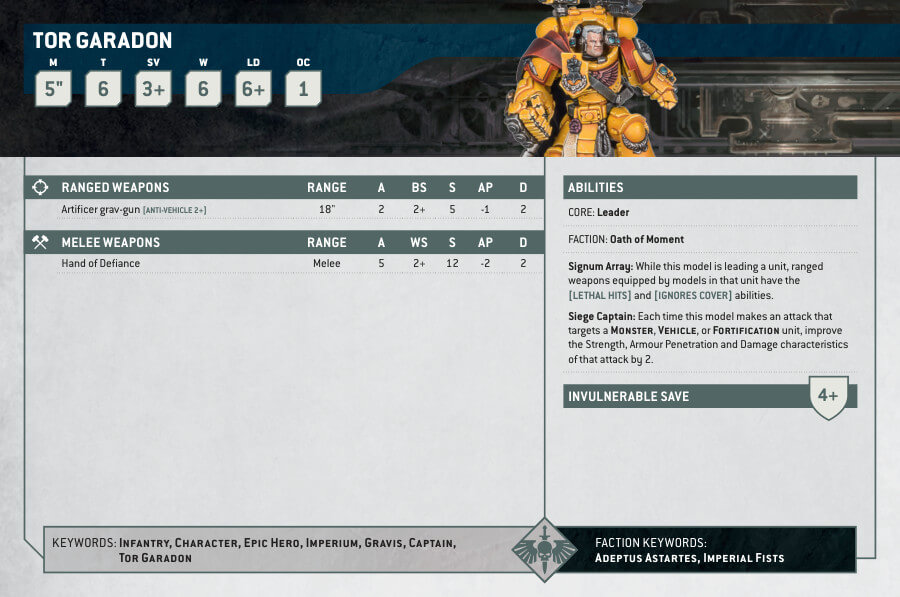
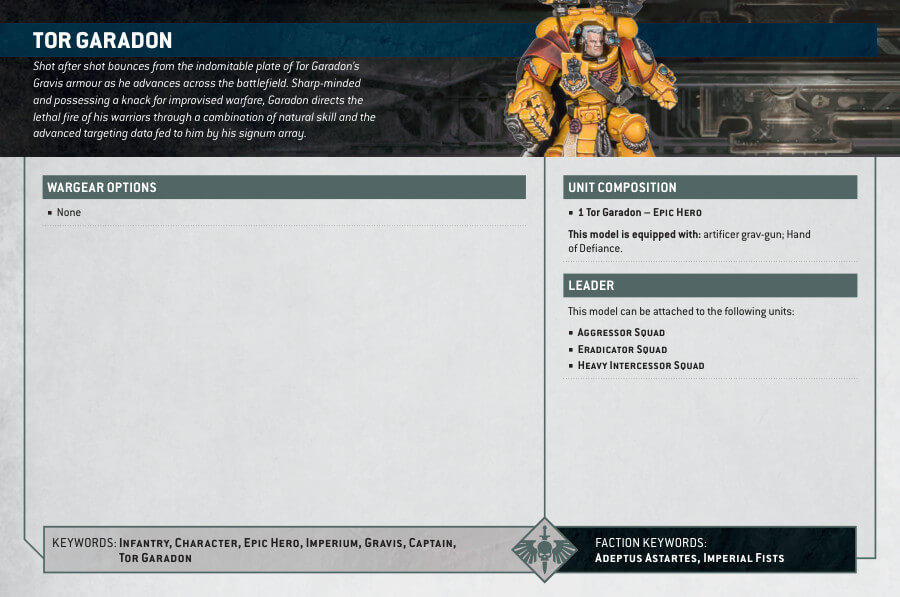
Tor Garadon Datasheets
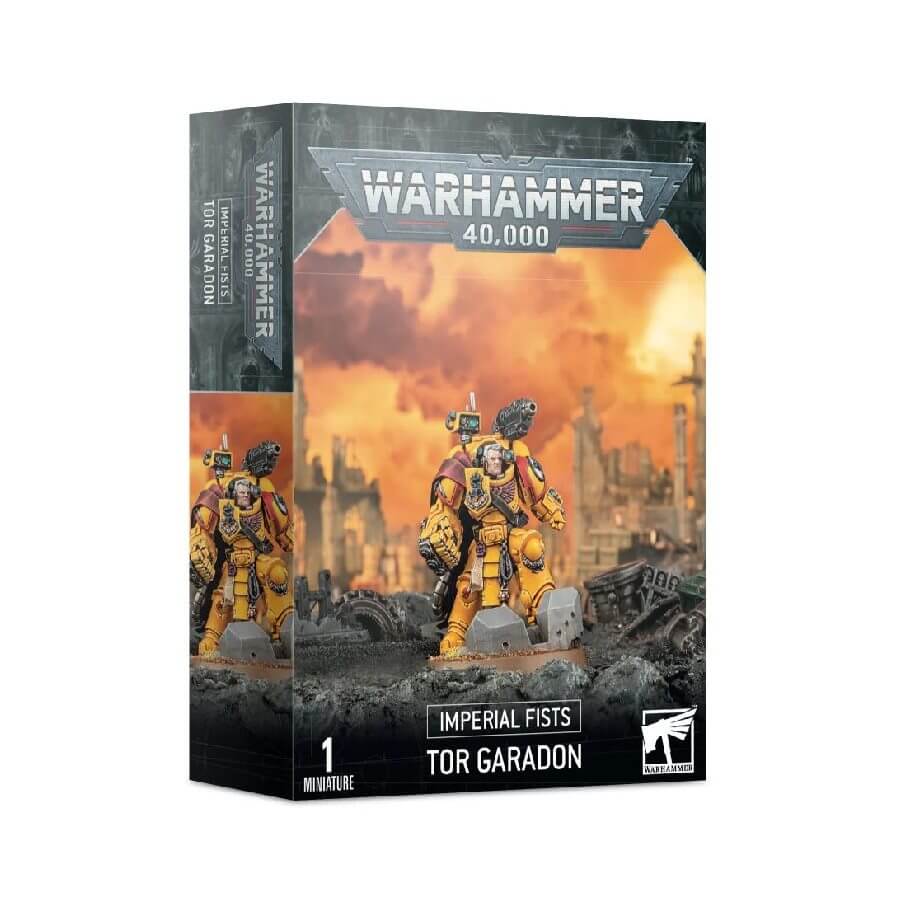
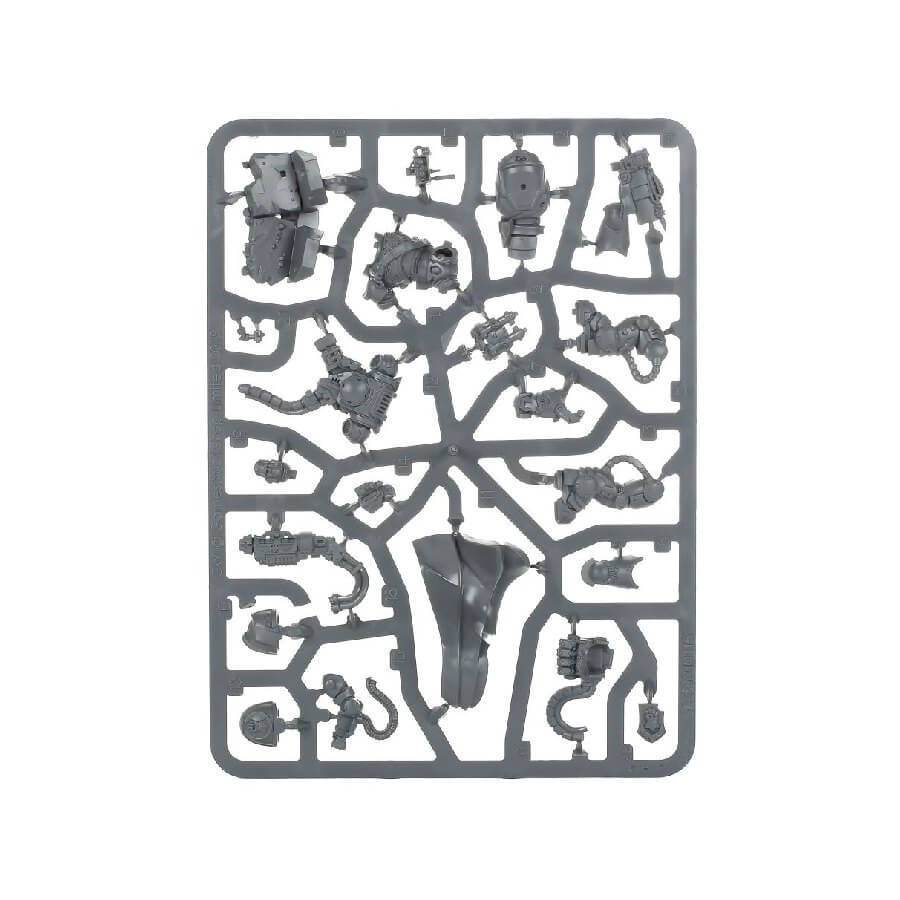
What’s in the Tor Garadon box
- x21 plastic components that make Tor Garadon.
- x1 Citadel 40mm Round Base which provides a sturdy foundation for the finished model.
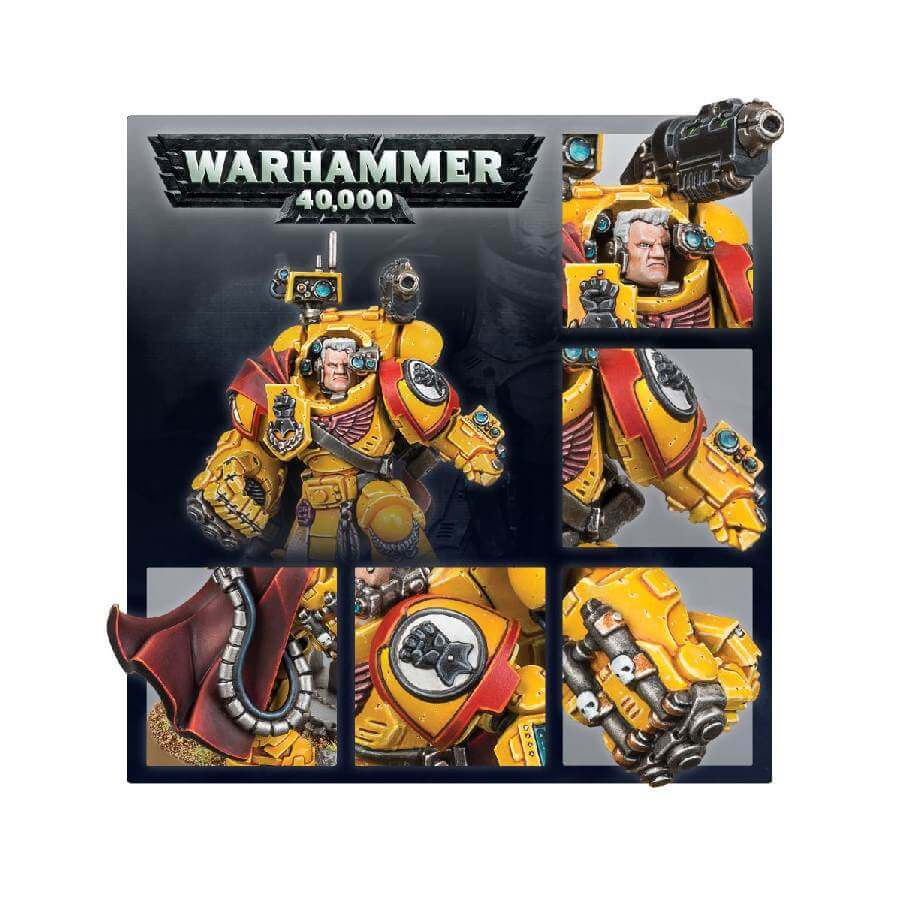
How to paint the Tor Garadon Set
- Step 1: Prime the miniature
Apply a thin and even coat of Abaddon Black paint to the entire miniature. This will provide a good base coat for the rest of the colors. - Step 2: Base coat the armor
Using a medium-sized brush, apply a base coat of Phalanx Yellow to the armor pieces of the miniature. - Step 3: Base coat the details
Using a small brush, paint the rest of the miniature’s details, such as the backpack-mounted grav-gun and the artificer power fist, with Mephiston Red and Leadbelcher respectively. - Step 4: Wash the miniature
Apply a wash of Agrax Earthshade to the entire miniature, making sure to get the crevices and recesses. - Step 5: Highlight the miniature
Using Retributor Armour, highlight the edges of the armor to give it a shiny appearance. Use Mephiston Red to highlight the red details, and Leadbelcher for the power fist. - Step 6: Apply shading
Using Nuln Oil, apply shading to the areas where the armor and details meet. This will help define the edges and make the miniature look more realistic. - Step 7: Finish the miniature
Finally, paint the base with any color of your choice, and once everything is dry, apply a coat of varnish to protect your work.