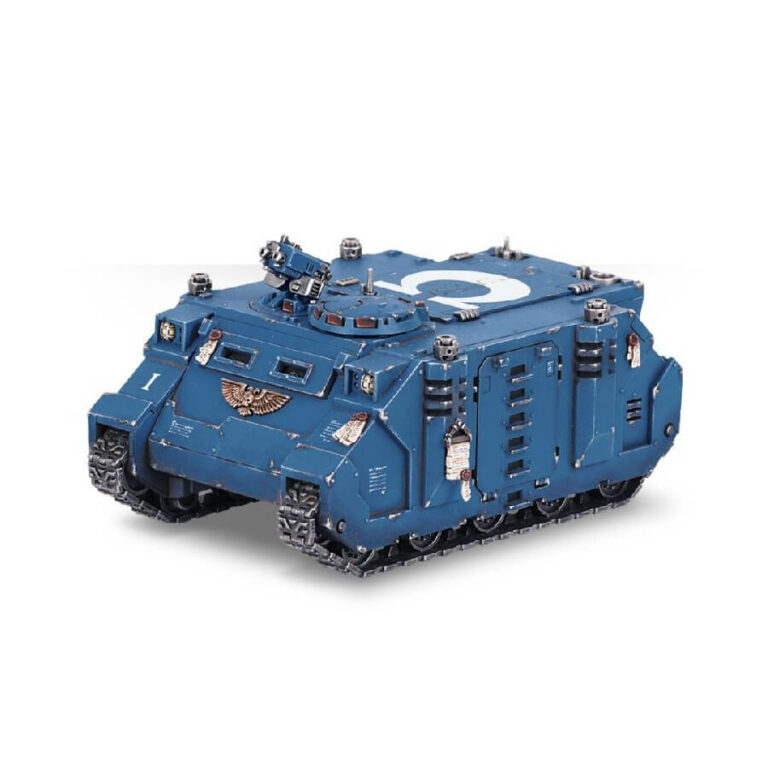
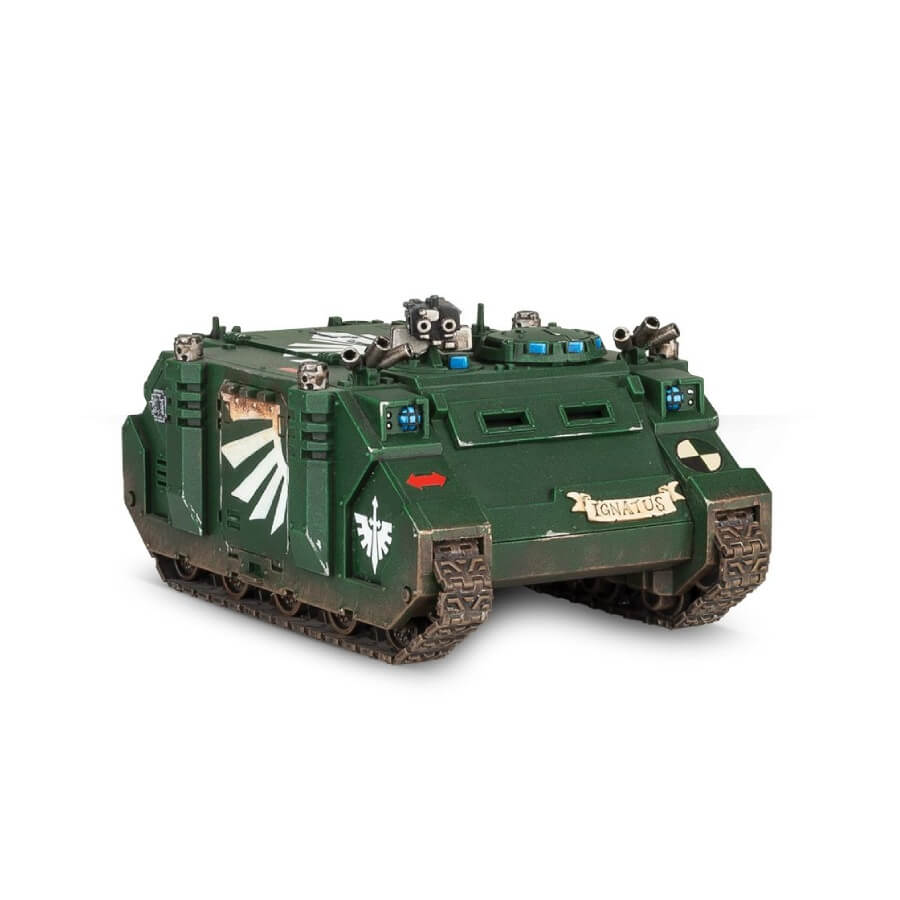
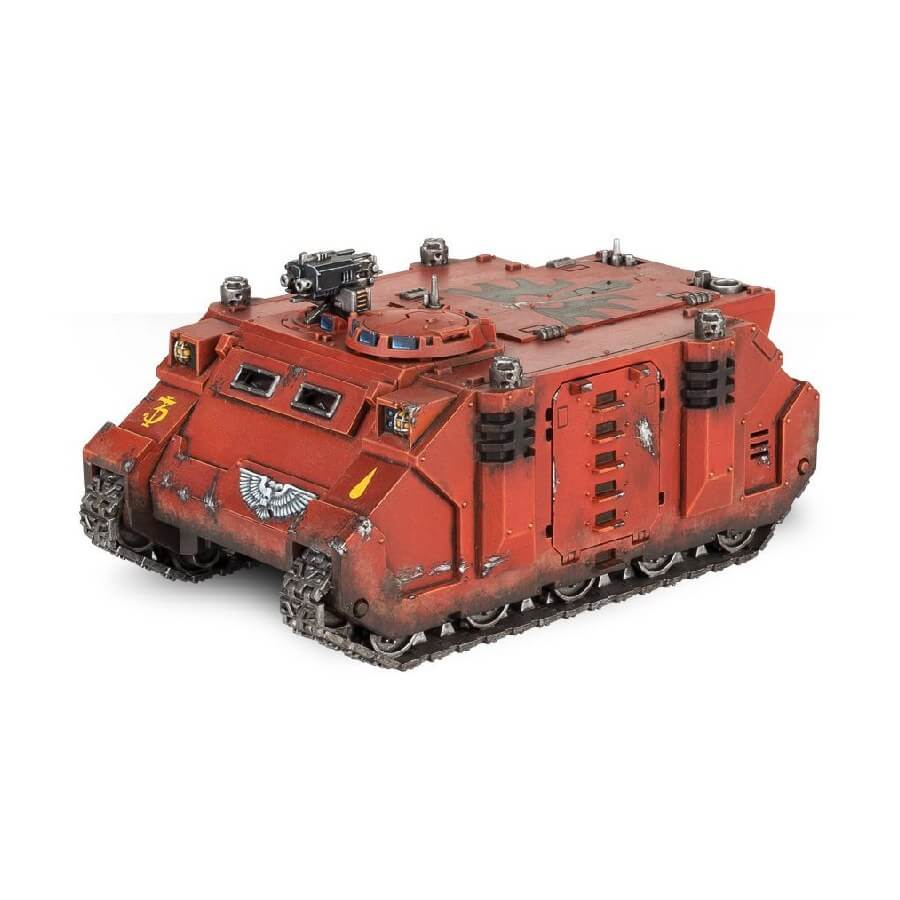
The Rhino is an essential transport vehicle for the Adeptus Astartes, providing speed, durability, and dependability to swiftly reach the heart of battle and vanquish the enemies of the Emperor. In addition to its practicality, the kit includes a plethora of optional extras such as a spiked ram, ammo crate, fuel canisters, a cable, smoke launchers, comms relay, hunter-killer missile, and tow hooks. It also features a fully detailed interior complete with a communications array and boltgun on arming rack, and an optional Space Marine driver/gunner, making it a versatile addition to any Space Marine army.
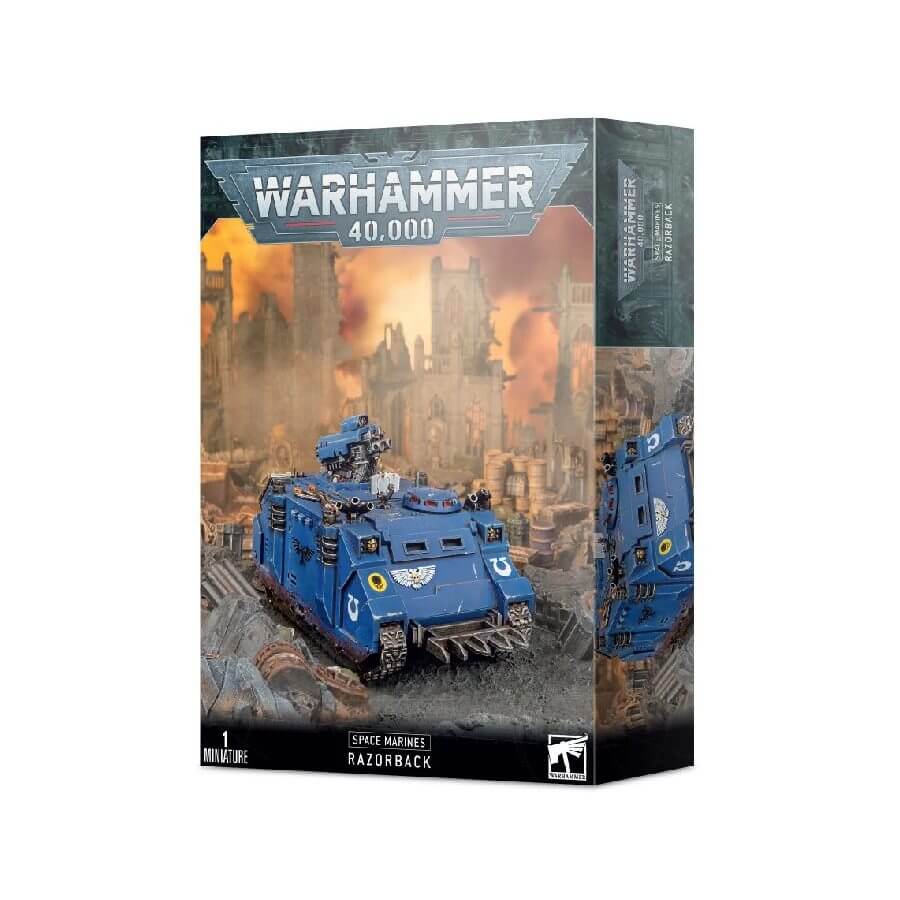
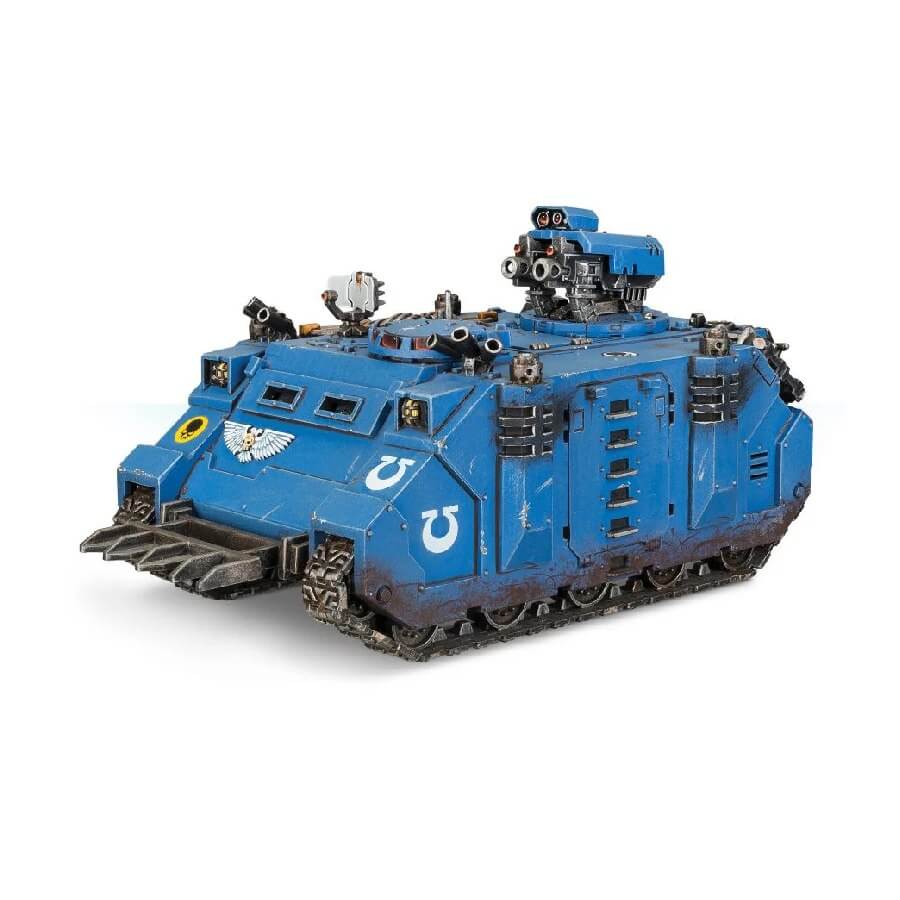
The kit features a fully detailed interior, including a communications array and boltgun on arming rack.A variety of optional extras are included in the kit, such as a spiked ram, ammo crate, fuel canisters, cable, smoke launchers, comms relay, hunter-killer missile, and tow hooks.The Razorback/Rhino can be armed with a choice of weapons for the main turret, including a twin heavy bolter or twin lascannon, offering effective fire support before and after troops disembark.
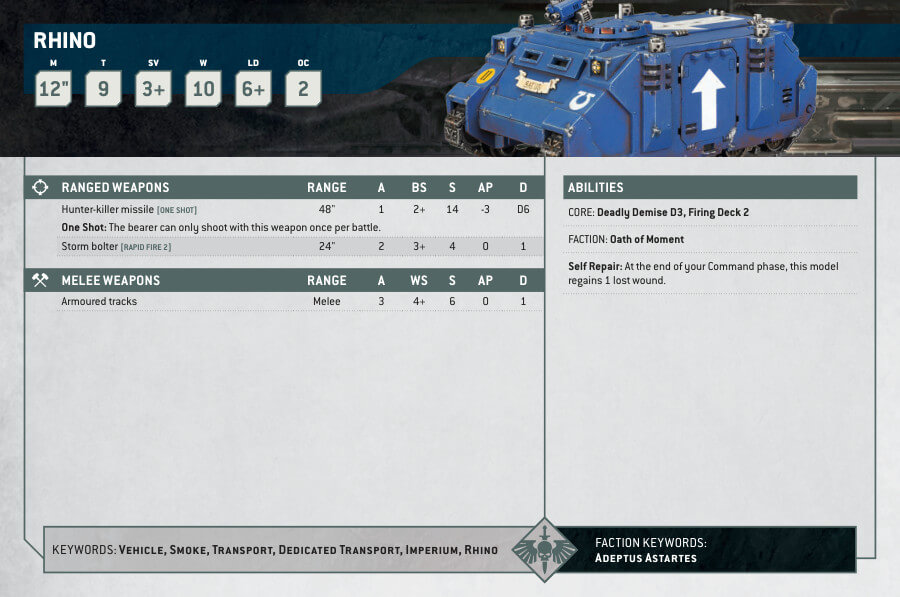
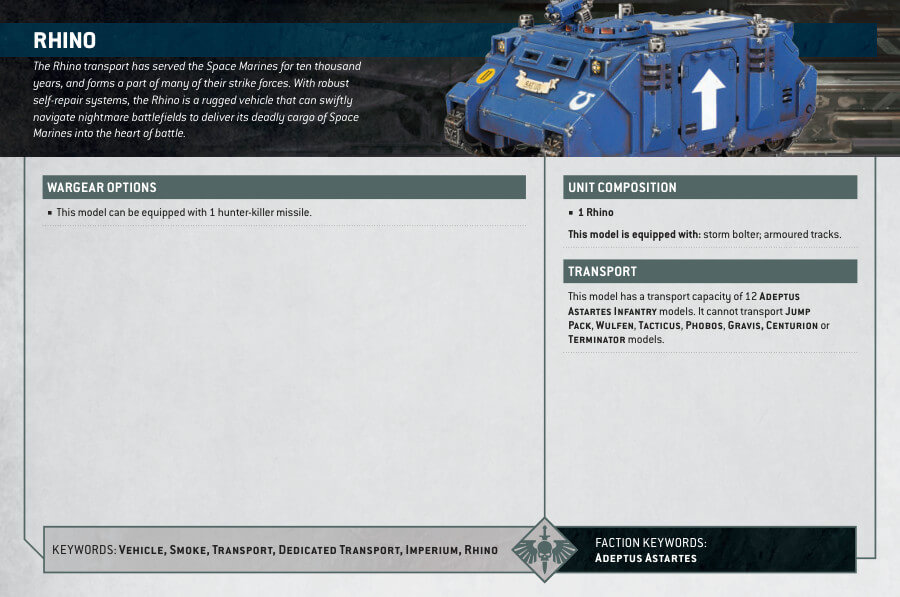
Rhino Datasheets
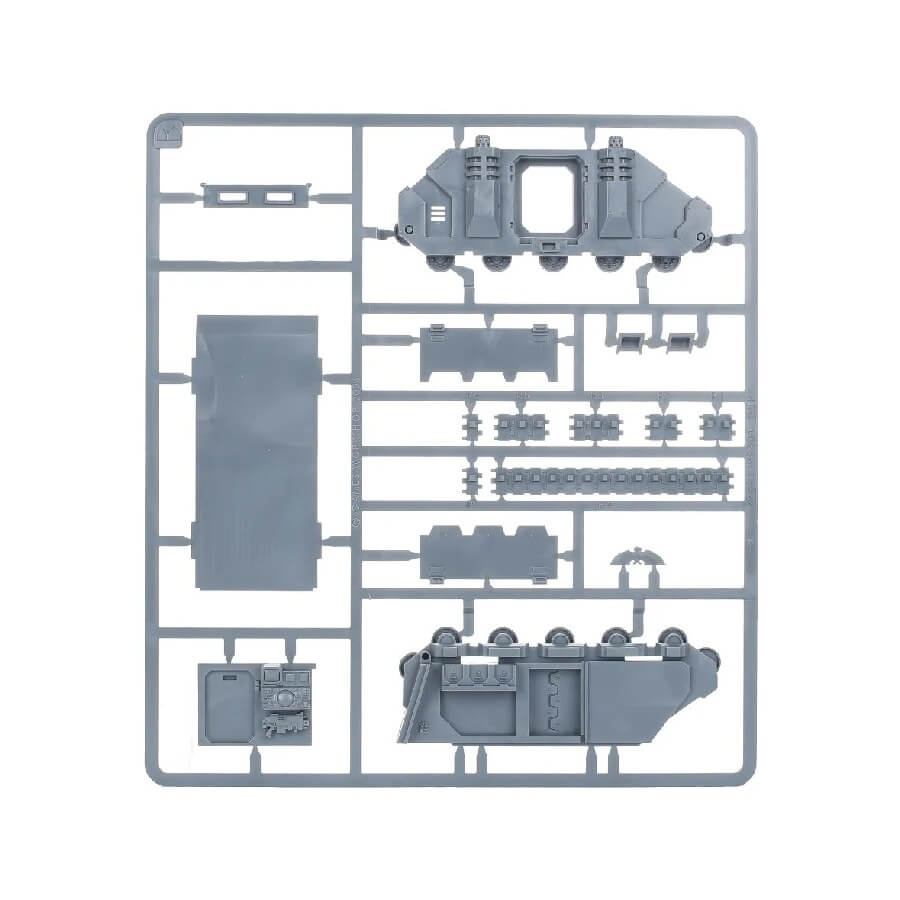
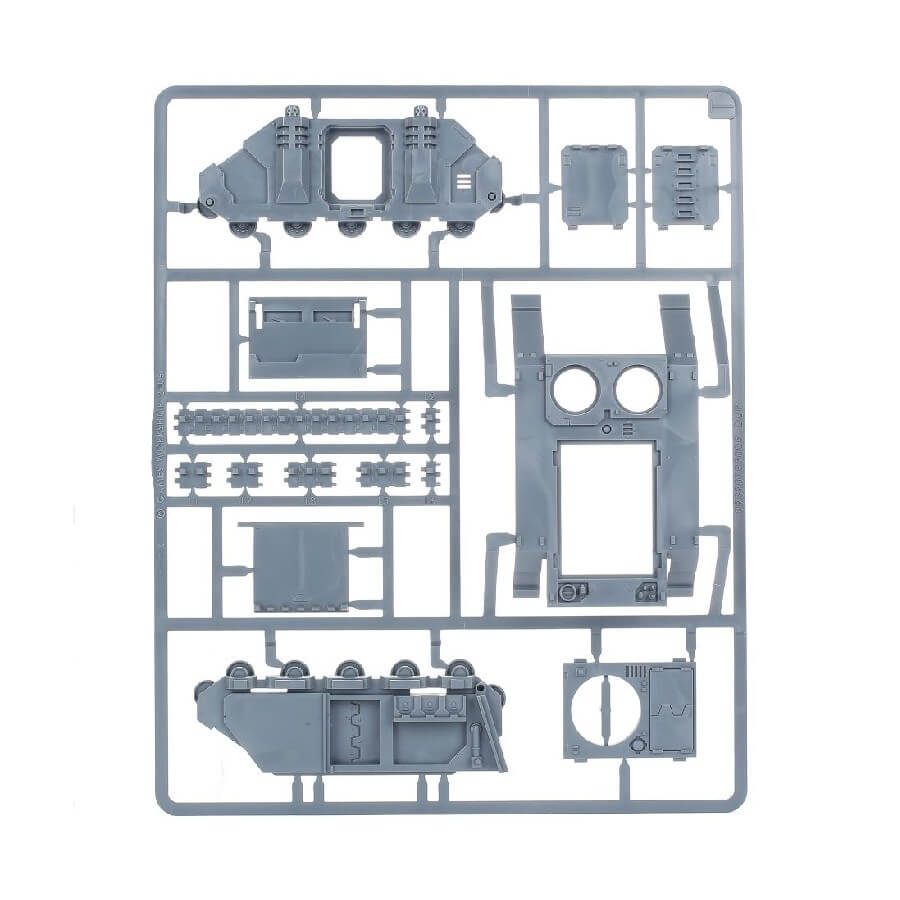
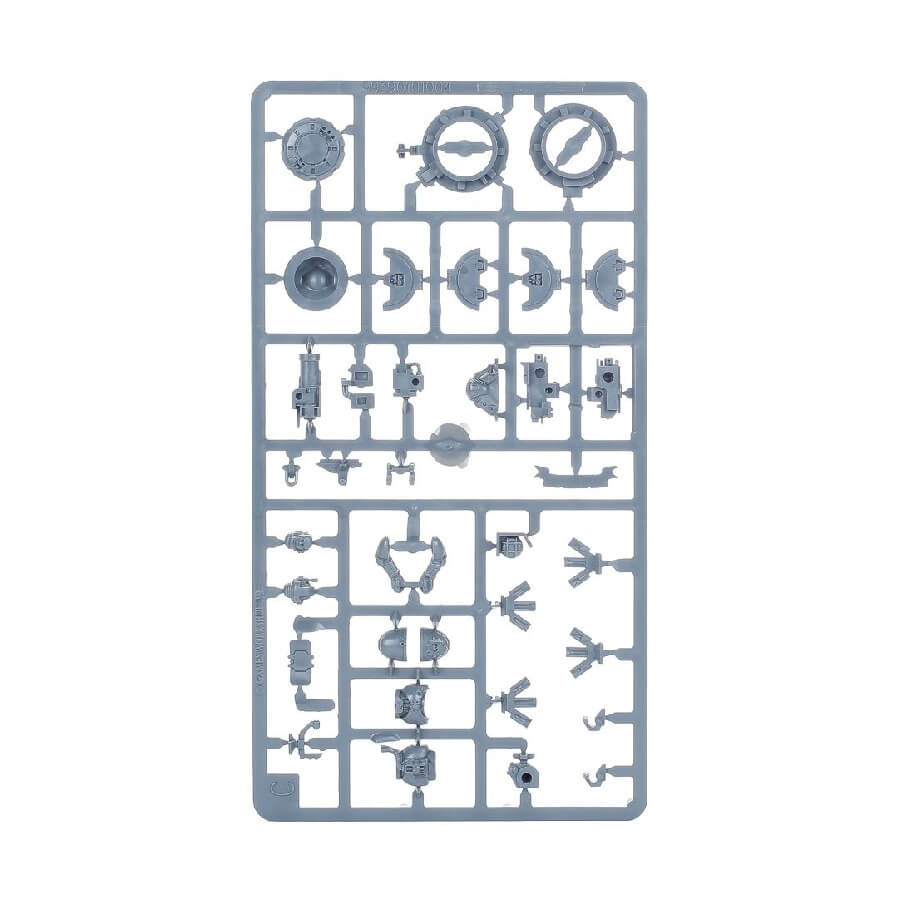
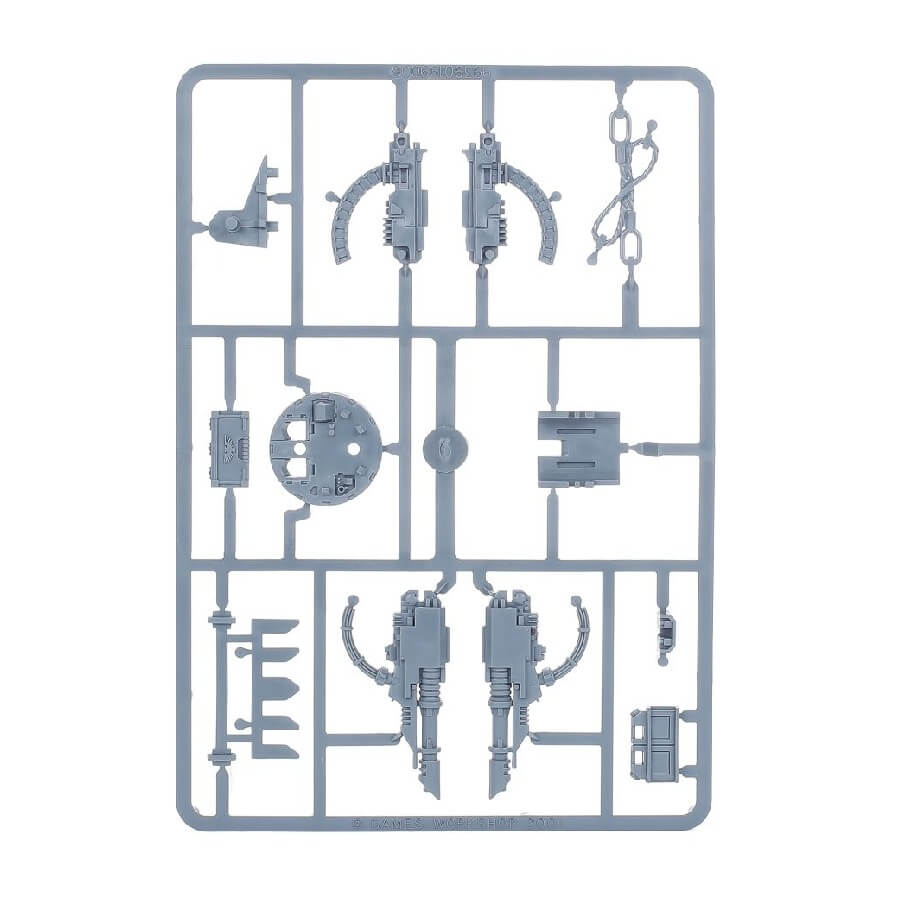
What’s in the Rhino box
- x76 plastic pieces are included in the box to make either one Rhino or one Razorback.
- x1 Ultramarines Vehicle Transfer sheet to add decals and markings to the vehicle.
How to paint the Rhino
- Step 1: Primer
Apply a layer of primer to the miniature to ensure the paint adheres to the surface.You can do this with one of our sprays. - Step 2: Base paint
Apply a base layer of paint to the entire miniature, using a color of your choice. For example, you could use Macragge Blue. - Step 3: Shade paint
Apply a shade paint to the recesses of the miniature to create depth and shadow. Nuln Oil is always a good option for shading, we use it on almost every miniature for this process. - Step 4: Drybrush paint
Drybrush a lighter color of paint over the raised areas of the miniature to create highlights. Fenrisian Grey should work. - Step 5: Detail paint
Use a detail brush to add small details to the miniature, such as insignias or markings. Abaddon Black or White Scar are both good options, depends on what you’re going for. - Step 6: Final touches
Add any final touches you wish, such as weathering effects or decals. For example, you could use Citadel’s Typhus Corrosion to create rusted areas. - Step 7: Varnish
Apply a layer of varnish to protect the paint job.
