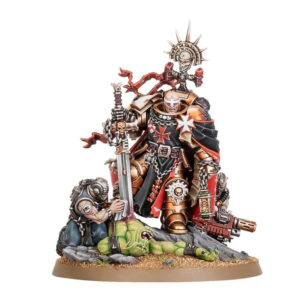
The Primaris Lieutenant is an indispensable figure in any Battle Company, serving as the right-hand man to the Captain and leading his brothers into battle with unflinching determination. The Dark Angels Chapter split their Battle Companies into two Demi-companies, each under the command of a Lieutenant who gains valuable experience in leadership.
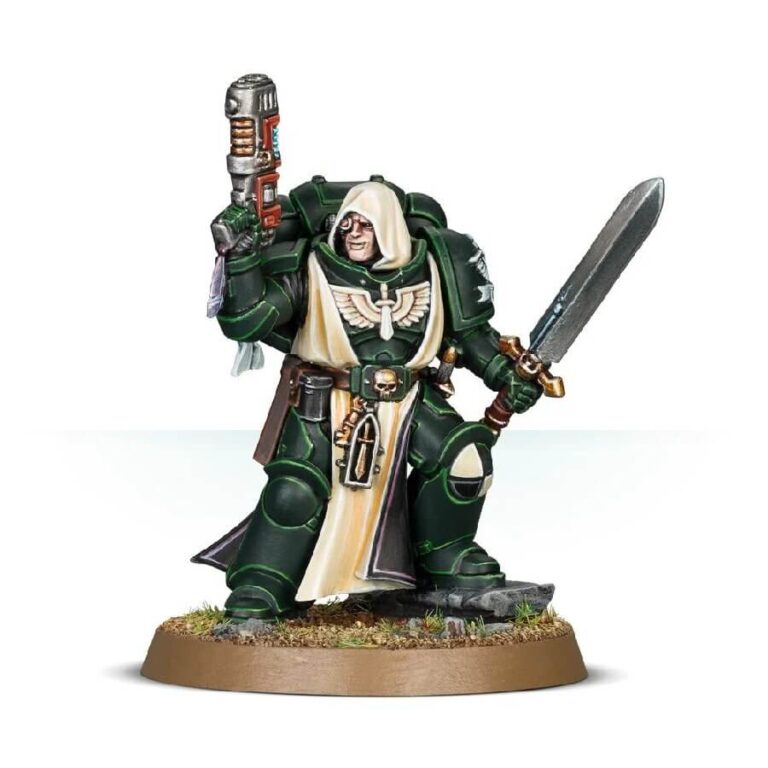
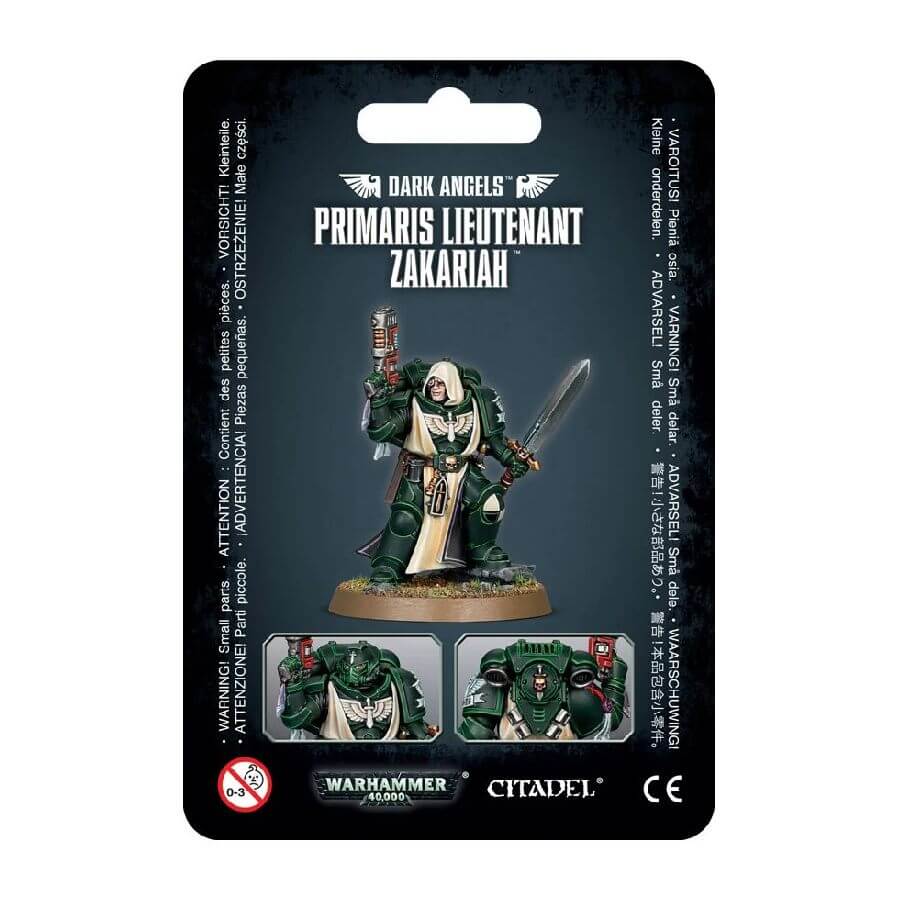
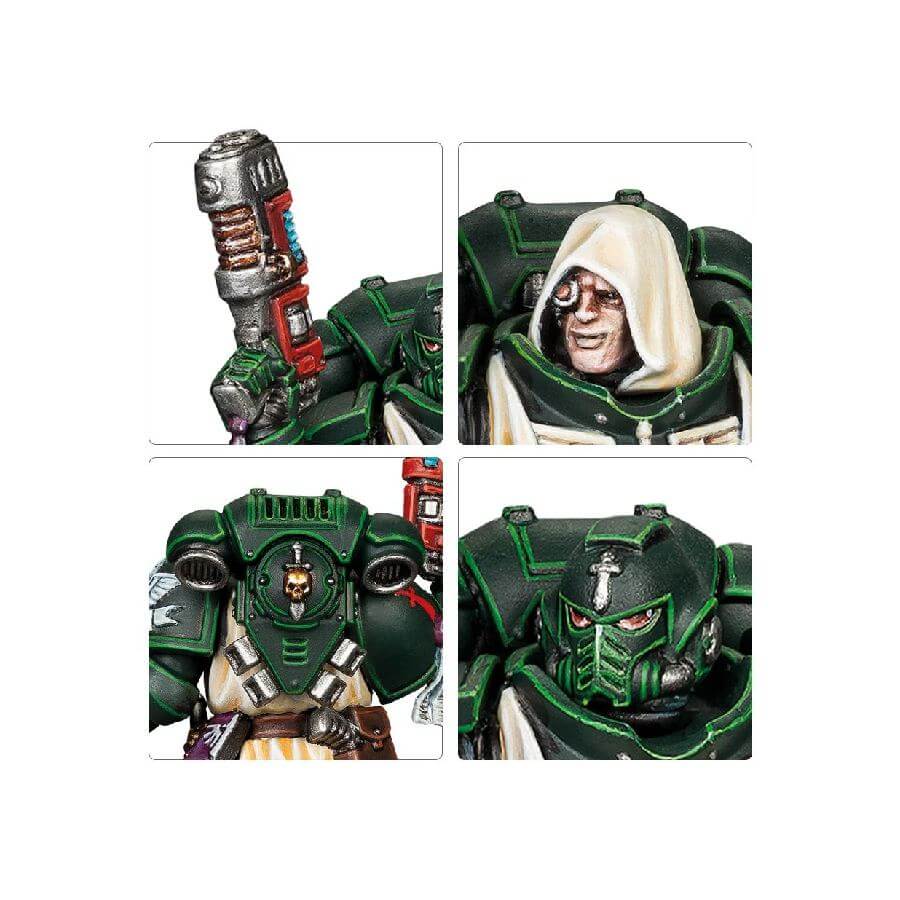
The kit includes all the necessary components to assemble the revered Primaris Lieutenant Zakariah of the Dark Angels, featuring his iconic Mk X power armor, ornate details, plasma pistol, and power sword. With a choice of heads and customizable shoulder pads, this miniature is the perfect addition to any Dark Angels army.
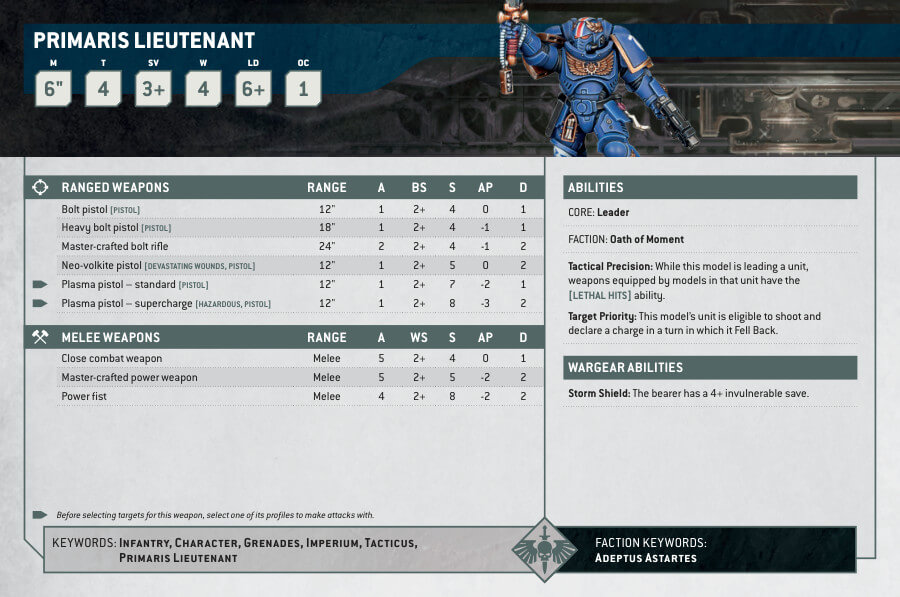
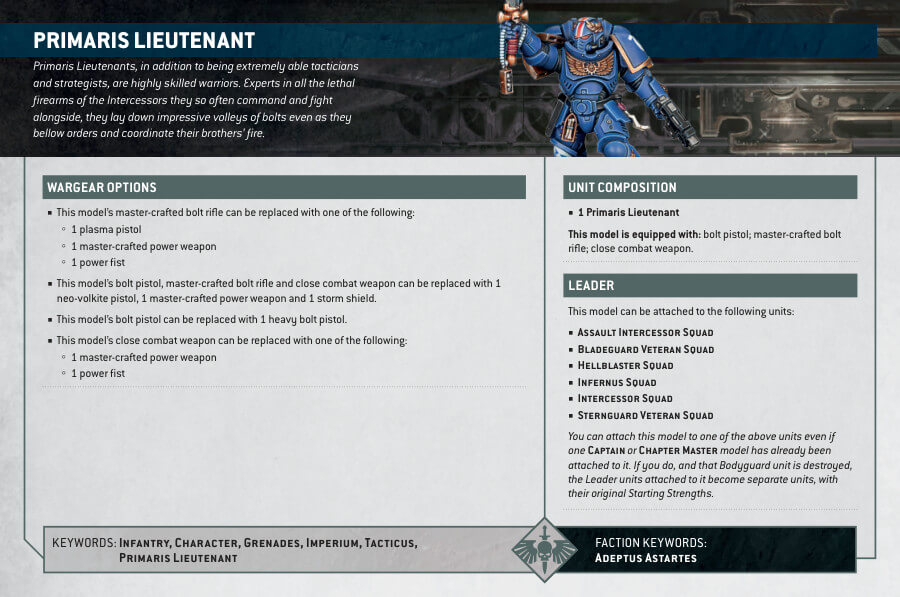
Primaris Lieutenant Zakariah Datasheets
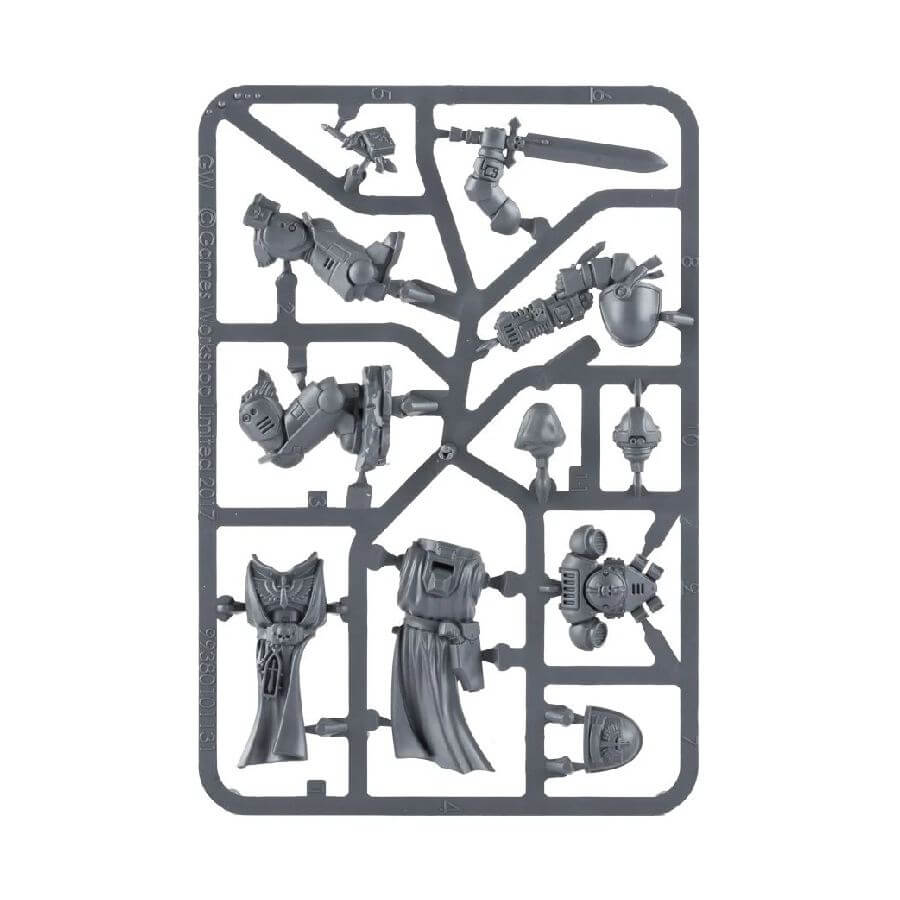
What’s in the Primaris Lieutenant Zakariah box
- x11 parts, which need to be assembled to make the miniature of Lieutenant Zakariah
- x1 Citadel 40mm Round base, which provides a stable platform for the miniature on the tabletop.
How to paint the Primaris Lieutenant Zakariah
- Step 1: Priming – The Foundation
Begin by priming your Primaris Lieutenant Zakariah with Chaos Black primer. This ensures a solid base for your paint to adhere to. - Step 2: Armor – Verdant Green
For the armor, opt for Caliban Green. This deep green will be the base for your Lieutenant’s armor. Apply it evenly to all the armor sections. - Step 3: Shading – Adding Depth
To create depth on the armor, shade it with Nuln Oil. Concentrate on the recessed areas, allowing shadows to naturally form. This shading adds a touch of realism. - Step 4: Layering the Armor – Brighter Greens
Now, layer the armor with Warpstone Glow. Focus on the raised areas and edges, leaving the darker green in the recesses. Gradually layer with Moot Green for a vibrant and dimensional look. - Step 5: Clothing – Earthy Tones
The clothing should be painted with Zandri Dust. Ensure you cover all cloth sections uniformly. - Step 6: Shading the Clothing – Adding Realism
Apply Seraphim Sepia as a shade to the clothing. Concentrate on the creases and folds. This enhances the realism of the fabric. - Step 7: Layering the Clothing – Brightening Up
Layer the clothing with Ushabti Bone, focusing on raised areas. Finish with Screaming Skull for a weathered appearance. - Step 8: Skin – Realistic Flesh Tones
For the skin, use Rakarth Flesh as a base coat. This provides a natural canvas for the flesh tones. - Step 9: Layering the Skin – Adding Realism
Layer the skin with Kislev Flesh, focusing on facial features and contours. This adds depth and realism to the skin. - Step 10: Plasma Pistol and Metallic Parts – Shiny Silver
Paint the plasma pistol and any other metallic parts with Leadbelcher. This metallic silver provides a realistic appearance to these components. - Step 11: Plasma Pistol Energy Sources – Electrifying Blue
For the energy sources on the plasma pistol, use Talassar Blue. Make these areas glow with energy. Additionally, paint the body of the pistol with Khorne Red for a striking contrast. - Step 12: Sword Handle – Golden Touch
Paint the handle of the sword with Retributor Armour. This golden touch adds elegance to the weapon. - Step 13: Texture Steps – Creating Realism
Enhance the base with textured paints to create a thematic terrain. You can use paints like Astrogranite Debris and Martian Ironearth for a realistic base. - Step 14: Varnish Steps – Protecting Your Work
To protect your meticulously painted Primaris Lieutenant Zakariah and give it a polished look, apply a varnish of your choice. This step not only safeguards your work but also enhances specific areas, making them shine.

