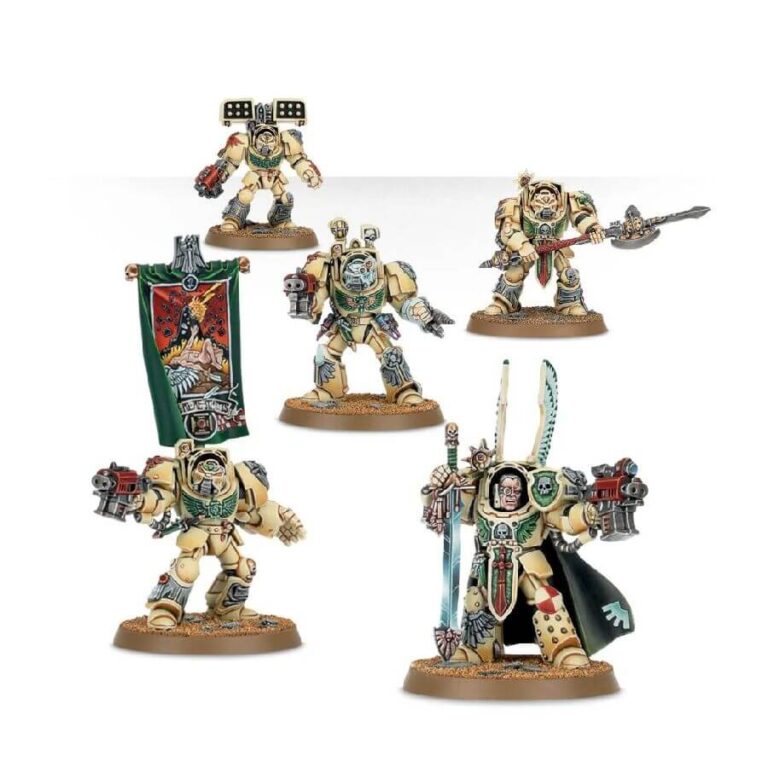
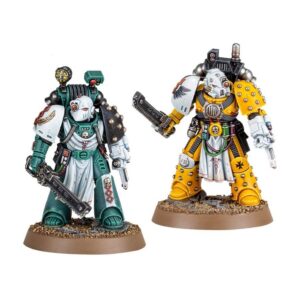
The Dark Angels Deathwing Command Squad is a formidable Space Marines unit that is sometimes accompanied by the highest-ranking members of the 1st Company’s Inner Circle. This hand-picked formation consists of the most veteran Deathwing Terminators, making it ideal for bodyguard duties or special assignments.
The kit contains 102 components, five 40mm round bases, and one 25mm round base, along with a Space Marines Transfer Sheet. The Command Squad features unique options such as an Apothecary and Champion, storm bolters, power swords, and power fists. It also includes an under-slung plasma cannon, a censer-featuring halberd of Caliban, and a miniature of the eerie-looking Watcher in the Dark, who holds a Perfidious Relic and stands in a long cloak. This box set is perfect for Warhammer 40,000 collectors and modellers, offering numerous options to create Deathwing Command Squads, Deathwing Knights, or five Deathwing Terminators.
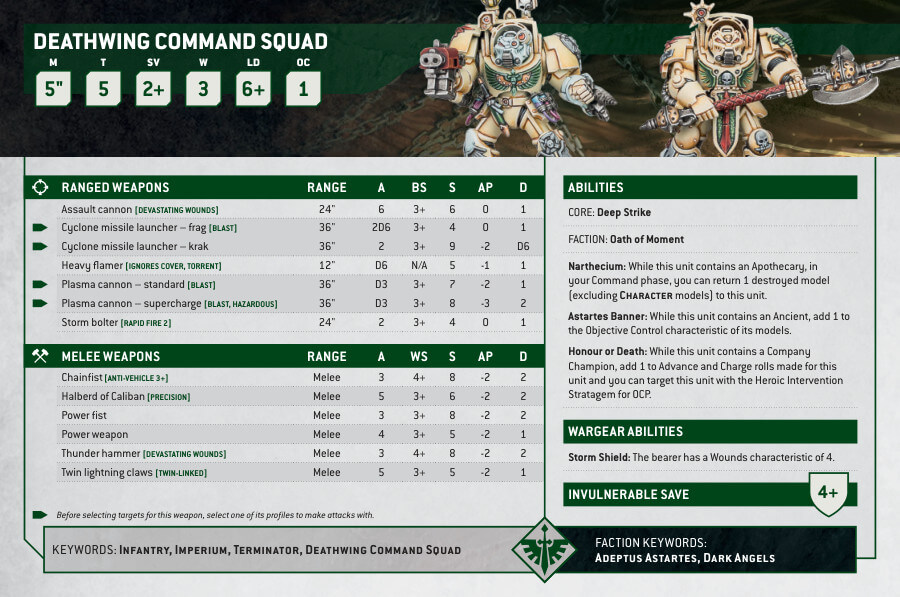
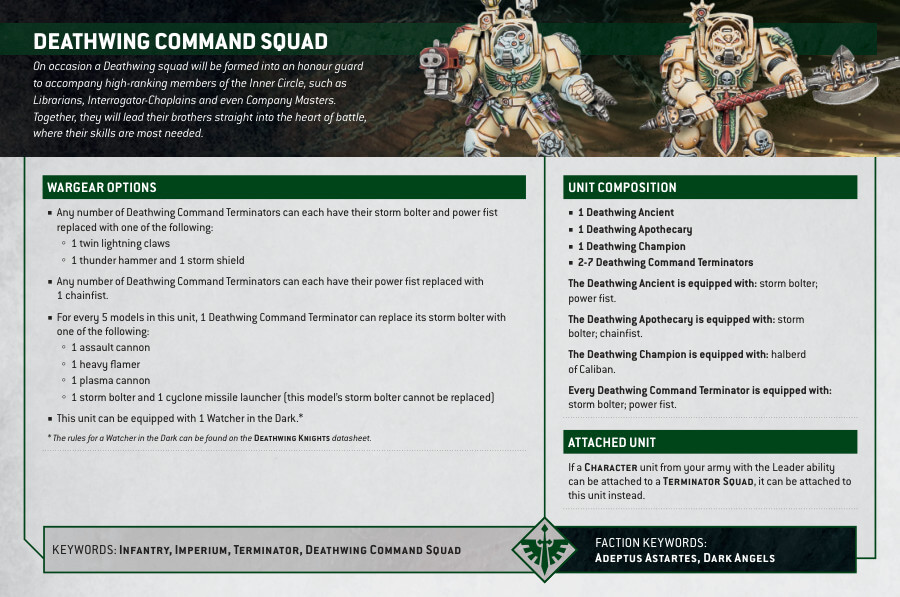
Deathwing Command Squad Datasheets
What’s in the Deathwing Command Squad box
- x102 plastic components with which to make a Deathwing Command Squad, Deathwing Knights or five Deathwing Terminators.
- x1 Space Marines Transfer Sheet.
- x5 Citadel 40mm round bases.
- x1 Citadel 25mm round base.
How to paint the Deathwing Command Squad
- Step 1: Base Coat
Start by applying the base coat to the Deathwing Command Squad’s armor. Paint it in a sandy color like Zandri Dust or another shade that resembles desert sand. Apply thin coats to preserve the model’s details. - Step 2: Shading the Armor
To add depth and dimension to the sandy armor, apply a shade like Agrax Earthshade or Seraphim Sepia. Use a fine detail brush to carefully apply the shade in the recessed areas, such as panel lines and crevices. This will create a natural shadow effect, making the sandy armor look more realistic. - Step 3: Layering the Armor
After the shade has dried, use a lighter sandy color like Ushabti Bone to reapply highlights on the raised areas of the armor. Focus on edges and surfaces that catch the light. This layering technique will make the sandy armor appear more three-dimensional and textured. - Step 4: Paint the Red Details
For the red details, use a bright red color like Evil Sunz Scarlet or Mephiston Red. Carefully apply the red paint to the designated areas on the model. Use thin coats to achieve a smooth and even finish. - Step 5: Shade the Red Details (Optional)
For more depth, you can apply a shade like Carroburg Crimson to the red details. Use a fine brush to carefully apply the shade in the recessed areas. This will create shadows and make the red details appear richer. - Step 6: Layering the Red Details
Once the shade has dried (if applied), use a lighter red color like Wild Rider Red to reapply highlights on the red details. Focus on the edges and raised areas to create a vibrant and dynamic look. - Step 7: Green Iconography Details
Using a green paint like Caliban Green, carefully add the iconography details on the model. This could be the chapter symbols, emblems, or other decorative elements. Apply thin coats to achieve clean and crisp lines. - Step 8: Grey Details
Paint any grey details on the model using a suitable color like Mechanicus Standard Grey or Dawnstone. This could be parts of the weapons, belts, or other mechanical elements on the Deathwing Command Squad. Use the layering technique to add depth and highlights to the grey details. - Step 9: Final Touches
Check the model for any areas that might need touch-ups. Ensure that all the colors, shading, and layering are neat and consistent. If you want to add additional details or highlights, this is the time to do so. - Step 10: Varnish (Optional)
For protection and a finished look, consider applying a layer of varnish. You can use Citadel Munitorum Varnish, which comes in a matte finish. It will enhance the colors and details on the model without adding any additional shine.

