Driven by an unwavering devotion to eradicating Daemons, Torquemada Coteaz is a force to be reckoned with. His unyielding determination and strategic brilliance make him a formidable adversary on the battlefield. With an extensive network of spies and loyal acolytes, Coteaz stays one step ahead of his opponents, outsmarting and outmaneuvering them with ruthless precision. As a competent psyker, he possesses formidable psychic powers that further bolster his abilities in combat. Coteaz is unwavering in his pursuit of justice and purity, leaving no room for compromise or mercy when facing those who threaten the Imperium.
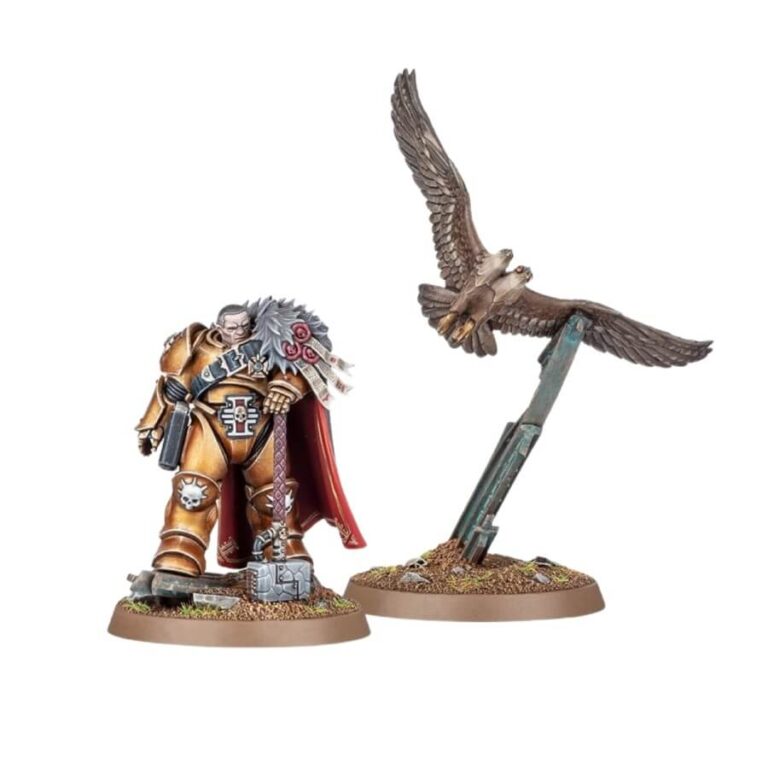
Old vs New Inquisitor Coteaz Model Comparison
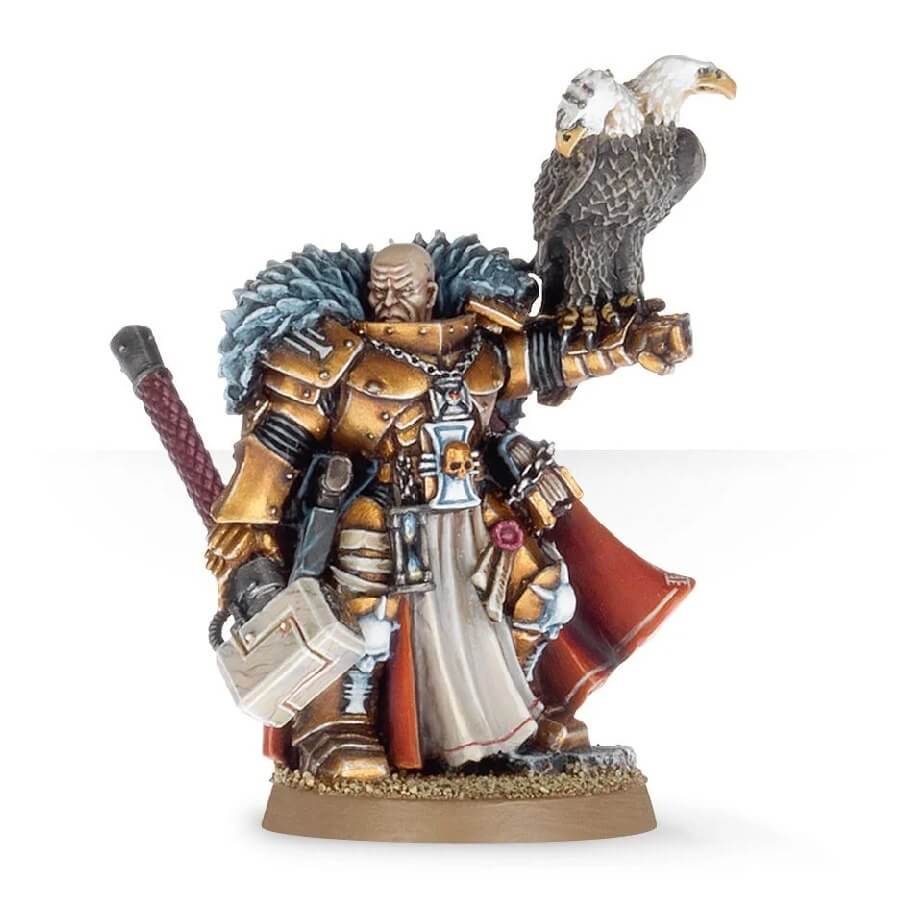
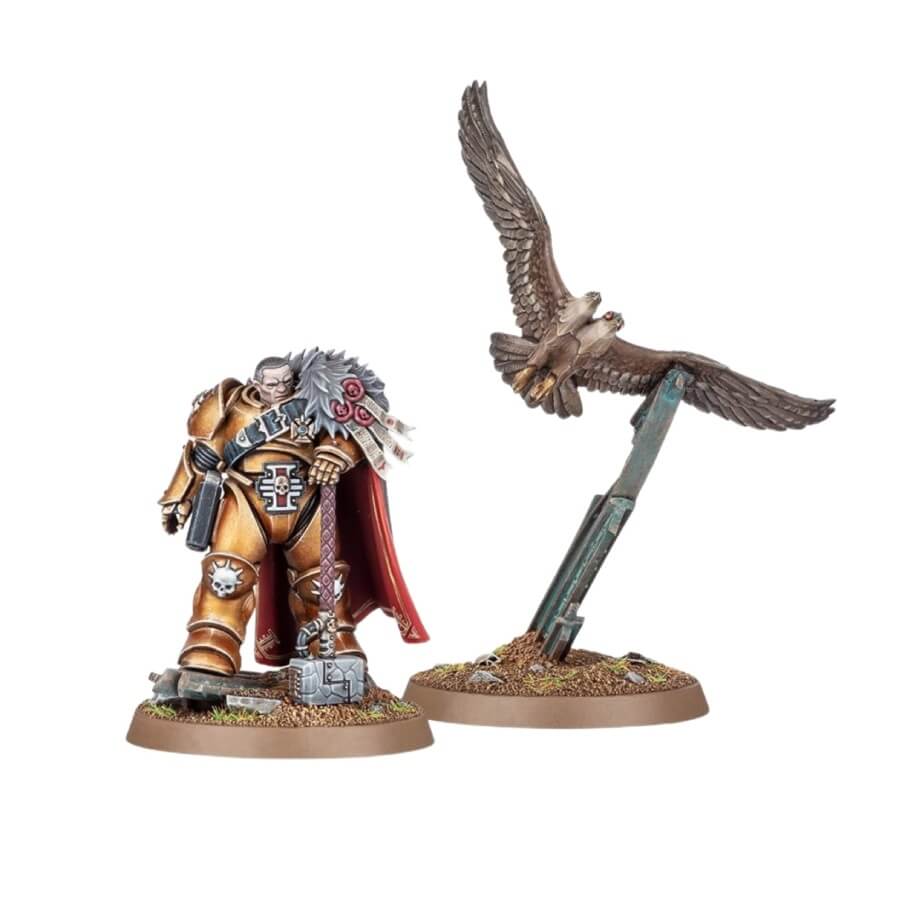
It’s not too late to buy the old model!
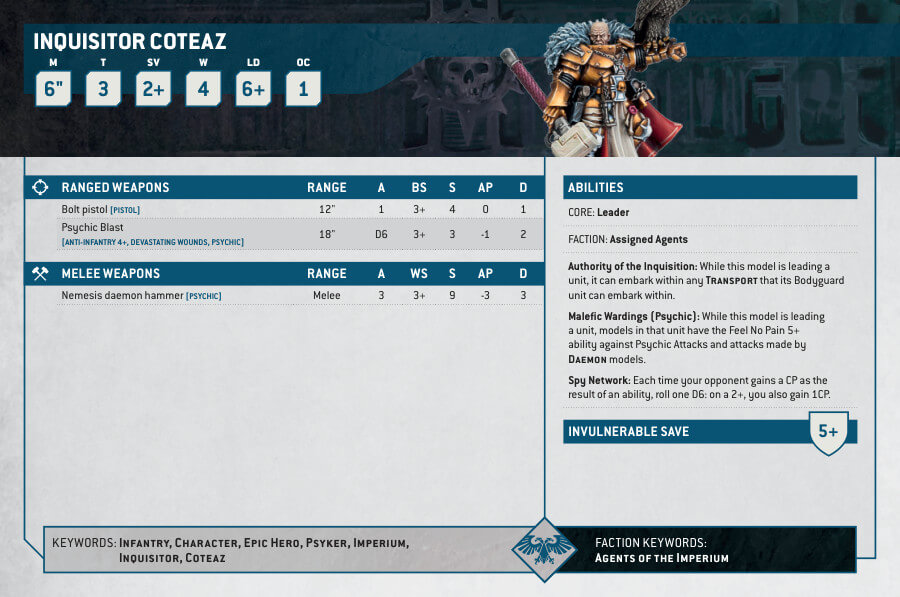
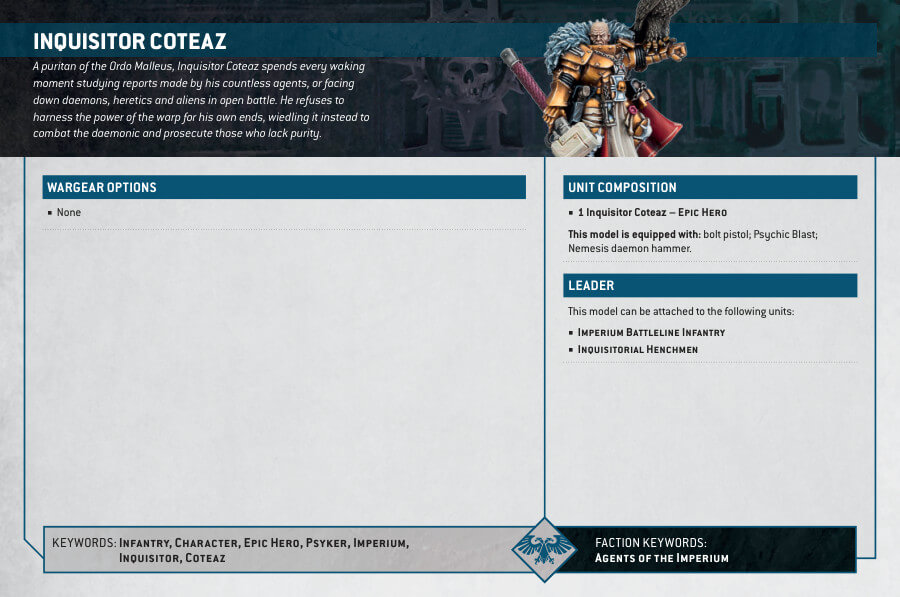
Inquisitor Coteaz Datasheets
What’s in the (Old) Inquisitor Coteaz box
- x3 resin components that make Inquisitor Coteaz: The pack includes a highly detailed resin cast kit of Inquisitor Coteaz, capturing the intricate features and design of the character. It is a finely crafted model that showcases the attention to detail and quality of the sculpt.
- x1 Citadel 25mm Round Base: Inquisitor Coteaz is supplied with a 25mm round base, providing a solid foundation for the miniature. The base is designed to complement the character’s pose and add to the overall aesthetic appeal.
How to paint the Inquisitor Coteaz set
- Step 1: Prime the Model
Apply a base coat of primer to Inquisitor Coteaz using a neutral color like grey or black. This will create a smooth surface for the paint to adhere to and enhance the overall look of the model. - Step 2: Base Colors
Start by applying the base colors to the different areas of the model. Use colors such as Abaddon Black for the robes, Leadbelcher for the armor, and Corax White or White Scar for the details. Apply thin layers of paint to ensure smooth and even coverage. - Step 3: Wash
Apply a wash, such as Agrax Earthshade, to the model to add depth and definition to the recessed areas. The wash will settle into the crevices, emphasizing the details and creating shadows. - Step 4: Highlights
Using a lighter shade of the base colors, carefully apply highlights to the raised areas of the model. This will create contrast and make the details pop. For example, use Eshin Grey to highlight the black robes and Ironbreaker to highlight the silver armor. - Step 5: Details
Paint the smaller details of the model, such as the eyes, insignias, and accessories. Use precise brushwork and thin layers of paint to achieve clean and crisp lines. For example, use Mephiston Red for the eyes and Retributor Armor for the decorative trim. - Step 6: Base
Paint the base of the model using appropriate colors to represent the terrain or environment. You can use Astrogranite Debris for a rocky base or Stirland Mud for a muddy terrain effect. Add additional details like grass tufts or small rocks for added realism. - Step 7: Varnish
Apply a protective varnish to the model to seal the paintwork and provide durability. You can use a matte varnish for a non-reflective finish or a gloss varnish for a shiny appearance. This will help protect the paintjob and ensure it lasts.

