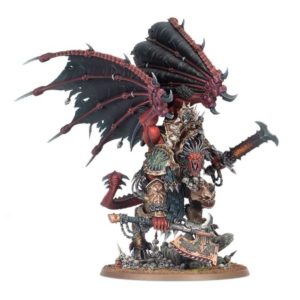
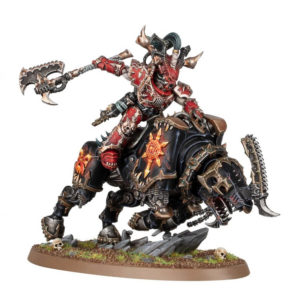
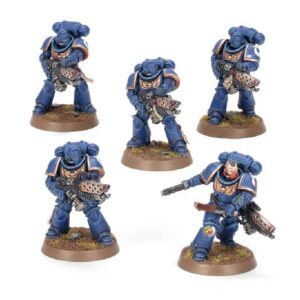
Step 1: Prime the Model
Apply a thin, even coat of black primer to the entire model, ensuring all surfaces are covered.
Step 2: Basecoat the Feathers
Using a medium-sized brush, apply a basecoat of dark blue paint, such as Macragge Blue, to the feathers on both heads and the wings.
Step 3: Layering the Feathers
Using a smaller brush, apply a layer of lighter blue paint, like Altdorf Guard Blue, to the raised areas of the feathers, leaving the darker basecoat showing in the recesses.
Step 4: Highlighting the Feathers
Using a fine brush, carefully apply highlights to the feathers using a lighter blue shade, such as Calgar Blue or Lothern Blue, focusing on the edges and tips of the feathers to create depth and dimension.
Step 5: Painting the Body and Staff
Basecoat the body and staff with a dark purple paint, such as Naggaroth Night, ensuring full coverage. For the staff, use a gold paint, like Auric Armor Gold, to highlight the ornate details.
Step 6: Applying Washes
Apply a purple wash, like Druchii Violet, to the body, wings, and staff to enhance the shadows and add depth. Use a sepia wash, such as Seraphim Sepia, on the feathers to create an aged and weathered look.
Step 7: Adding Details
Paint the eyes with a bright yellow or orange color, such as Flash Gitz Yellow or Troll Slayer Orange, to give them a glowing effect. Use a fine brush to pick out any other small details, such as runes or symbols, using contrasting colors like green or red.
Step 8: Final Touches
Highlight the gold areas on the staff with a lighter gold shade, such as Liberator Gold, to add dimension. Apply a glossy varnish to the eyes to make them stand out even more.
Step 9: Base Decoration
Paint the base using earthy tones, like Rhinox Hide or Dryad Bark, and add texture with rocks, grass, or other scenic elements to complement your overall army theme.


