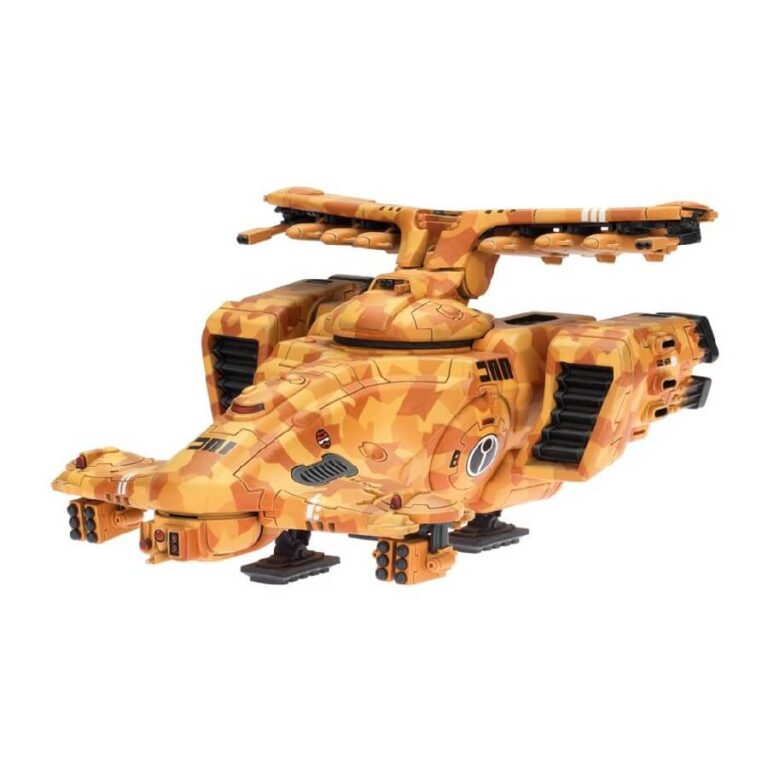
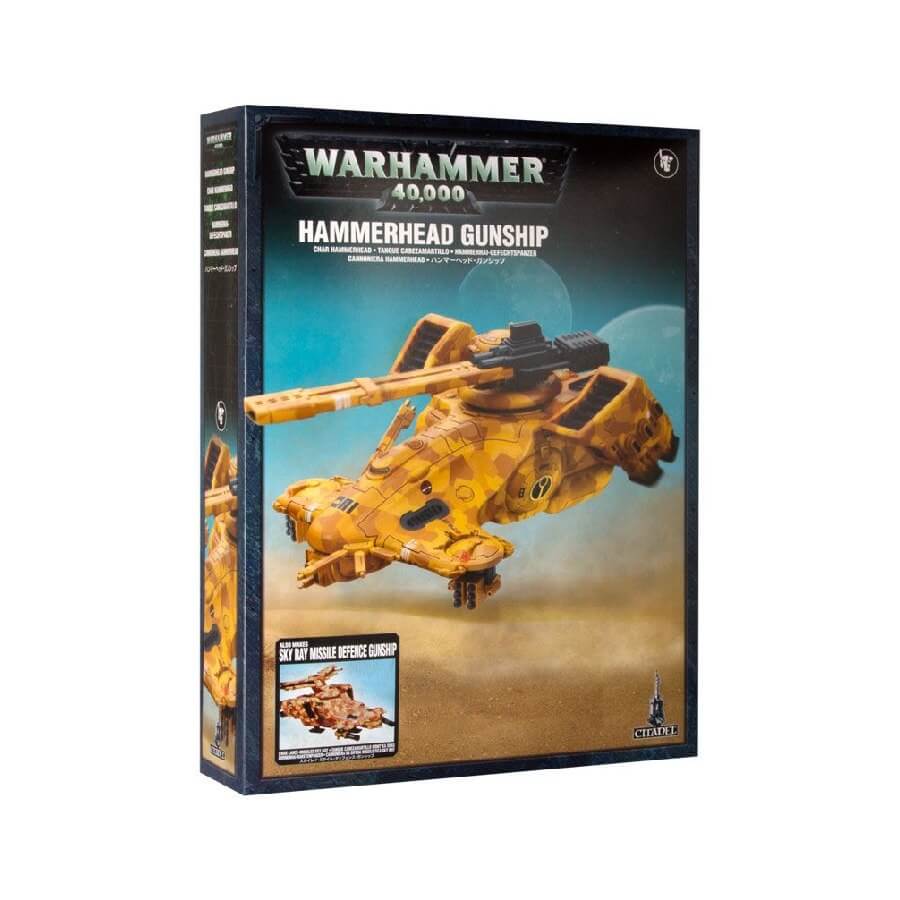
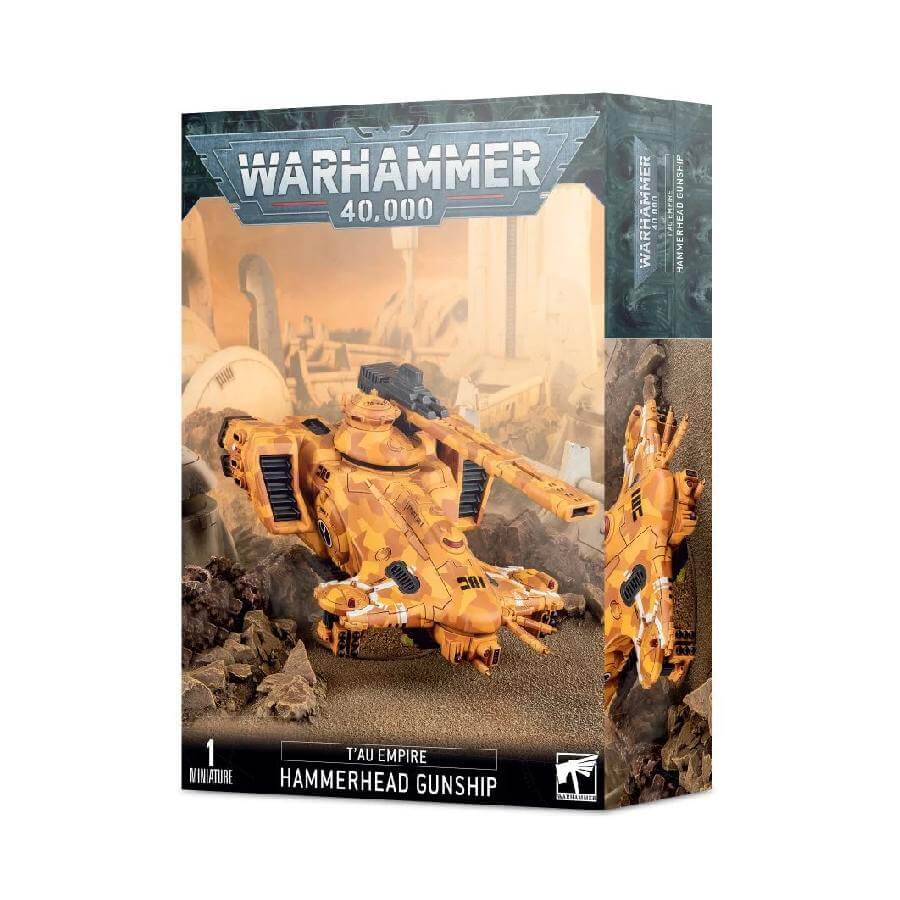
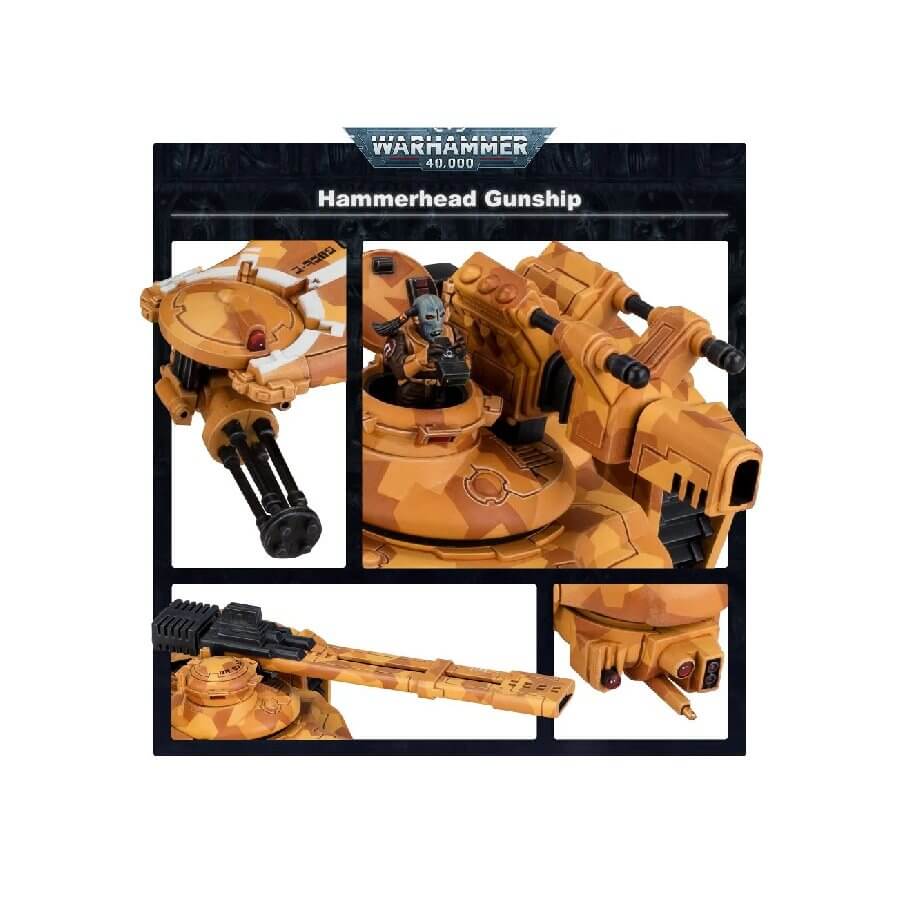
Anchoring any T’au Empire miniature collection, the Sky Ray Missile Defence Gunship kit showcases remarkable design elements. The kit’s most striking feature is the widened nose, which offers space for a duo of burst cannons or smart missile systems. The sleek panels gracefully converge toward a broader body that accommodates an impressive array of seeker missiles, resembling wings ready for deployment. Notably, the gunship boasts two vectored engines, which can be skillfully tilted to various angles, showcasing both functionality and aesthetics. This model is a must-have centerpiece for enthusiasts of the T’au Empire faction.
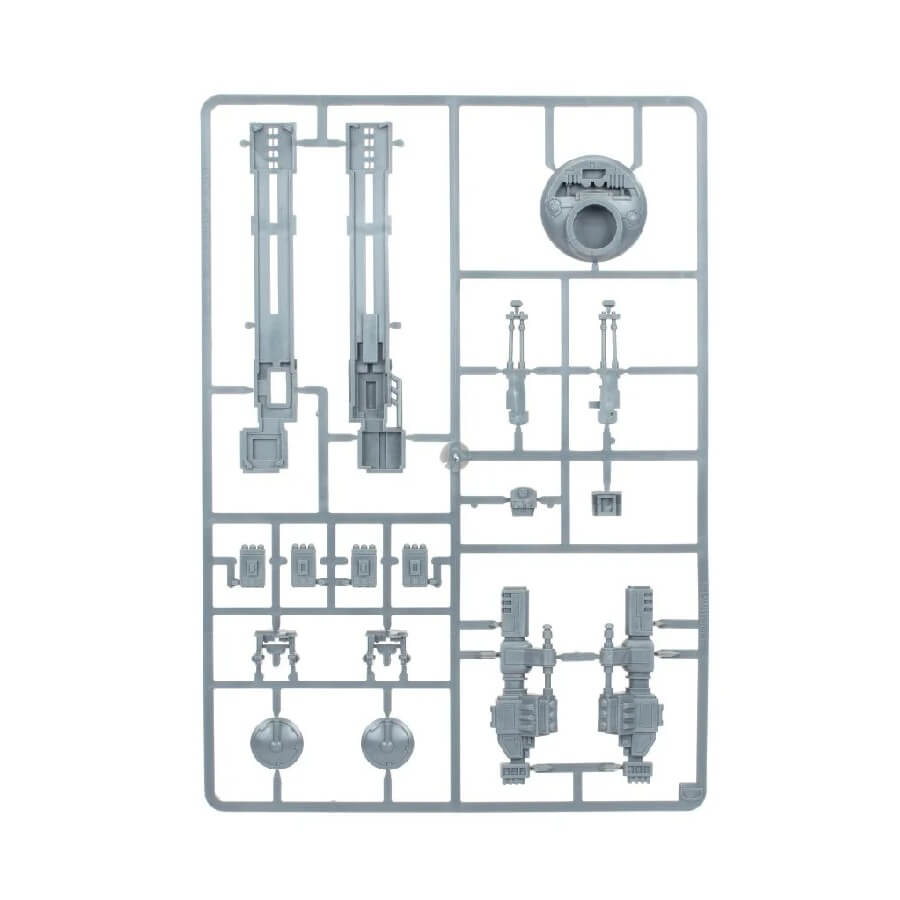
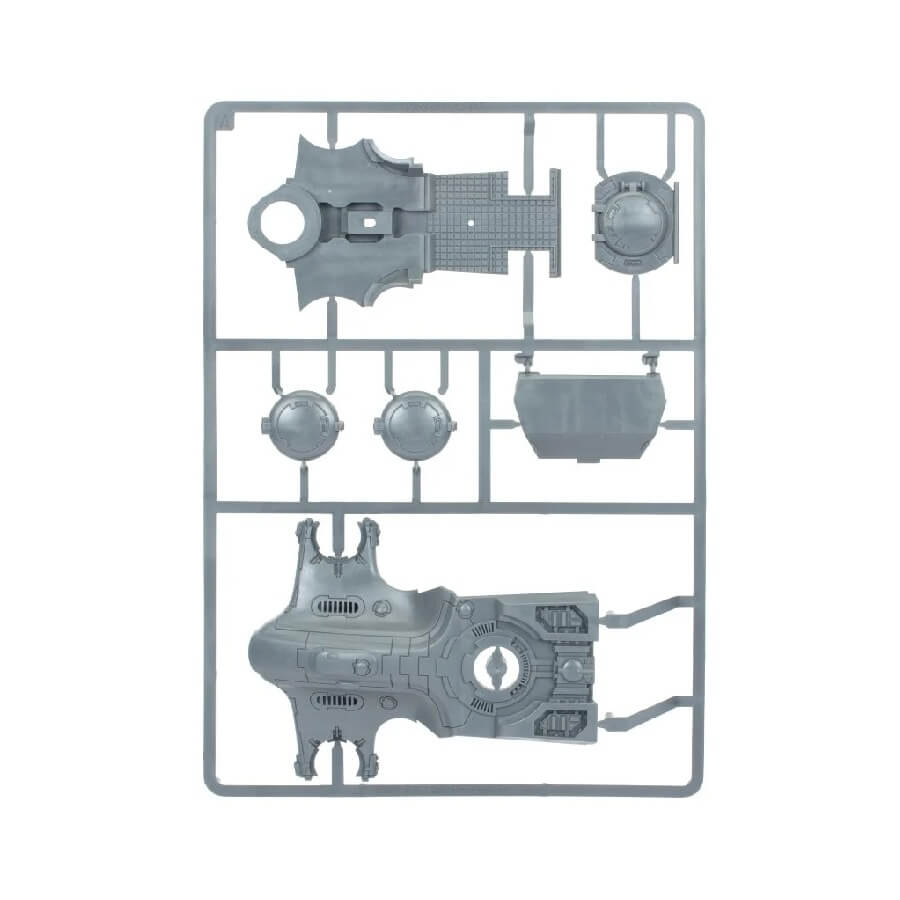
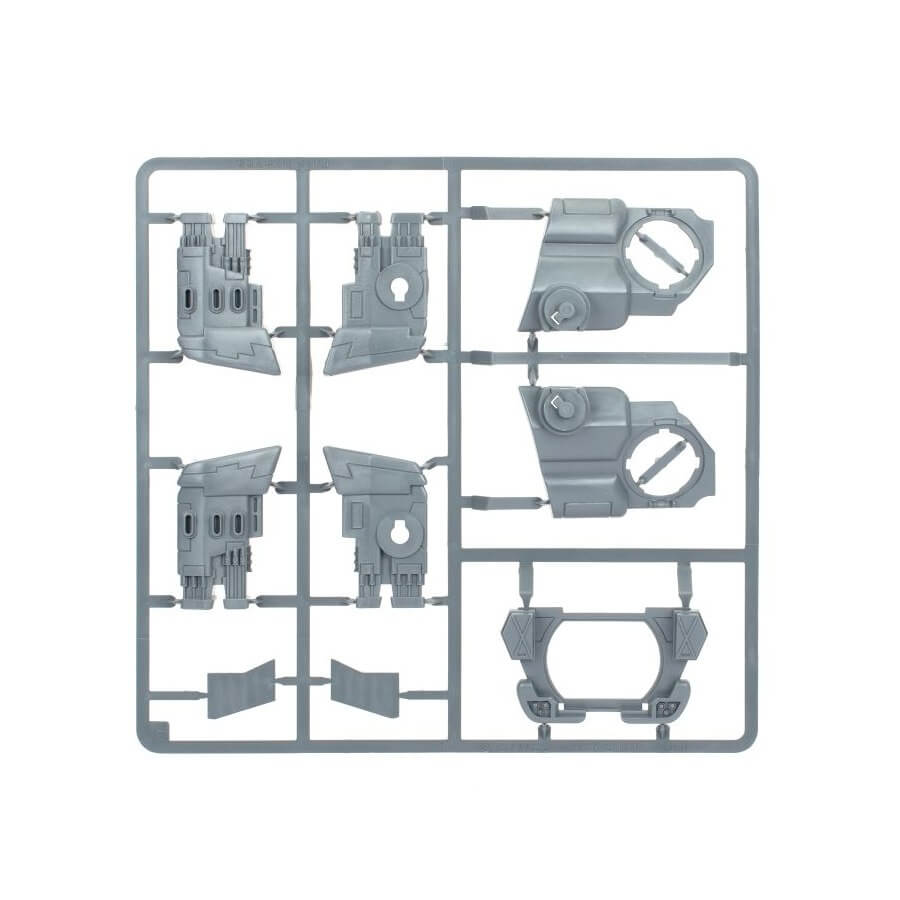
What’s in the TX78 Sky Ray Gunship box
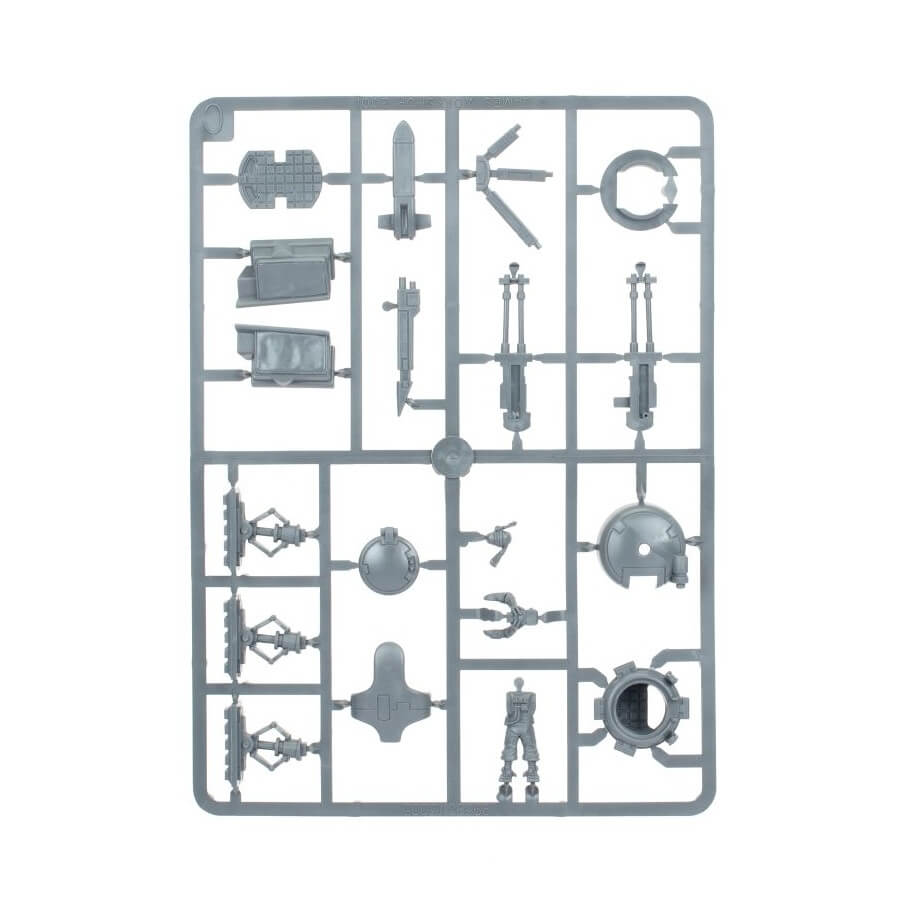
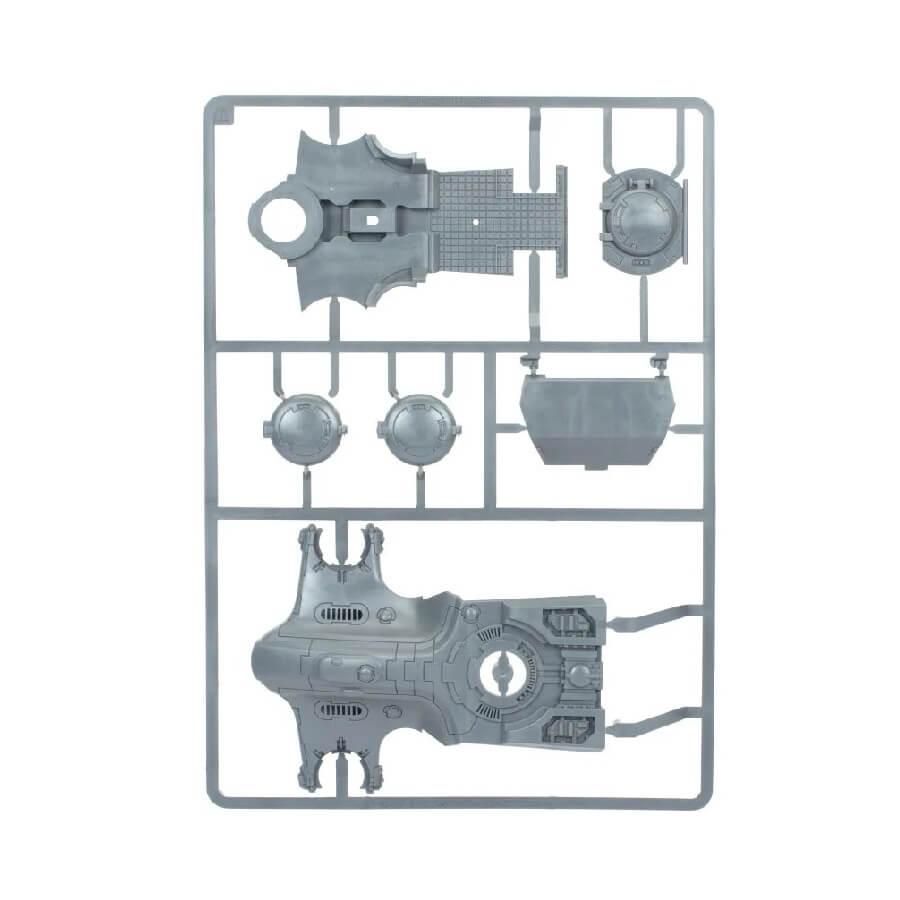
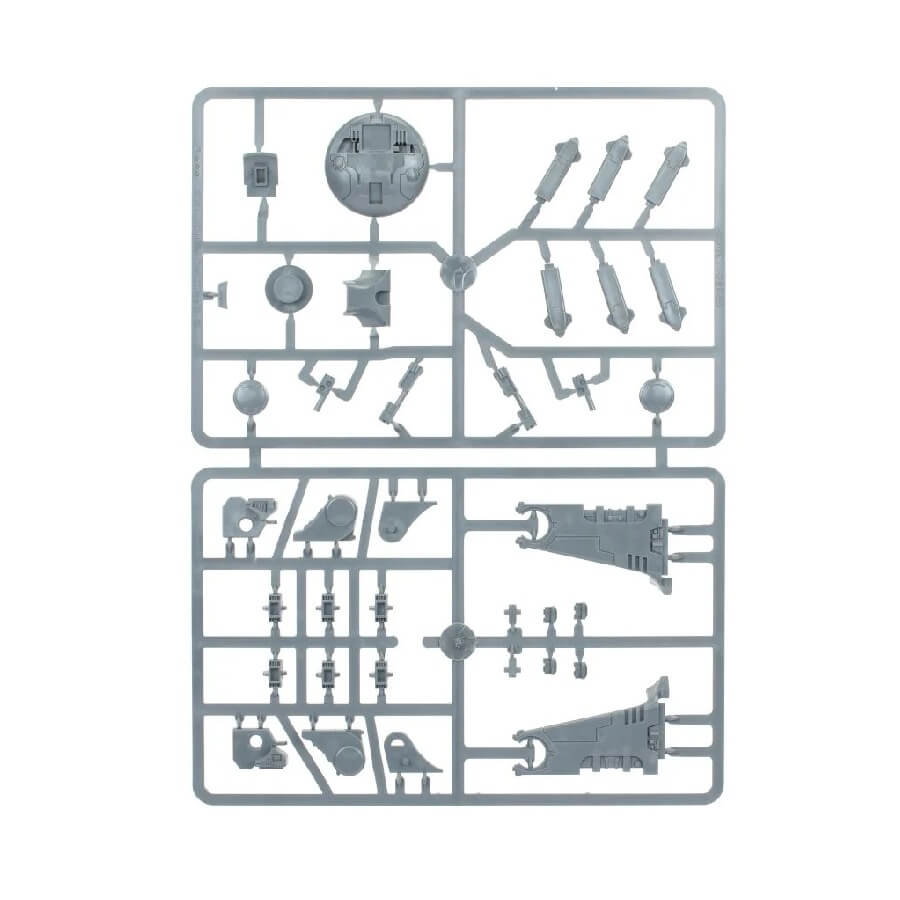
- x88 plastic components with which to make a Hammerhead Gunship or a Sky Ray Gunship.
- x1 T’au transfer sheet.
- x1 Citadel 60mm flying base.
How to paint the TX78 Sky Ray Gunship set
- Step 1: Basecoat the Body
Begin by applying a basecoat of XV-88 paint to the body of the TX78 Sky Ray Gunship. This foundational layer provides a starting point for the rest of your paint job. - Step 2: Add Depth with Shade
Enhance the depth of the model by shading the basecoat with Nuln Oil. This shade settles into recesses, creating shadows and giving the gunship a more realistic and three-dimensional appearance. - Step 3: Layering for a Modern Camouflage Pattern
Create a modern camouflage pattern by layering Tau Light Ochre and Ungor Flesh over the shaded areas. Apply these colors in irregular shapes to mimic the look of a camouflage design. This technique adds complexity and visual interest to the gunship’s surface. - Step 4: Fine Details in Contrasting Colors
Use Abaddon Black to meticulously paint fine details like vents and weapon components on the gunship. These dark details will contrast with the lighter camouflage pattern, making them stand out. - Step 5: Highlight with White Details
Apply White Scar paint to add highlight details to the body of the gunship. Focus on edges, raised areas, and elements that would catch the light. This step adds visual contrast and emphasizes the intricate features. - Step 6: Choose Your Basing (Optional)
Consider crafting a base that complements the gunship’s appearance. You can use paints like Stirland Mud for terrain and Ushabti Bone for dry brushing to achieve a realistic and visually appealing base. - Step 7: Apply Protective Varnish (Optional)
To protect your meticulously painted gunship, you may want to apply a protective varnish. Use Stormshield for a matte finish, that will go with the stealthy look for this aircraft. This step preserves your hard work and keeps the model looking great over time.
