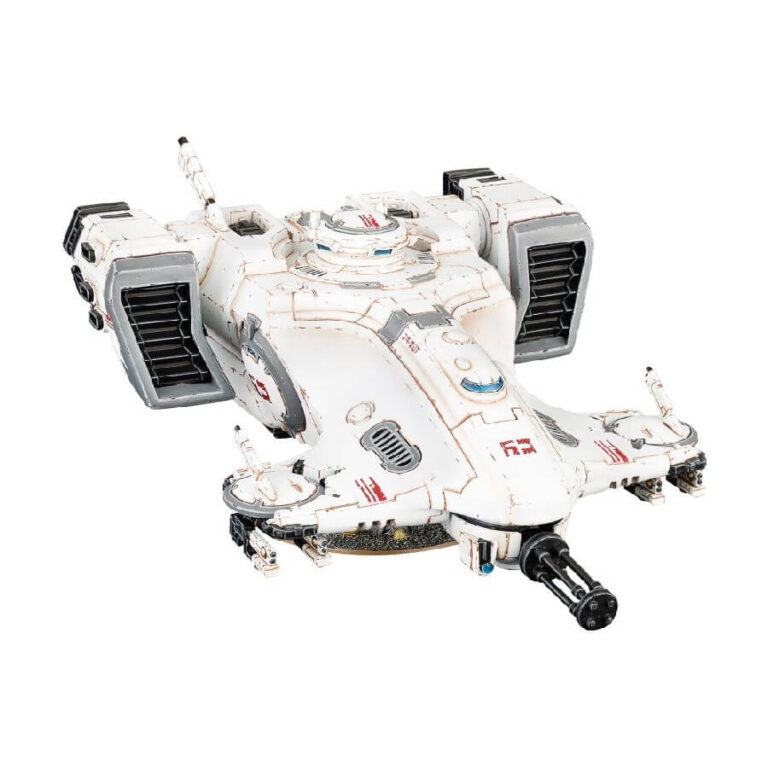
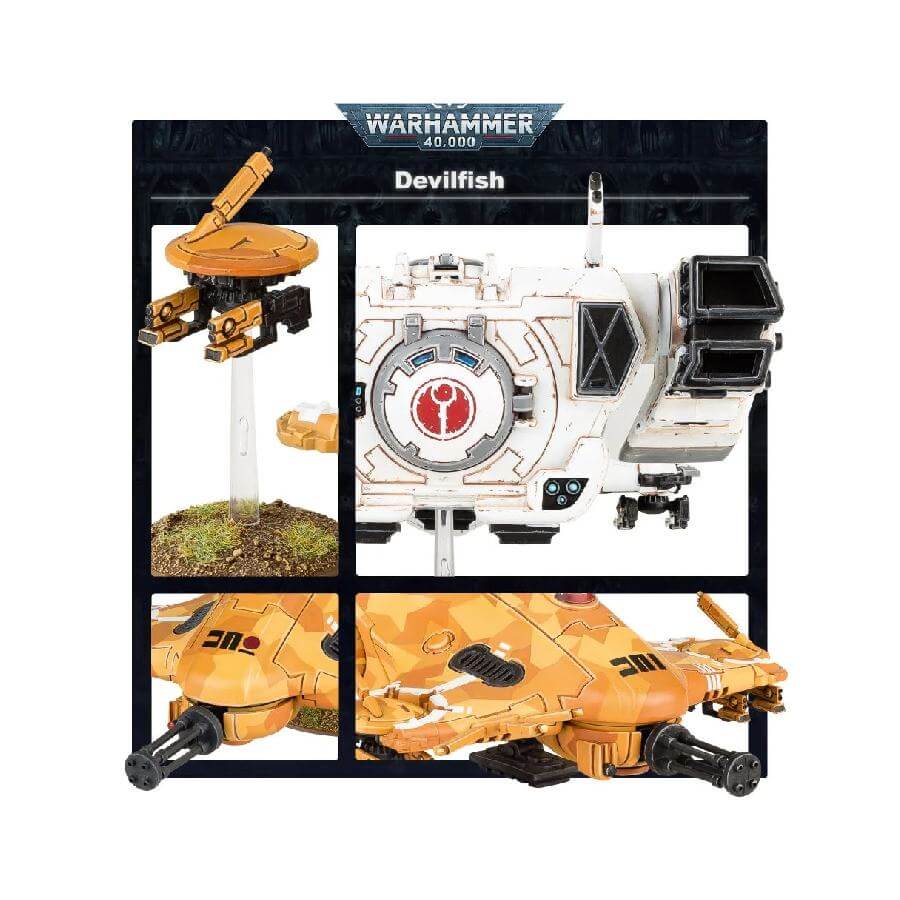
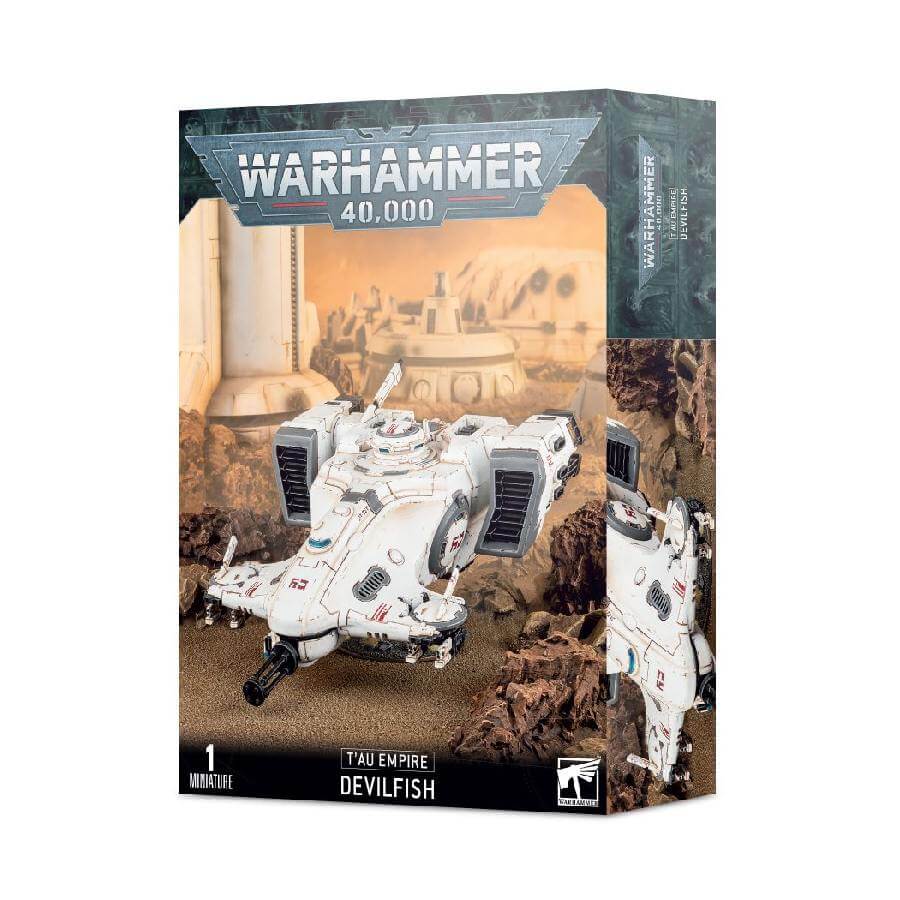
An invaluable asset capable of ferrying a dozen warriors straight into the heart of battle. Boasting a formidable burst cannon, this versatile vehicle doesn’t just transport troops; it doubles as agile mobile fire support for the squad. The Devilfish proves to be a critical transport solution for both T’au Fire Warriors and Pathfinders, exemplifying adaptability on the battlefield. With its capacity to seamlessly merge transport and firepower, the Devilfish stands as a testament to the T’au‘s tactical prowess and readiness for any engagement.
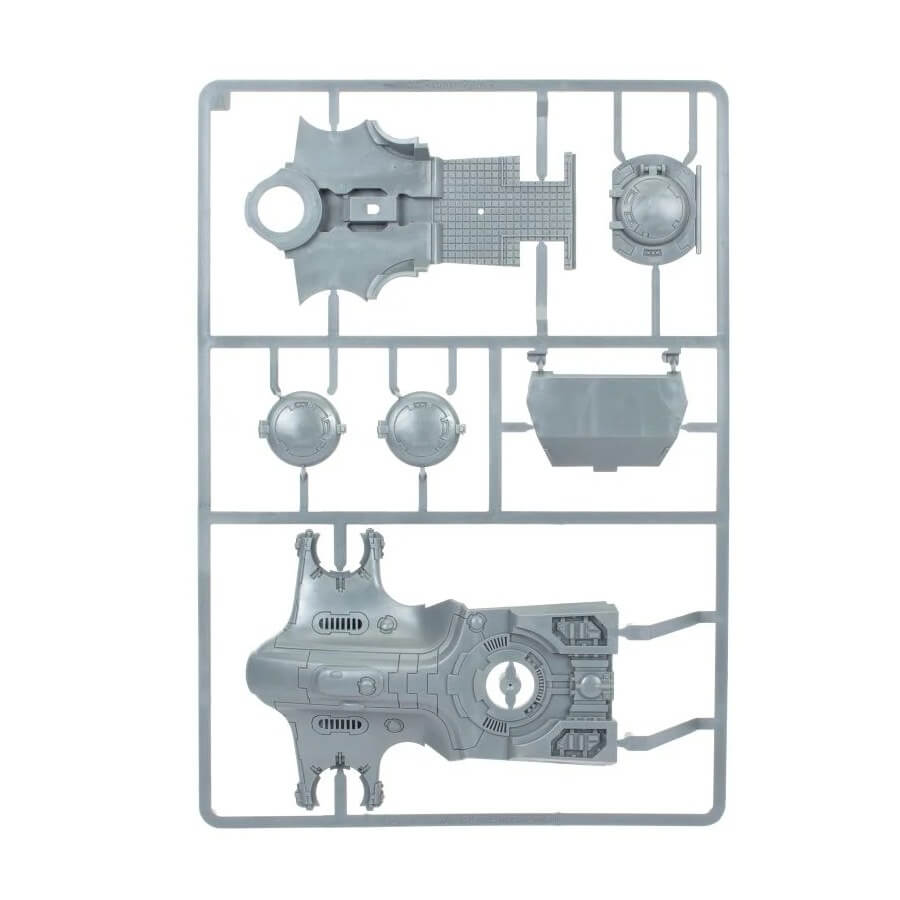
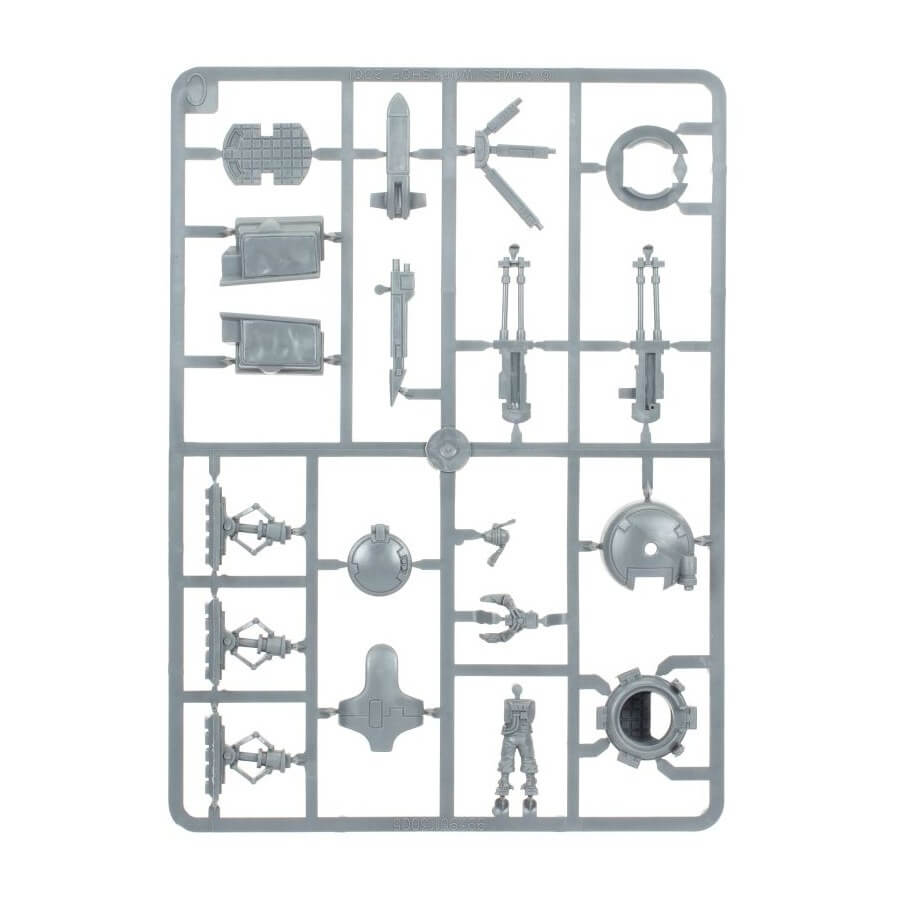
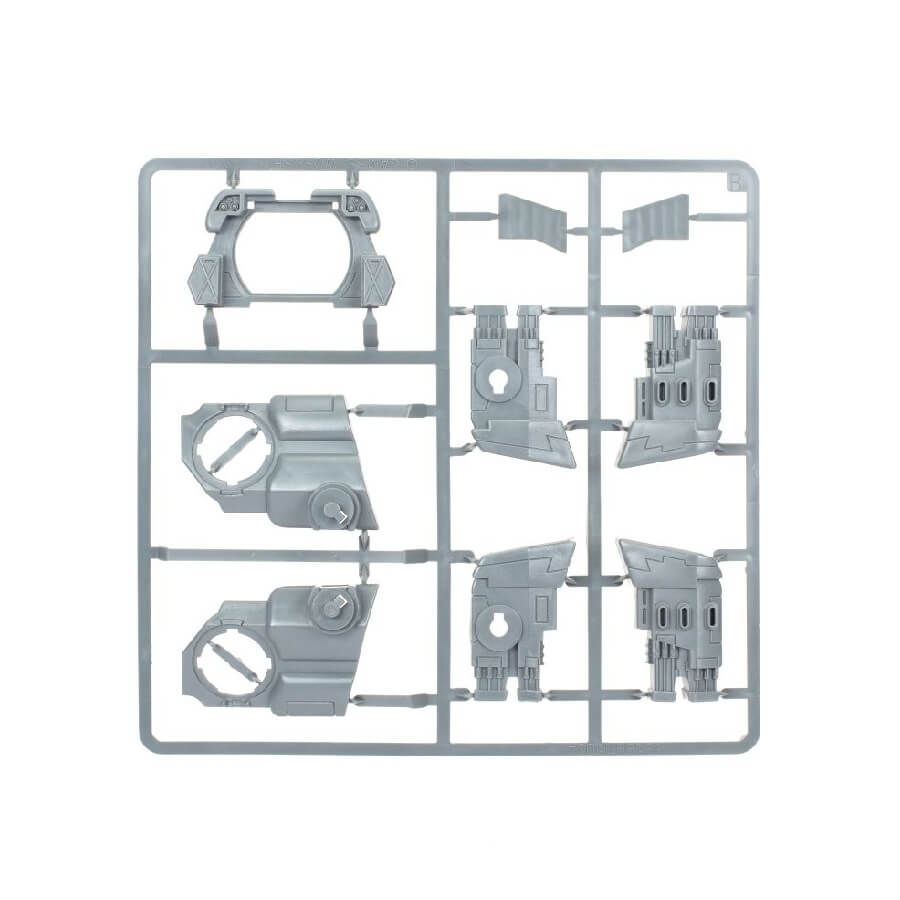
What’s in the TY7 Devilfish box
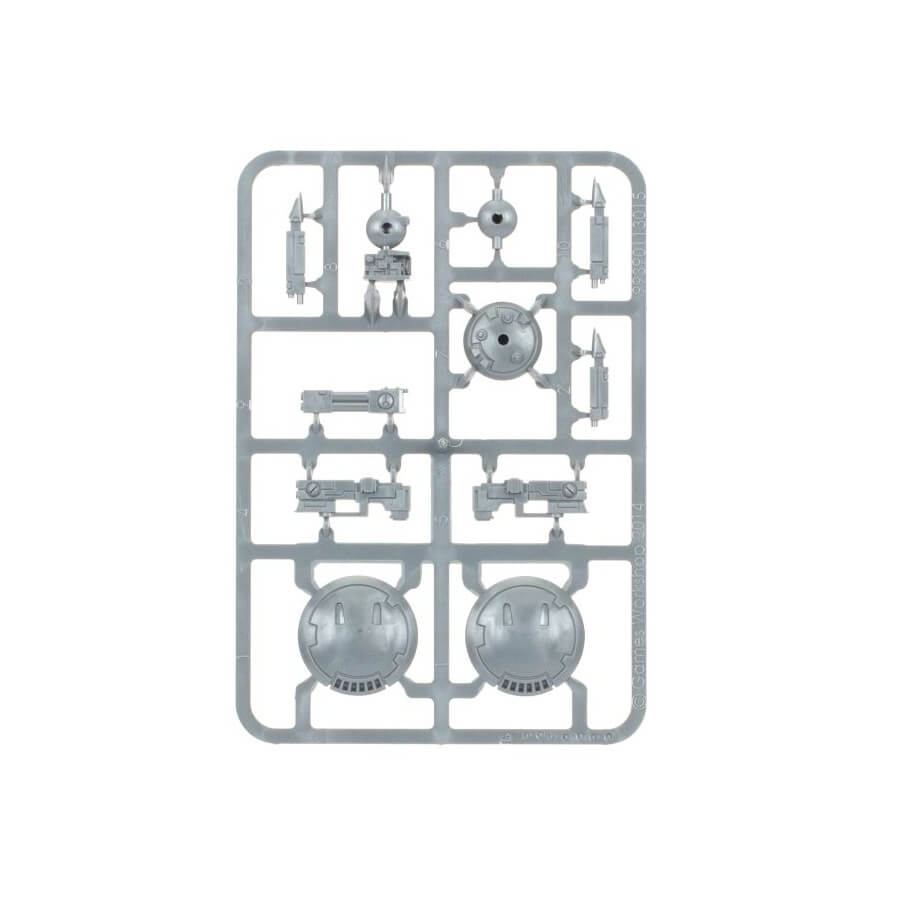
- x45 plastic components that maek 1 T’au Devilfish APC with a variety of optional parts and weapons.
- x1 Citadel 60mm flying base.
How to paint the TY7 Devilfish set
- Step 1: Prime the Model
Begin by applying a thin layer of primer to your TY7 Devilfish model. Primer helps the paint adhere better and provides a smooth surface. - Step 2: Paint the Body White Scar
Using a brush, paint the main body of the Devilfish with White Scar. This bright white color serves as the base for the vehicle’s appearance. - Step 3: Details like Gun Barrels or Vents with Abaddon Black
Focus on the finer details, like gun barrels or vents. Apply Abaddon Black to these areas to provide contrast and enhance the vehicle’s mechanical features. - Step 4: Details on the Body with Administratum Grey
For additional depth, use Administratum Grey to highlight certain areas on the body. This can include edges, raised parts, and intricate panel lines. - Step 5: Small Details like Glass or Symbols
For small elements like glass or symbols, choose Teclis Blue or Mephiston Red. Apply these colors carefully to give the vehicle a more dynamic appearance. For example, you might use Teclis Blue to paint the cockpit glass or Mephiston Red for small insignias. - Step 6: Shade the Model
Apply a wash like Nuln Oil to add shadows and depth to the model. Apply the wash to recesses, crevices, and areas where shadows naturally occur. This step enhances the three-dimensional look of the model. - Step 7: Layering
Apply thin layers of paint to build up colors smoothly. For instance, you can use Ulthuan Grey to create highlights on specific areas of the white body, such as edges and raised sections. - Step 8: Weathering (Optional)
For a weathered appearance, consider dry brushing Ryza Rust onto edges and surfaces to simulate wear and tear. This technique adds realism and character to the model. - Step 9: Apply Varnish
To protect your hard work, apply a coat of varnish to your Devilfish model. You can use a matte or gloss varnish based on your preference. A matte varnish will provide a flat finish, while a gloss varnish will add a subtle shine. This step ensures your masterpiece remains vibrant and durable, whether it’s on the gaming table or showcased in your collection.

