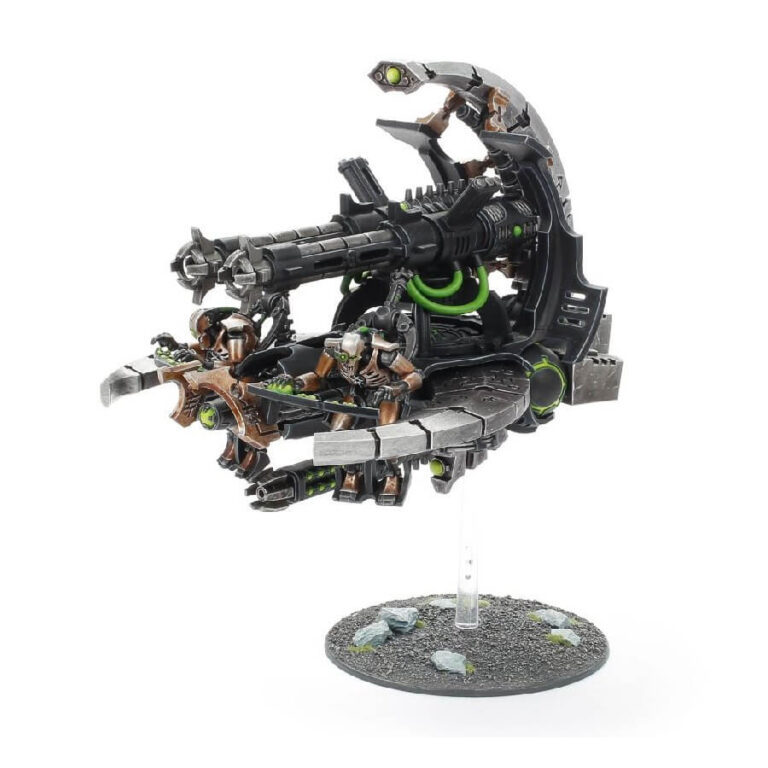
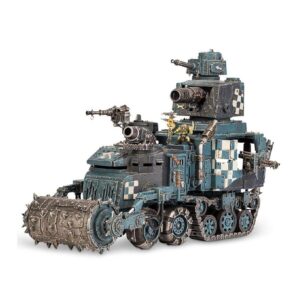
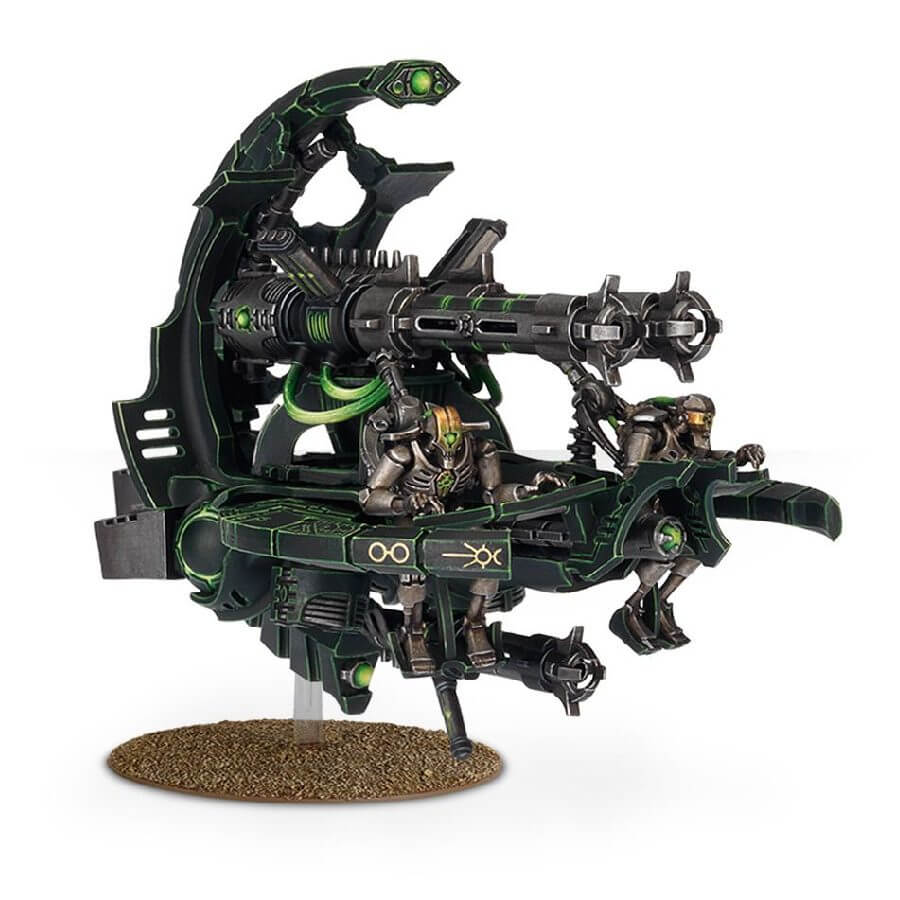
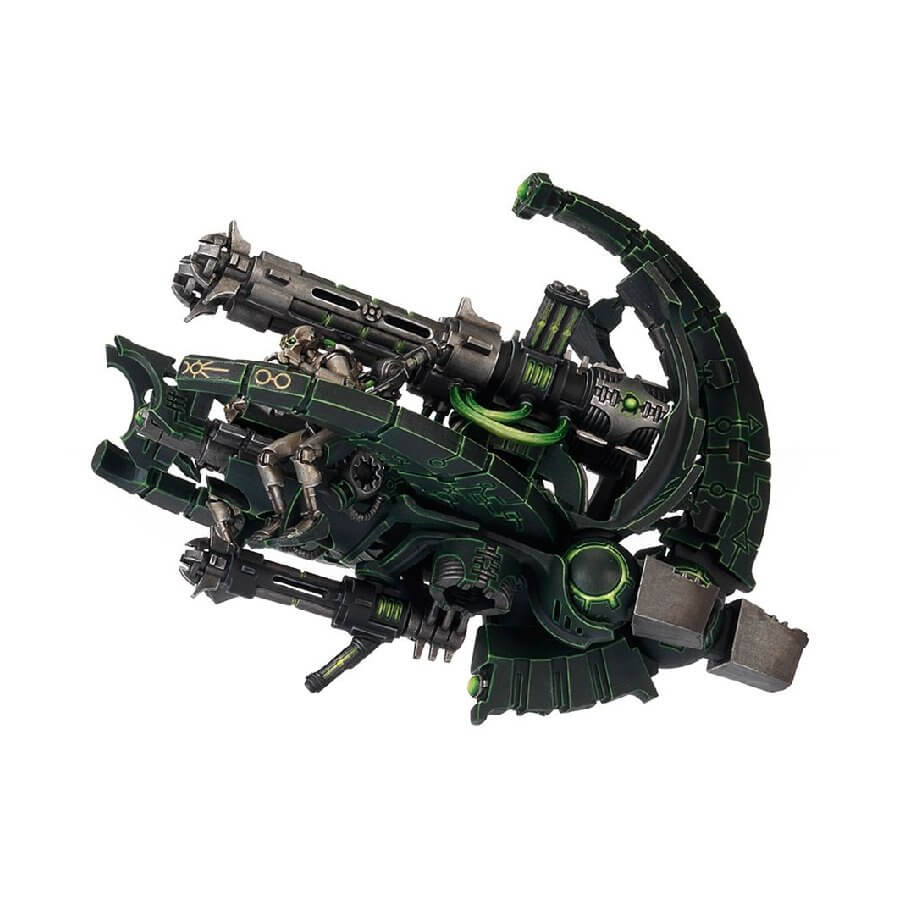
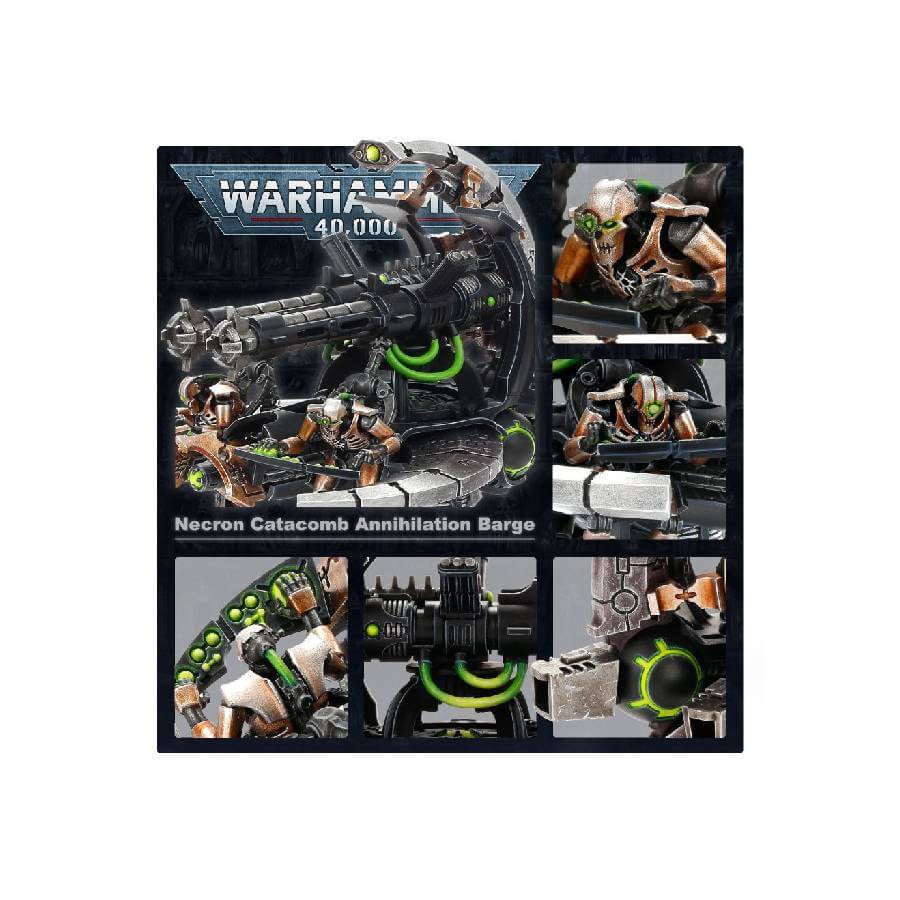
The Annihilation Barge stands as a truly remarkable and commanding model. Embellished with intricate Necron iconography and dynastic symbols, its metallic panels and segmented tubes lend an aura of technological grandeur. This masterpiece seamlessly integrates into any Necron collection. Notably, its midsection bears an elegantly curved scythe-like design, enveloping two loyal Necron attendants who stand vigilant at the control dashboard. Above them looms the majestic centerpiece – a colossal twin-linked tesla destructor.
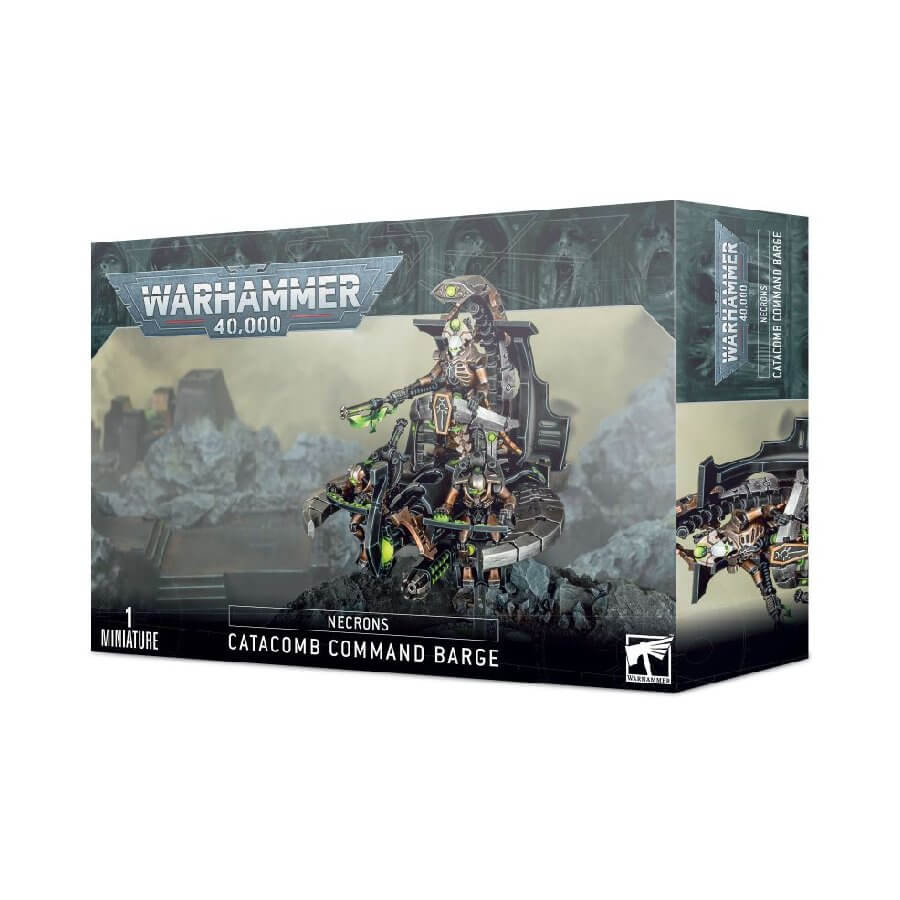
What’s in the Annihilation Barge box
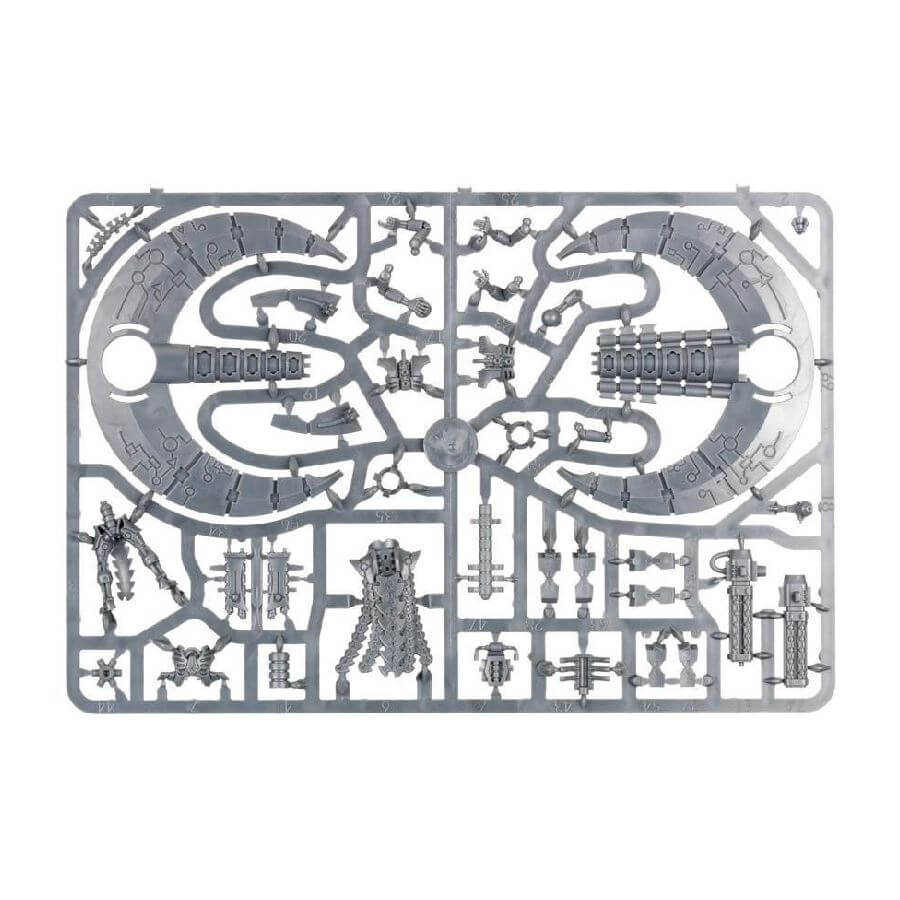
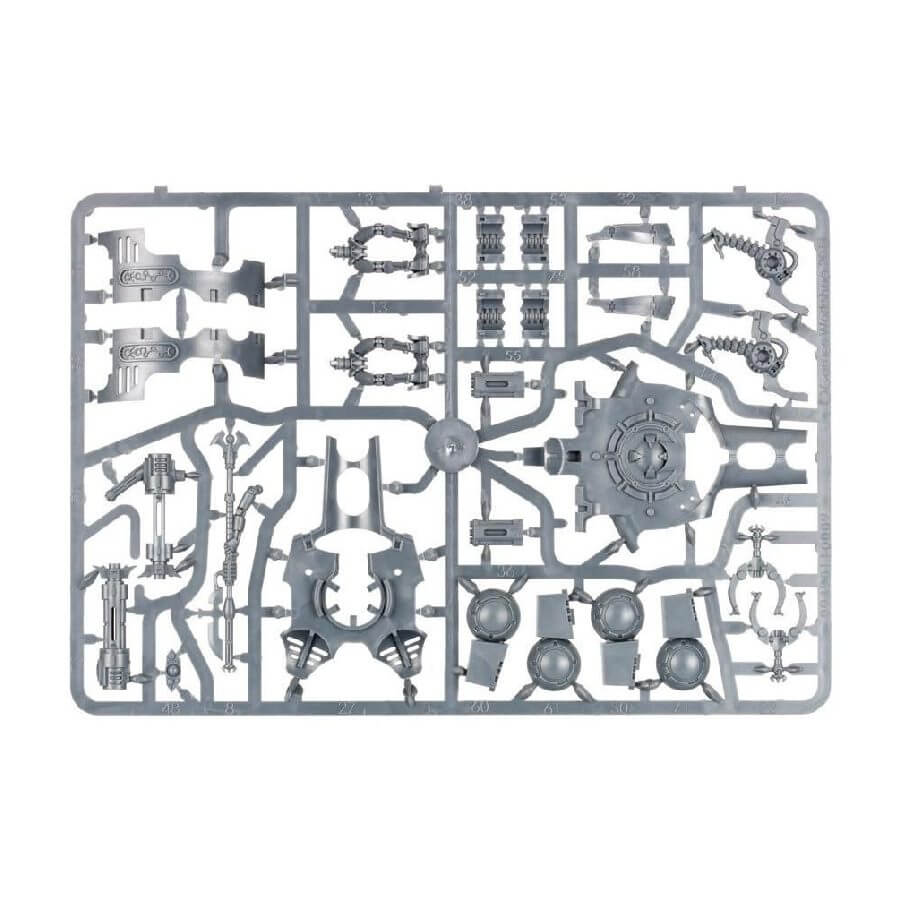
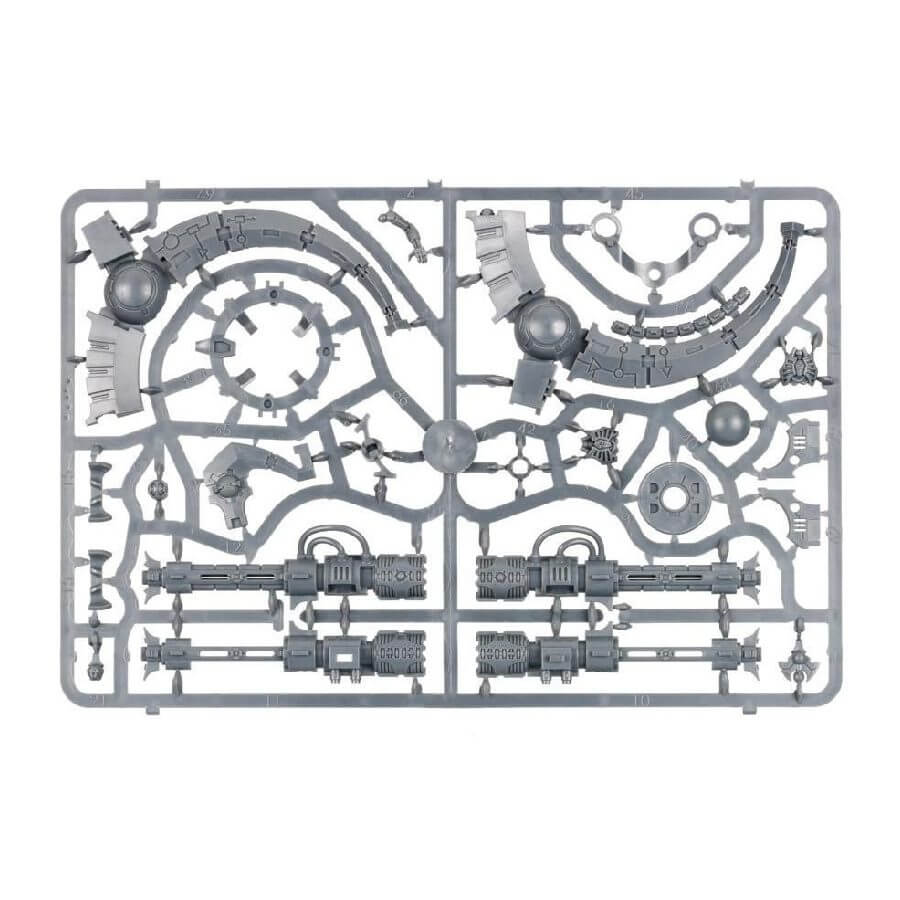
- x84 plastic components with which to build one Annihilation Barge or one Necron Catacomb. Command Barge.
- x2 Citadel Flying Stems
- x1 Citadel 60mm Flying Base.
- x1 Citadel 32mm Round Base.
- x2 Necron transfer sheets.
How to paint the Annihilation Barge set
- Step 1: Prime Your Model
Start by preparing your Annihilation Barge for painting. Apply a base coat using Chaos Black paint to create a solid foundation for the rest of your work. - Step 2: Base Colors
Begin with the body of the vehicle. Paint it entirely using Abaddon Black paint. This will establish the primary color scheme and create a bold and dark base. - Step 3: Necron Attendees
Turn your attention to the Necron attendants. Apply Runelord Brass paint to cover their bodies and any exposed areas. This metallic color will give them a robotic and futuristic appearance. - Step 4: Details
Highlight the intricate glyphs, symbols, eyes, cables and smaller details on the model. Apply Warpstone Glow paint to give them a vibrant green hue. This color contrast will make these details pop and catch the eye. - Step 5: Highlights
Add depth and definition to the black body of the barge. Apply Eshin Grey paint to the edges and raised areas. This step creates highlights that capture light and create a three-dimensional effect. - Step 6: Weathering (Optional)
For an added touch of realism and battle-worn appearance, consider using Ryza Rust paint. Apply it to the edges and corners of the model, simulating rust and wear that complements the Necron aesthetic. - Step 7: Base
Paint the base of the model to complete its presentation. Use Astrogranite Debris paint to create a textured ground. Additionally, apply Nihilakh Oxide paint to certain metallic parts to mimic the appearance of tarnish and oxidation. - Step 8: Varnish
Protect your meticulously painted model by applying varnish. Choose between Ardcoat paint for a glossy finish or Munitorum Varnish paint for a more subdued and matte appearance, depending on your desired look.