Delve into the intriguing realm of fear manipulation with the enigmatic Psychomancers. These adept scholars specialize in the science of terror, wielding their expertise to conjure illusions and ethereal constructs that tap into the deepest survival instincts of their targets. No entity remains immune to the insidious influence of the Psychomancer’s craft, as they manipulate minds and sensoria with remarkable finesse.
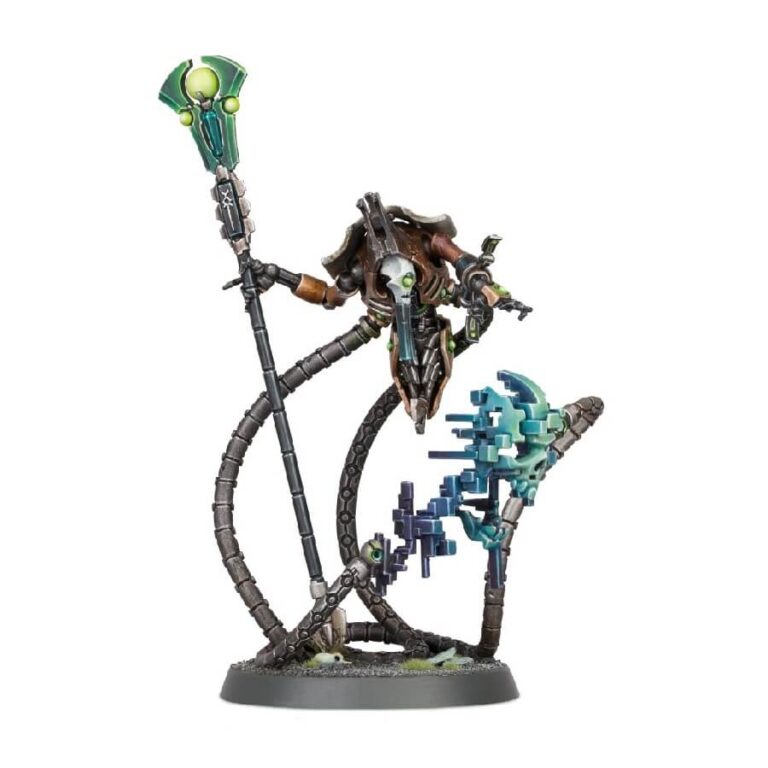
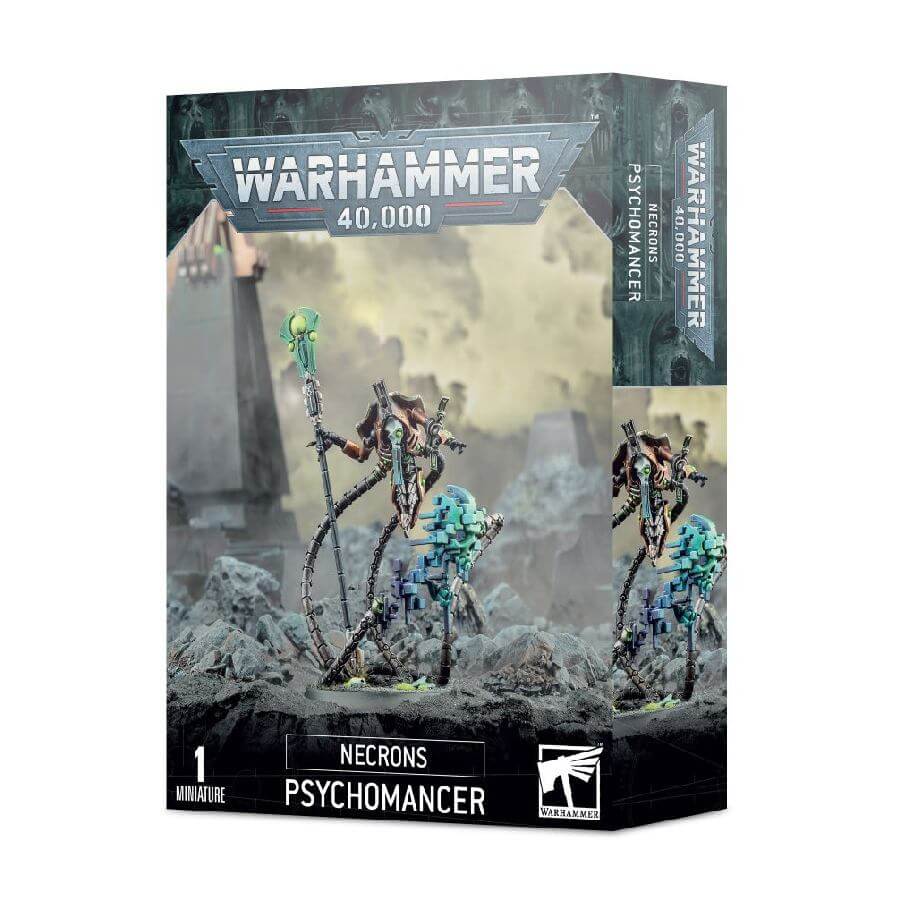
Elevate the might of your Necrons army by introducing the formidable Psychomancer into your ranks. This new addition ensures that even the hardiest adversaries shudder in terror. Armed with an abyssal lance, the Psychomancer weaves nightmares into reality, turning the fears of foes against them. They say Space Marines are unyielding in the face of fear – yet, they have yet to cross paths with this formidable Cryptek.
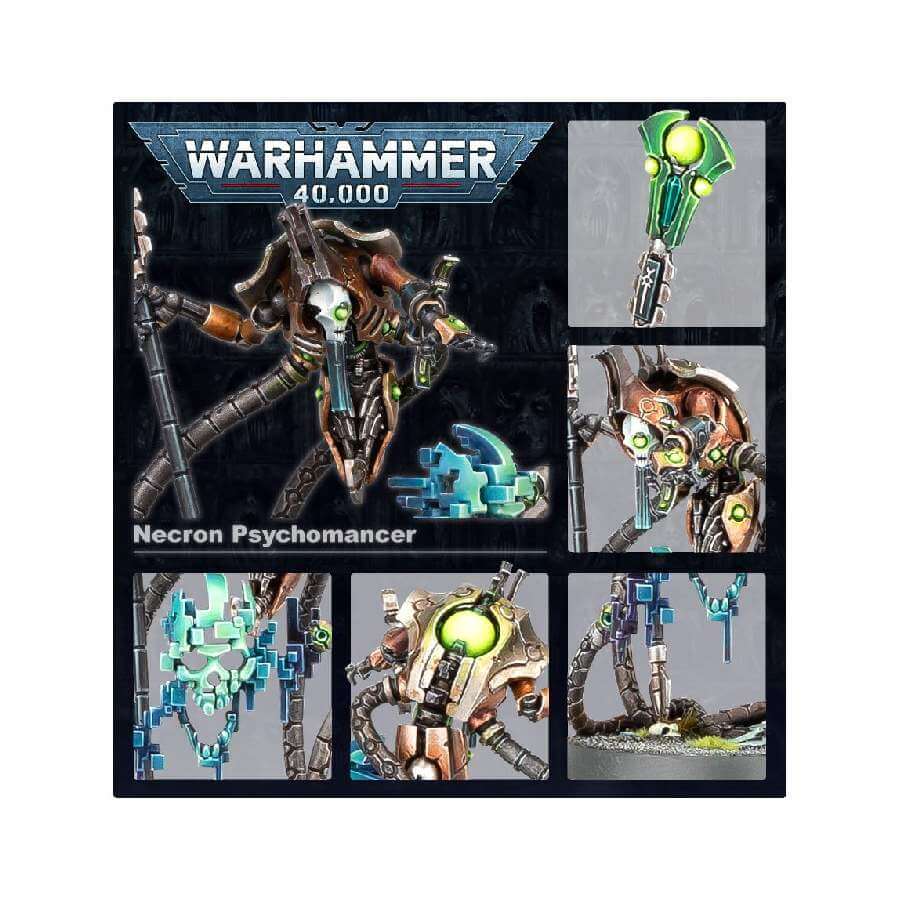
What’s in the Psychomancer box
- x28 plastic components that make one Necron Psychomancer.
- x1 Citadel 40mm Round base.
How to paint the Psychomancer set
- Step 1: Basecoat the Armor
Start with the armor. Use your medium-sized brush and apply a basecoat of Runelord Brass to all the metallic parts of the miniature. This includes the body and any mechanical components. - Step 2: Adding Green Details
Use your detail brush and apply Tesseract Glow to the green details on the miniature. This could be the eyes, symbols, or any other decorative parts. Be precise and steady to keep the details clean. - Step 3: Painting Metallic Components
For the other metallic components, like gears and joints, use Ironbreaker or a similar metallic paint. Apply it carefully, making sure not to overlap onto the brass areas. This contrast will add depth to the miniature. - Step 4: Adding Baharroth Blue to the Skull
The skull figure can be painted using Baharroth Blue. Use your detail brush to cover the skull in this color. If you find that the blue doesn’t show up well, you can apply a thin layer of white paint as a base before using Baharroth Blue. - Step 5: Shading with Washes
To add depth and shadows, apply a wash. You can use Agrax Earthshade or Nuln Oil for the metallic parts, applying it to the recesses and areas where shadows would naturally occur. Be careful not to let the wash pool too much. - Step 6: Layering and Highlighting
Now, let’s make the metallic parts pop. Carefully paint a lighter color like Sycorax Bronze onto the edges of the metallic areas to create highlights. This technique is called edge highlighting. For the green details, layer Gauss Blaster Green onto Tesseract Glow. - Step 7: Seal the Miniature
Once you’re satisfied with your paint job, it’s time to protect it. Use a matte varnish spray to seal your miniature. This prevents chipping and adds a nice finish.