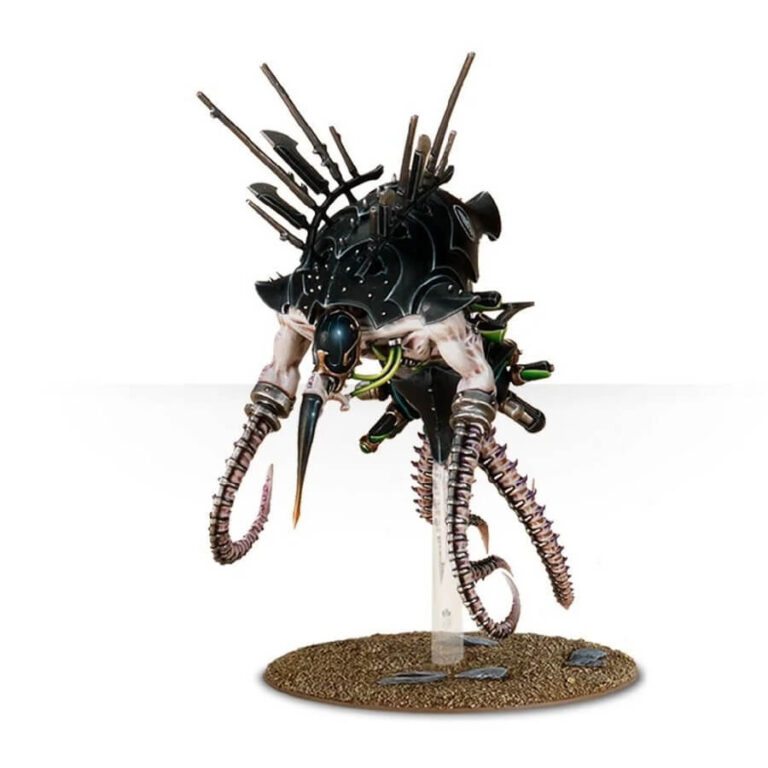
Concealed within its armored, shell-like carapace is a nightmarish Drukhari fusion of flesh and machine. The Cronos is adorned with an unsettling array of hooks, chains, and numerous segmented tendrils that give it an eerie appearance as if it’s gliding through the air. This grotesque engine is equipped with a terrifying arsenal of barbaric implements that strike fear into the hearts of its foes.
What’s in the Cronos box
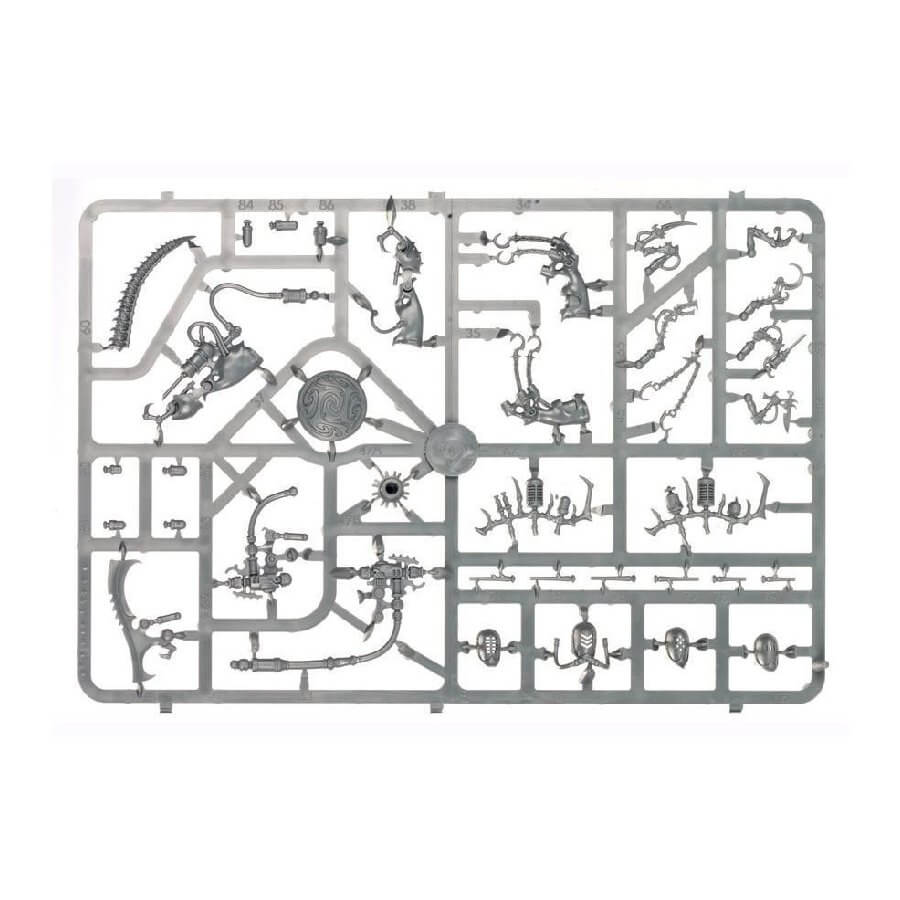
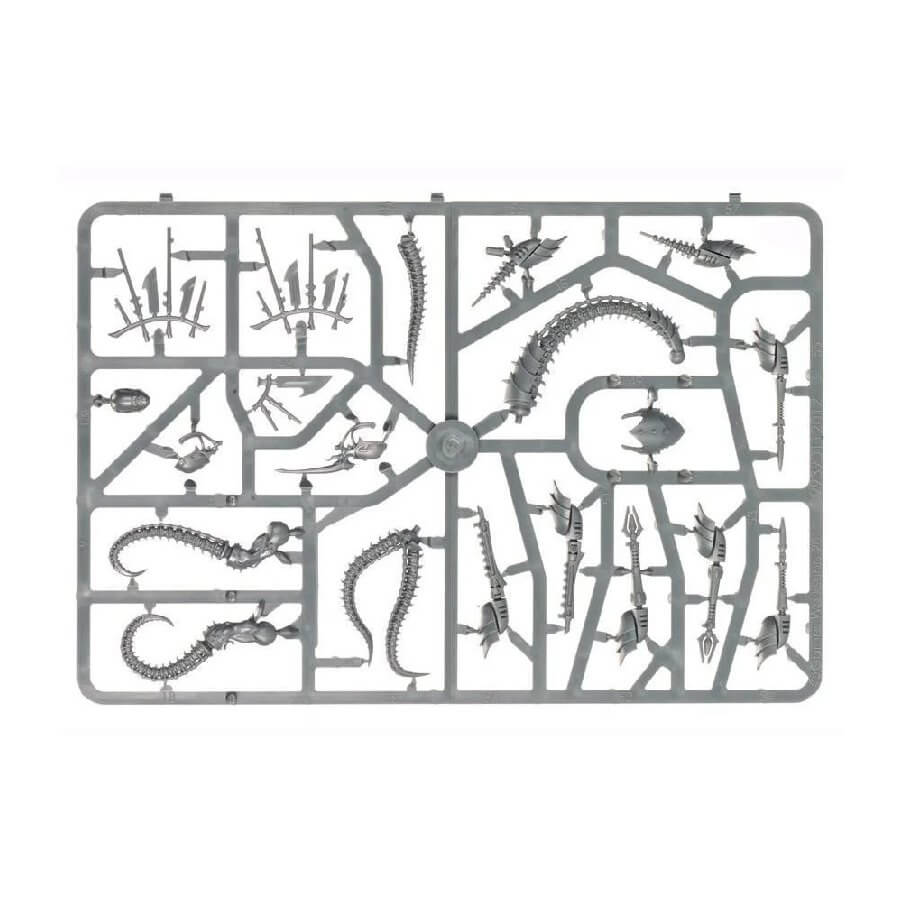
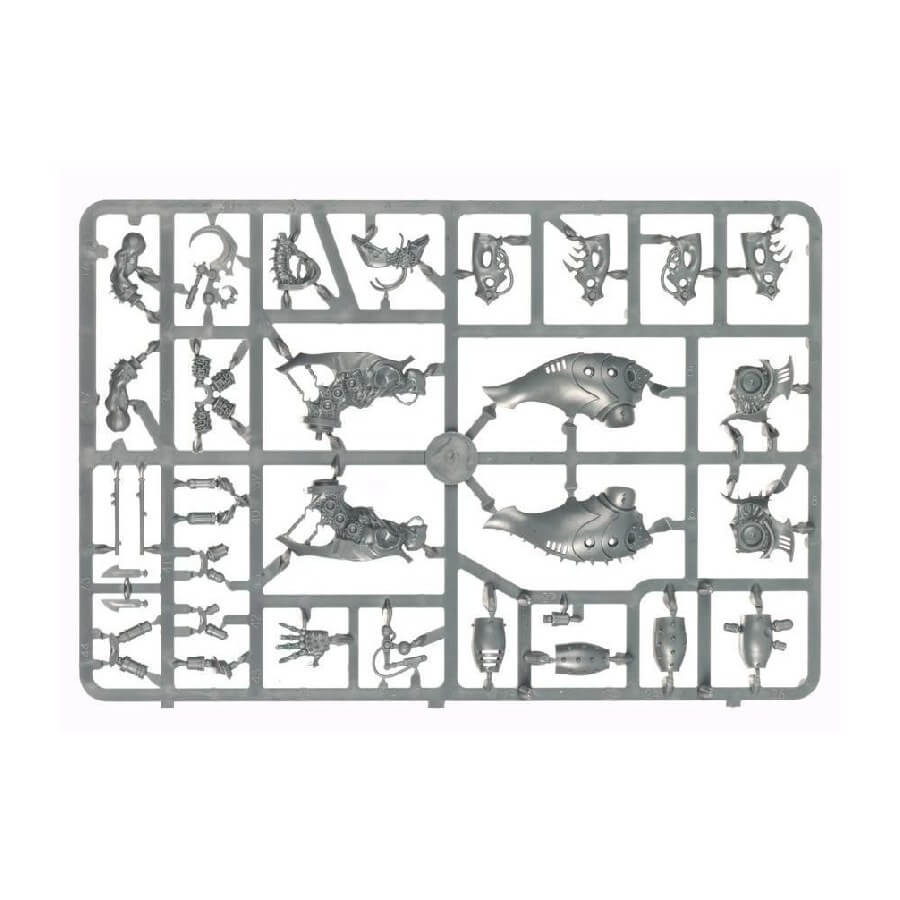
- x89 plastic components with which to make one Cronos Parasite Engine or one Talos Pain Engine. The set includes chain-flails, ichor injectors, a liquefier gun, syringes and adrenaline boosters, as well as several variant heads and arms.
- x1 Citadel 60mm flying base.
How to paint the Cronos set
- Step 1: Basecoat the Cronos
Start by applying a basecoat of Abaddon Black to the entire Cronos model. This will form the dark foundation for the rest of the colors. - Step 2: Paint the Flesh
Use Pallid Wych Flesh to paint the fleshy parts of the Cronos, such as its muscular areas and any exposed skin. Take your time to cover these areas neatly and evenly. - Step 3: Add Green Details
With Moot Green, apply it to the specific details you want to highlight on the Cronos. This could include tubes, tendrils, or other mechanical elements. - Step 4: Shade the Model
To add depth and definition to the model, apply Nuln Oil shade to the black areas and Reikland Fleshshade to the skin. - Step 5: Highlight the Model
Once the shade has dried, use Eshin Grey to highlight the edges and raised areas of the black parts, and mix Pallid Wych Flesh with White Scar to create a lighter tone for highlighting the skin. - Step 6: Fine Detailing
Take your time to add any additional fine detailing, such as painting smaller mechanical parts with metallic colors like Runefang Steel or Warplock Bronze. - Step 7: Varnish the Model
To protect your hard work and give the model a finished look, apply a varnish like Stormshield or Munitorum Varnish to the Cronos. A matte varnish will help reduce shine and protect the paint job.