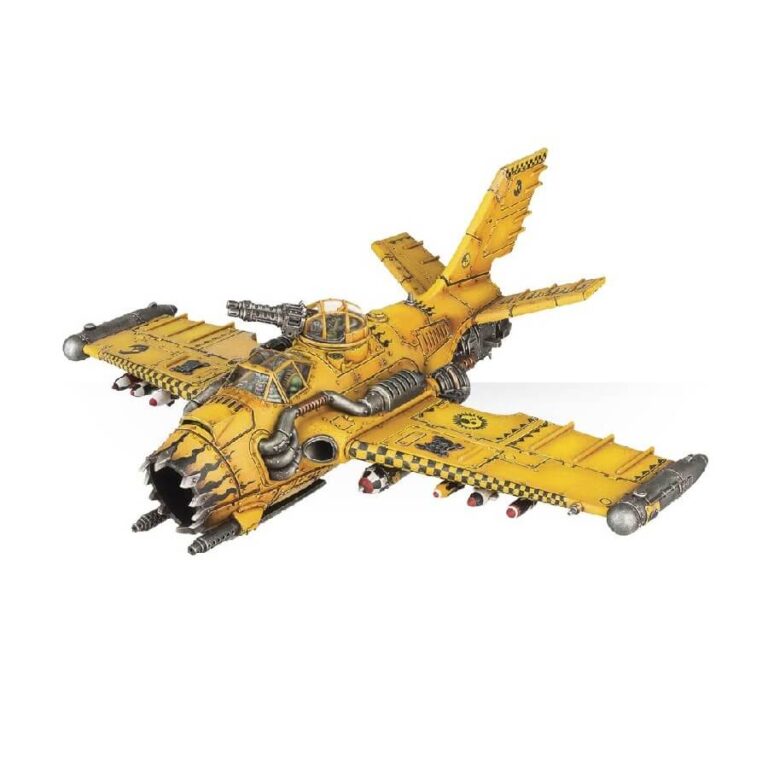
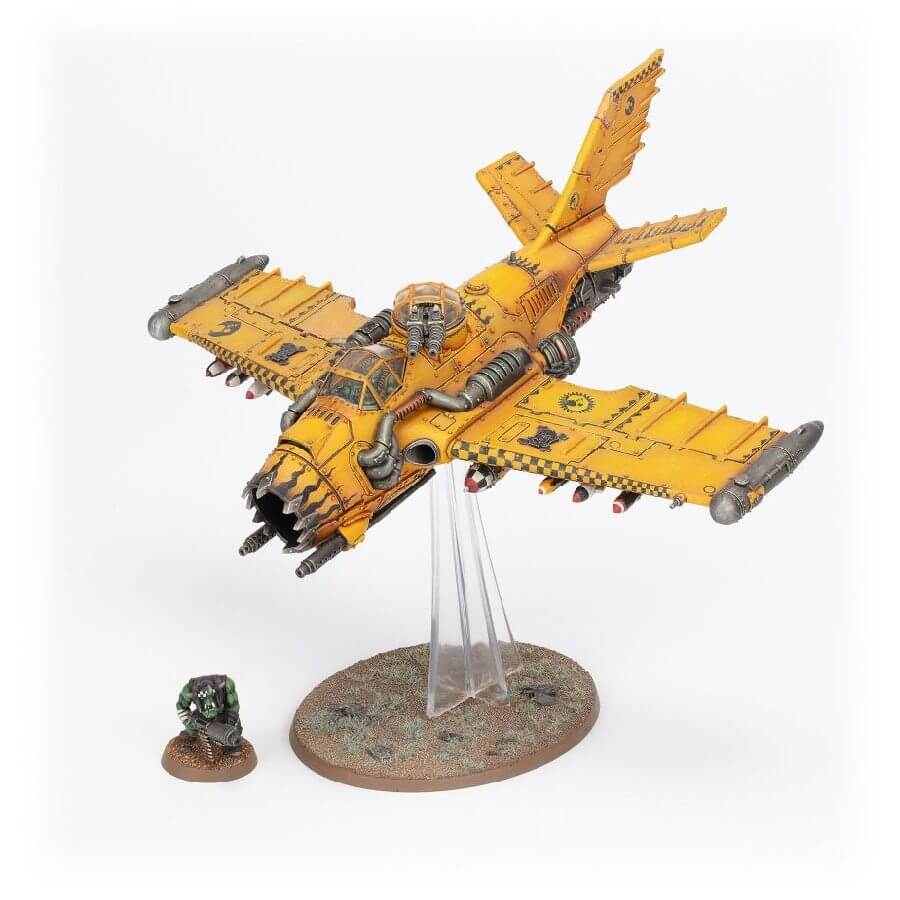
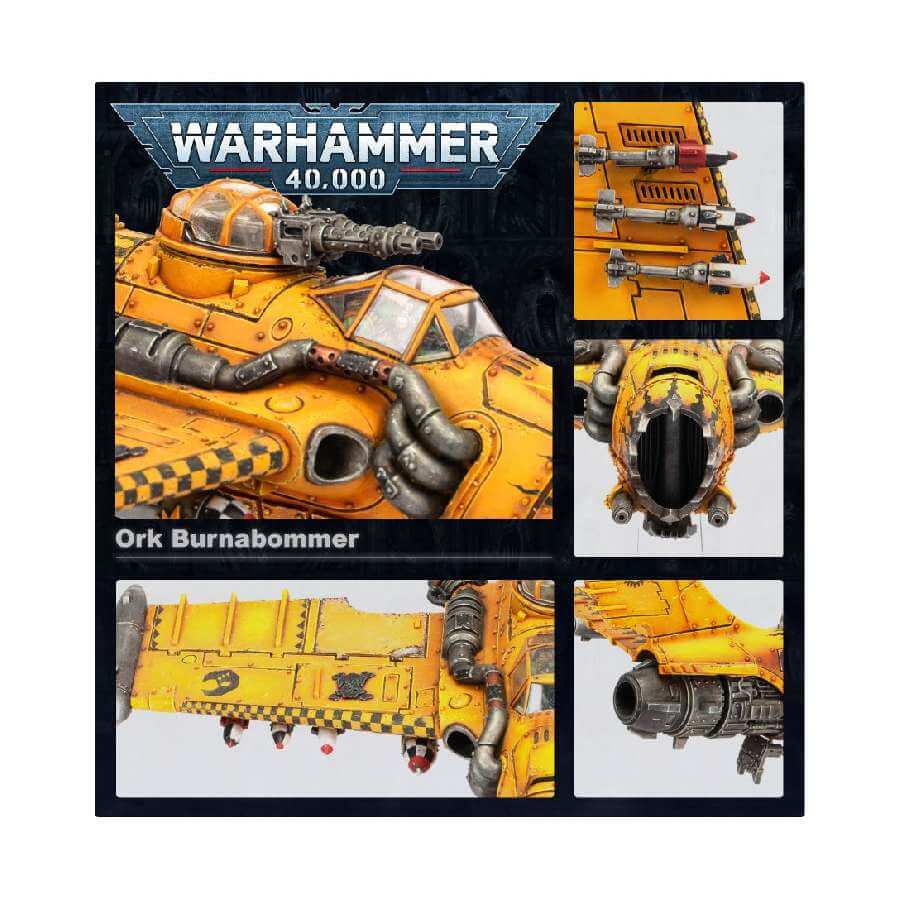
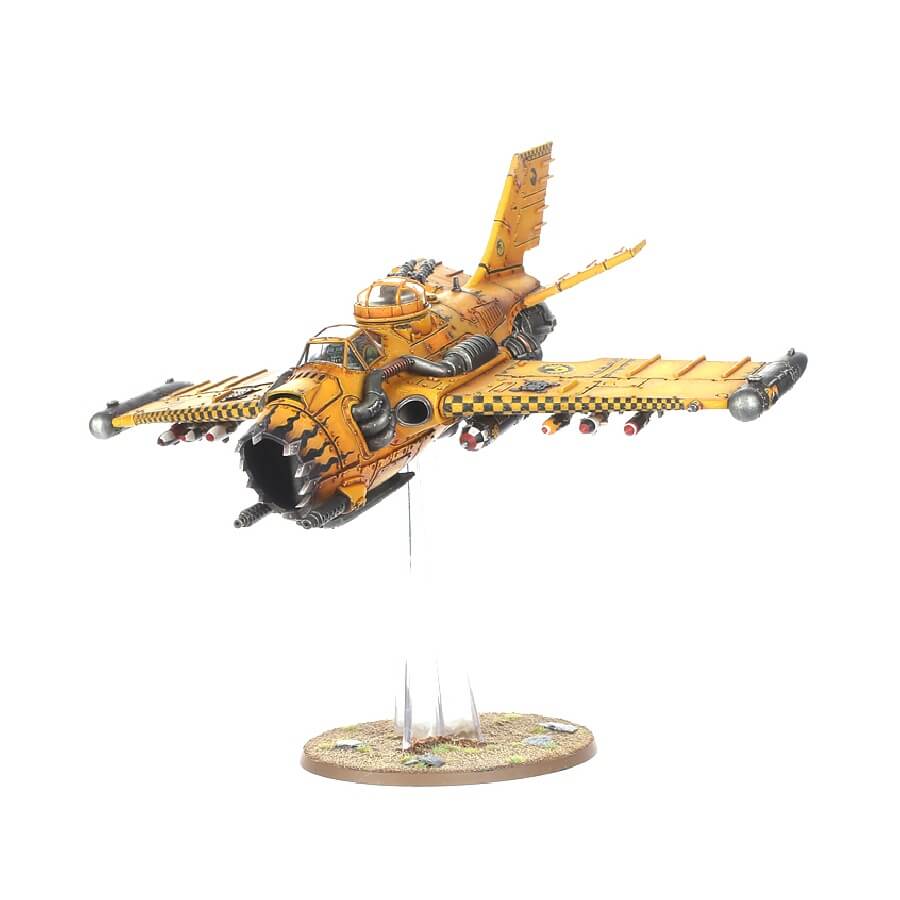
The Burna-Bommer, a creation born from the Orks‘ love for fire, combines the destructive power of burna bombs and skorcha rokkits. Piloted by daring Mekboys, these aircraft perform their attack runs at dangerously low altitudes, unleashing fiery devastation upon their targets. However, such a daring approach is not without its risks, adding an extra thrill to the Orks’ explosive antics.
What’s in the Burna-Bommer box
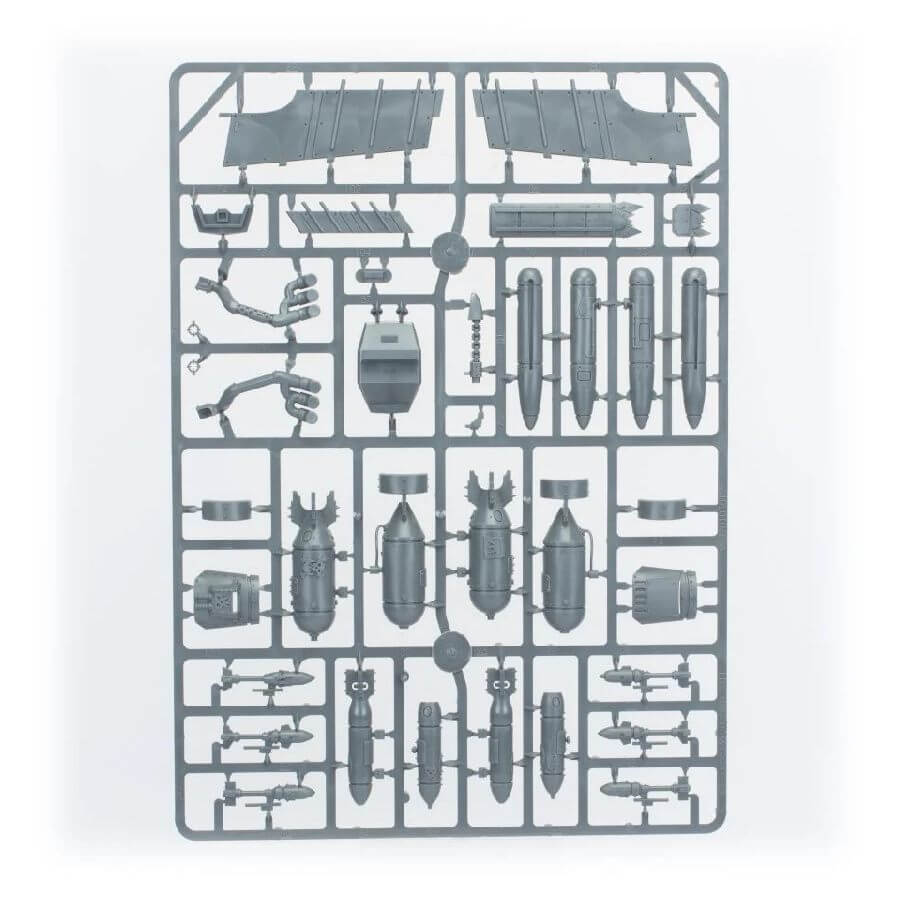
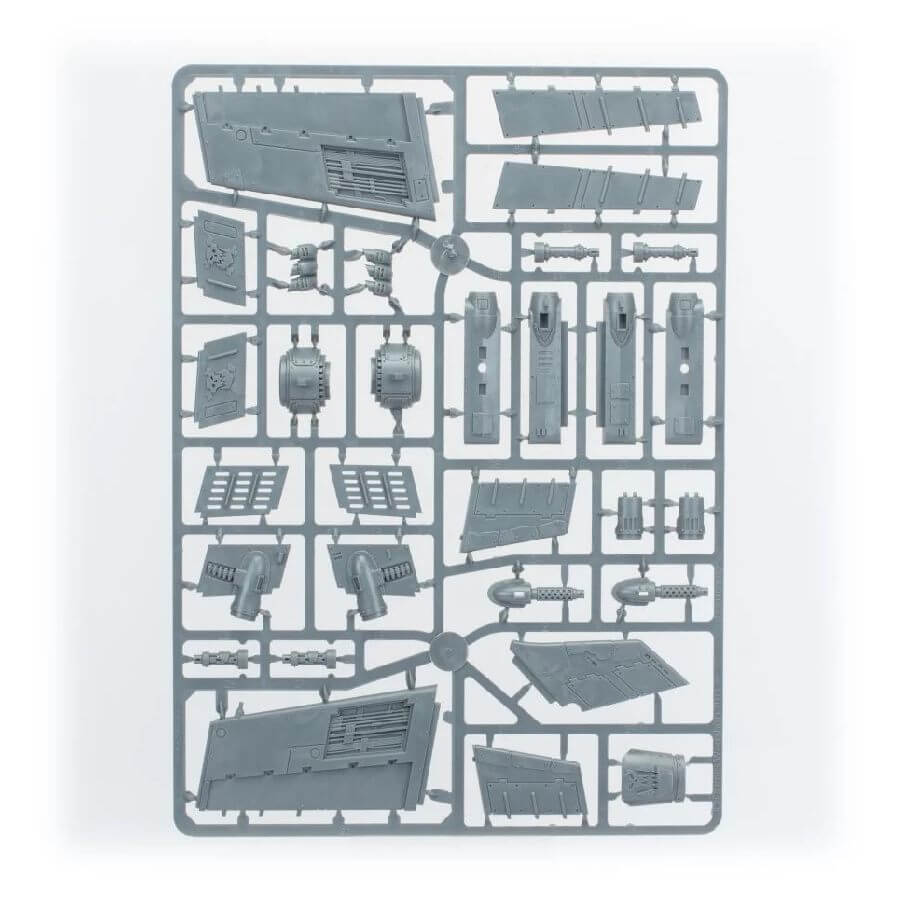
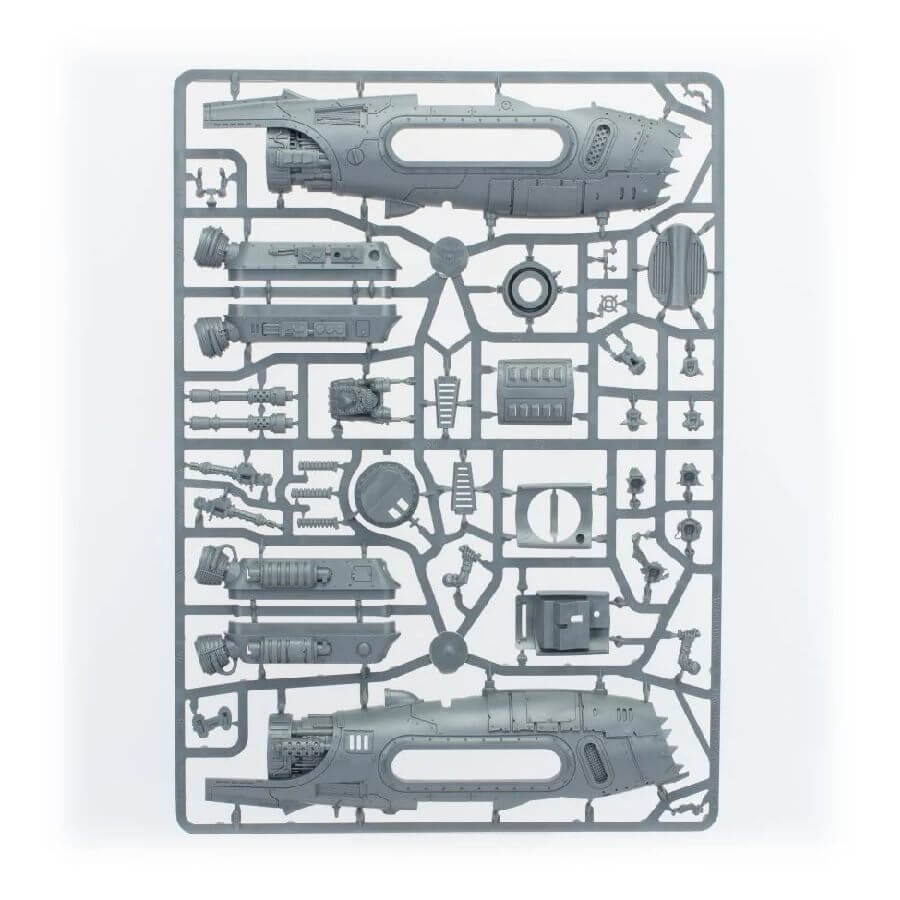
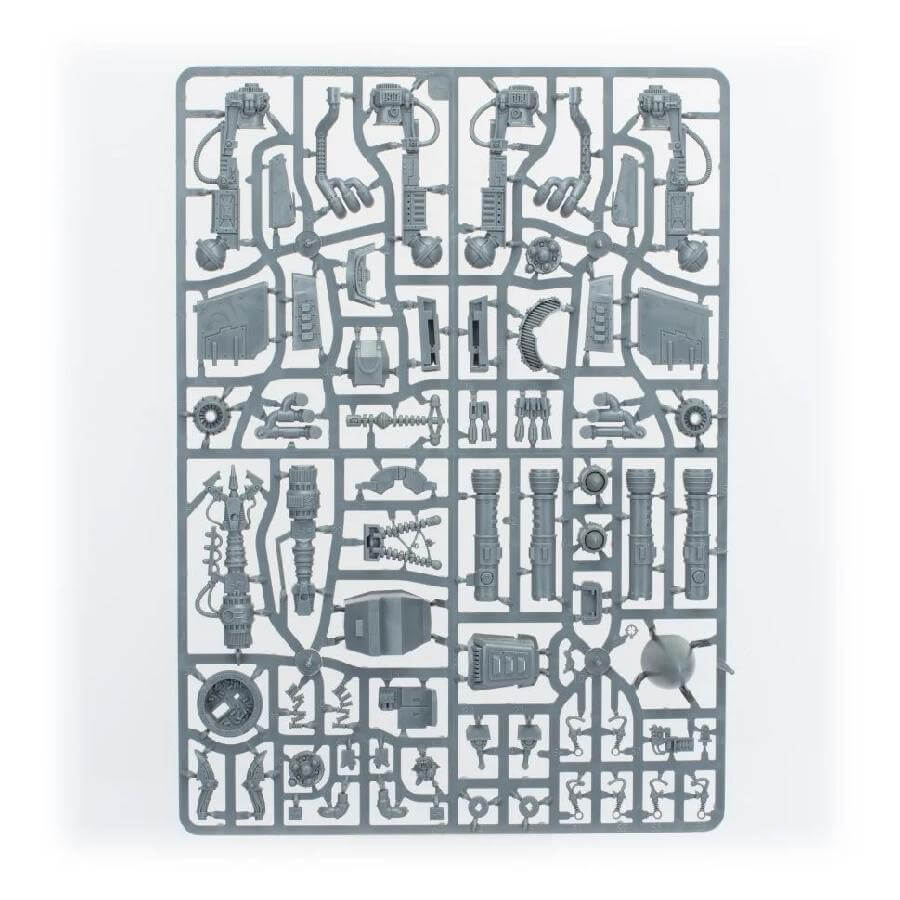
- x172 plastic components that make one Burna-Bommer. As well as a Grot Gunner, it includes a range of weapons options: a big shoota, boom bombs, burna bombs, skorcha rokkits and supa shootas.
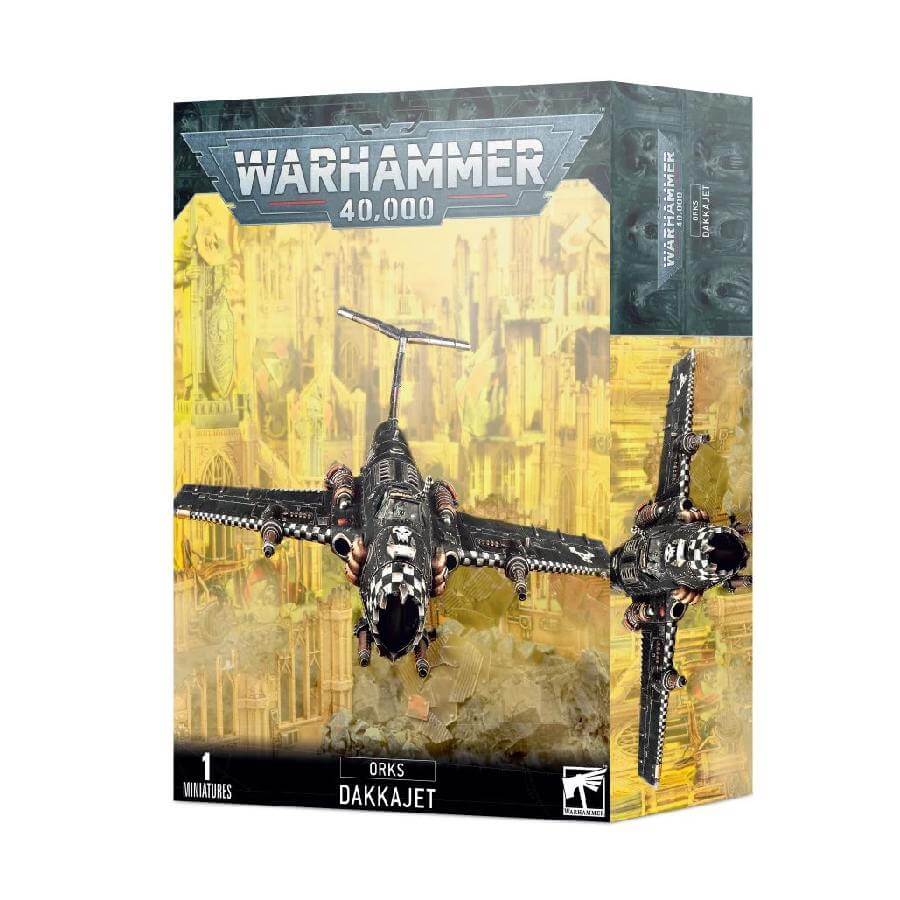
This plastic kit can also be assembled as a Dakkajet, Blitza-Bommer or Wazbom Blastajet. - x1 Ork transfer sheet.
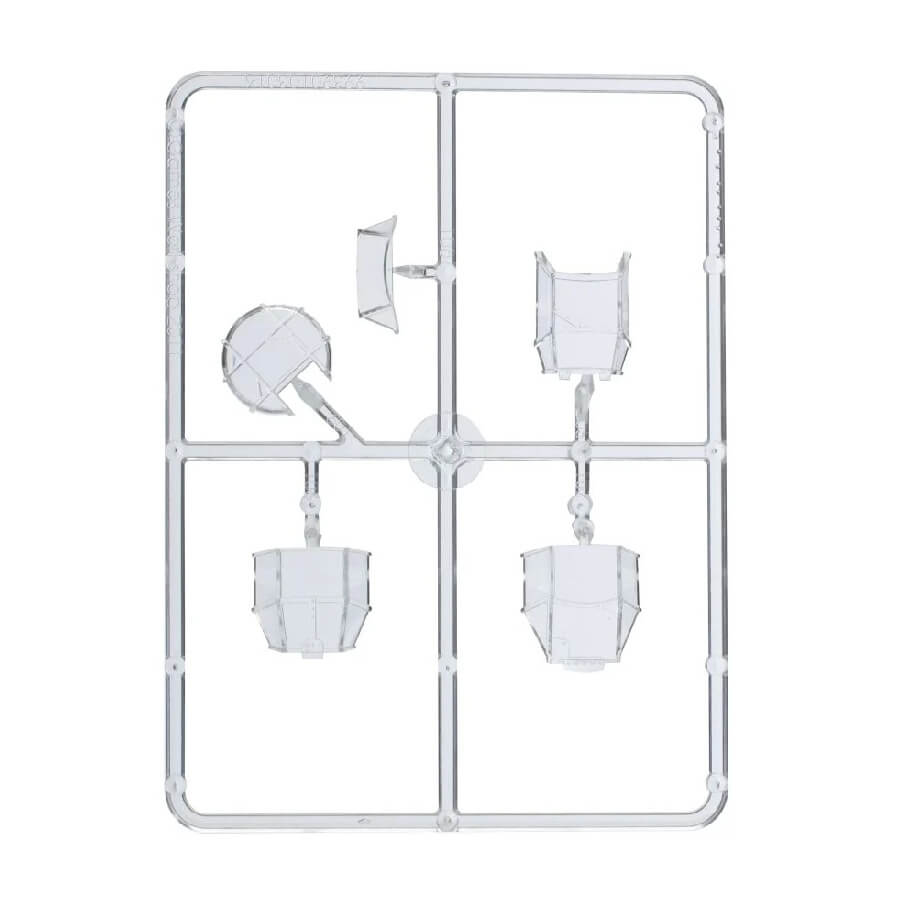
- x1 flying stem
- x1 Citadel 120x92mm Oval base
How to paint the Burna-Bommer set
- Step 1: Basecoat the Hull
Start by applying a basecoat of a bright yellow paint, such as Averland Sunset, to the entire hull of the Burna-Bommer. Use a large brush or an airbrush for quick and even coverage. - Step 2: Shade the Hull
Apply a wash, like Agrax Earthshade or Seraphim Sepia, to the recessed areas of the hull to add depth and definition. Use a medium-sized brush to carefully apply the wash, ensuring it settles into the crevices and panel lines. - Step 3: Highlight the Hull
Using a lighter shade of yellow, such as Flash Gitz Yellow, highlight the raised edges and prominent areas of the hull. Use a fine detail brush to carefully pick out the details and create a subtle gradient effect. - Step 4: Paint the Details
Use appropriate colors to paint the details of the Burna-Bommer, such as the cockpit, engine exhausts, and weaponry. For example, you can paint the cockpit with a dark color like Abaddon Black, the exhausts with a metallic color like Leadbelcher, and the weaponry with a fiery color like Evil Sunz Scarlet. - Step 5: Weathering
To add a weathered look to the Burna-Bommer, dry brush some brown or rust colors, such as Dryad Bark or Skrag Brown, onto the hull. This will simulate dirt, grime, and wear on the vehicle. - Step 6: Final Touches
Add additional details, such as Ork glyphs or weathering effects, using appropriate colors and techniques. You can also apply decals or transfers to further personalize your Burna-Bommer. - Step 7: Varnish
Apply a matte varnish to the entire model to protect the paintwork and provide a uniform finish.
