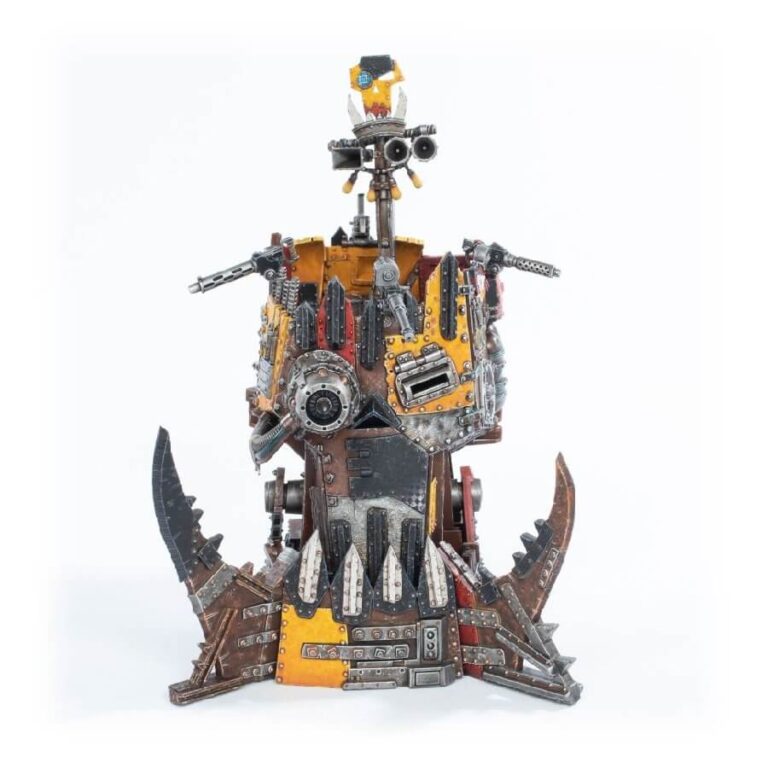
The Big’ed Bossbunka is a formidable fortification constructed from the salvaged head of a repurposed Ork Gargant, providing an imposing command post for Ork warbosses. This towering structure not only serves as a platform for the Warboss to direct his rowdy Boyz, but it also acts as a symbol of Ork authority and power on the battlefield.
The Big’ed Bossbunka’s bosspole, equipped with a booming PA system, amplifies the Warboss’ mighty voice, commanding the attention of his troops and striking fear into the hearts of enemies. From this vantage point, the Warboss can unleash his devastating orders and rally his Boyz to deliver a good krumpin’ to any foe foolish enough to challenge the might of the Orks.
In addition to its commanding presence, the Big’ed Bossbunka boasts formidable firepower. Its big shoota spews a relentless hail of bullets, mowing down anyone who dares to approach, while the Gaze of Gork—a weapon fashioned from a jet engine and a Gargant’s eye—delivers explosive punishment to any who seek to unseat the Warboss or challenge Ork dominance.
What’s in the Big’ed Bossbunka box
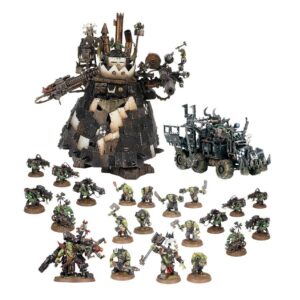
- x27 plastic components that make one Big’ed Bossbunker model.
How to paint the Big’ed Bossbunka set
- Step 1: Basecoat the Big’ed Bossbunka
Using a medium-sized brush, apply a solid coat of black paint to the entire model, covering all the surfaces and details. - Step 2: Metallic Elements
Use a metallic paint, such as Leadbelcher, to paint the metal parts of the Big’ed Bossbunka, including the weapon barrels, spikes, and other metallic details. Apply the paint evenly and let it dry completely. - Step 3: Chipped Paint Effects
With a small brush, add some chipped paint effects to the model using a light brown color, like XV-88. Focus on areas that would naturally wear down over time, such as edges, corners, and exposed surfaces. Use short, controlled brush strokes to create the desired effect. - Step 4: Rust Effects
Apply a rust effect to the metal parts of the model using Typhus Corrosion. Add small patches of rust in random spots, emphasizing areas that would be more prone to corrosion, like joints, edges, and crevices. Use a dry brush technique or a sponge to achieve a textured rust effect. - Step 5: Weathering and Grime
Using a dark brown or black wash, such as Agrax Earthshade, apply it selectively to recessed areas and crevices to create a weathered and dirty appearance. This will add depth and realism to the model. - Step 6: Bosspole and Details
Paint the bosspole with your desired color, such as a vibrant red or a bone-like color, and add any additional details, such as glyphs or patterns, using appropriate colors. For example, you can use Wazdakka Red for the bosspole and Ushabti Bone for glyphs. - Step 7: Highlights and Final Touches
With a fine detail brush, apply highlights to the model to make certain areas stand out. Use a lighter color, such as Ironbreaker, to highlight the metallic parts and a lighter shade of your chosen color to highlight other areas. Add any final touches, such as painting the eyes or adding extra weathering effects, to complete the model. - Step 8: Varnish
To protect the paintwork and provide a uniform finish, apply a matte varnish to the entire model. This will help preserve the paint job and give it a professional look.

